
Receiving orders
Warning
You must close the basket to be able
to receive items when they arrive. Only items in closed baskets will show
as ready to receive.
Note
Staff members must have the
order_receive permission (or
the superlibrarian permission) in
order to receive orders.
Warning
You must close the basket to be able to receive items when they arrive. Only items in closed baskets will show as ready to receive.
Note
Staff members must have the order_receive permission (or the superlibrarian permission) in order to receive orders.
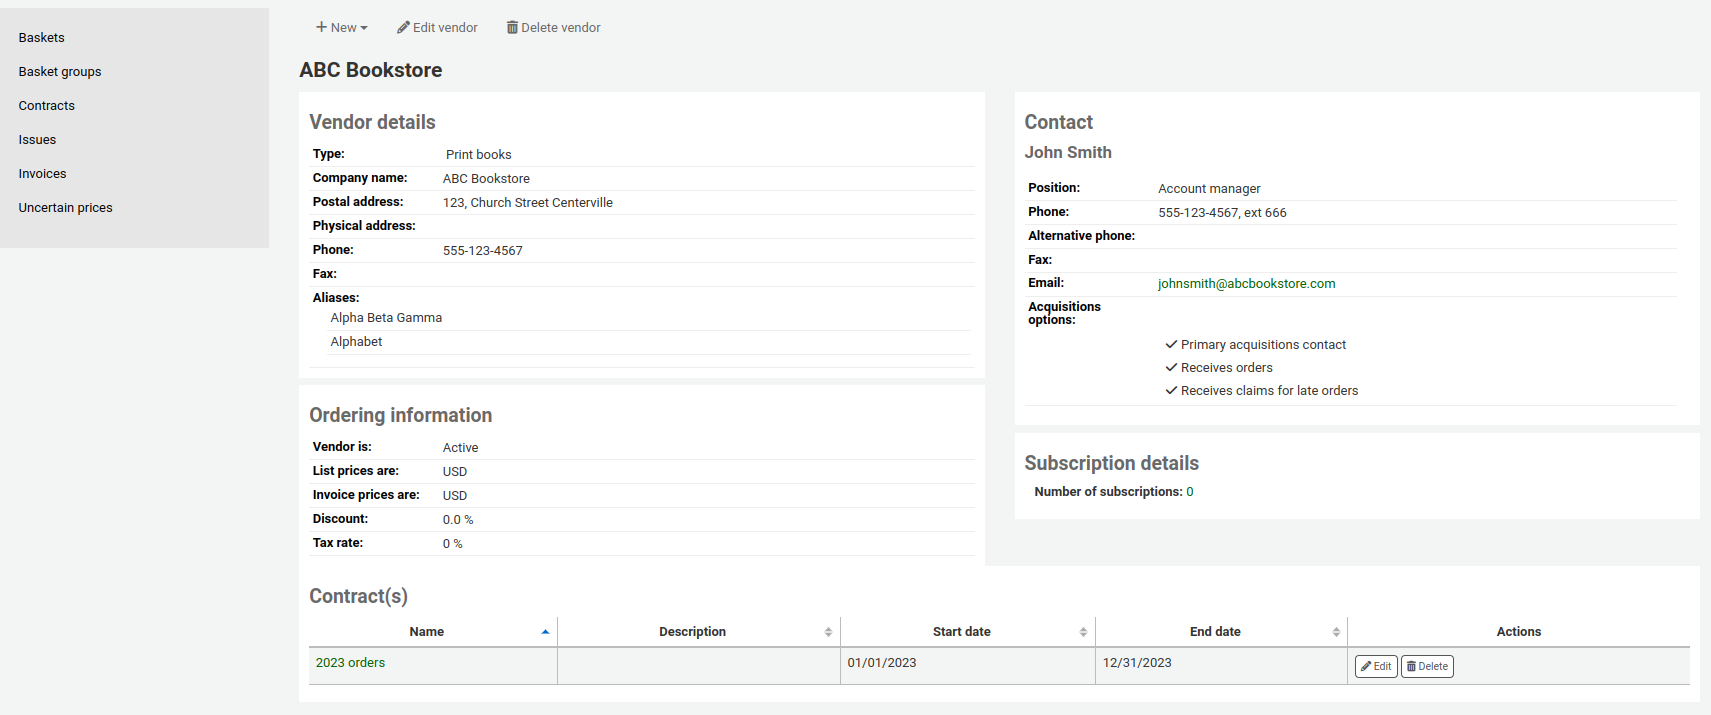
Orders can be received from the vendor information page
or the vendor search results page
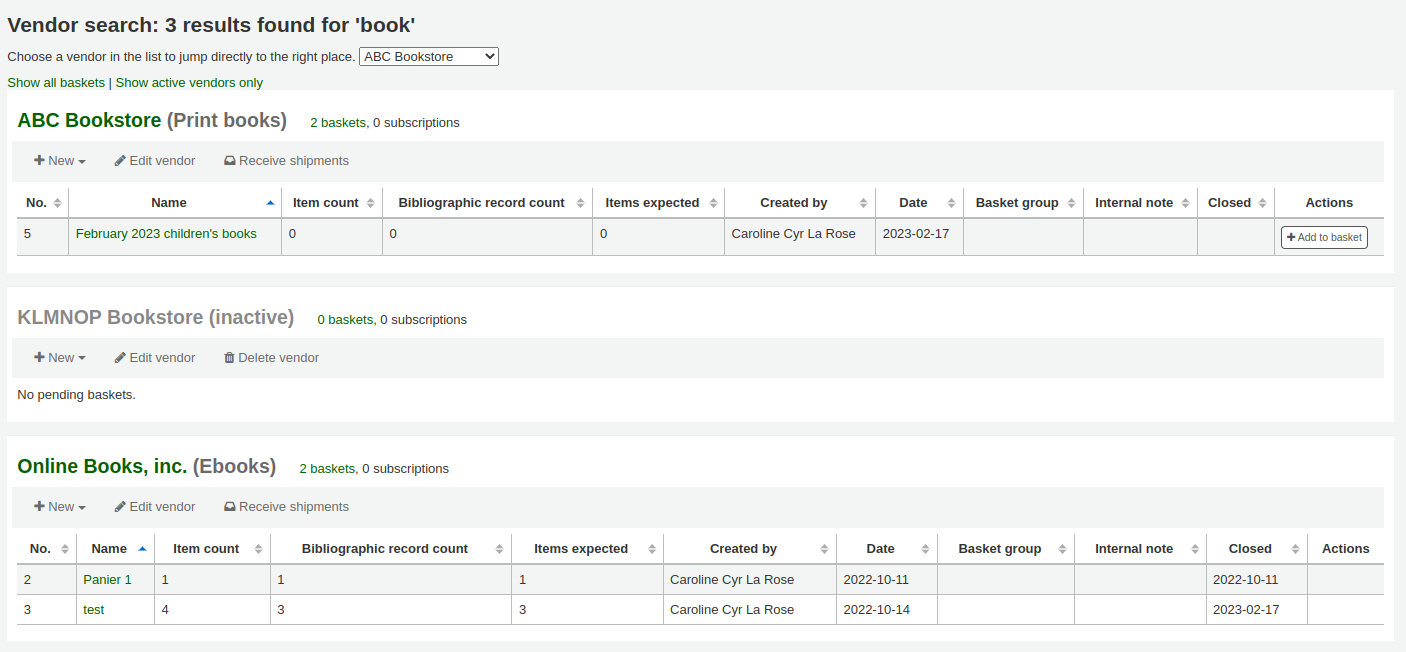
After clicking ‘Receive shipments’ you will be asked to enter a vendor invoice number, a shipment received date, a shipping cost and a fund to subtract that shipping amount from.

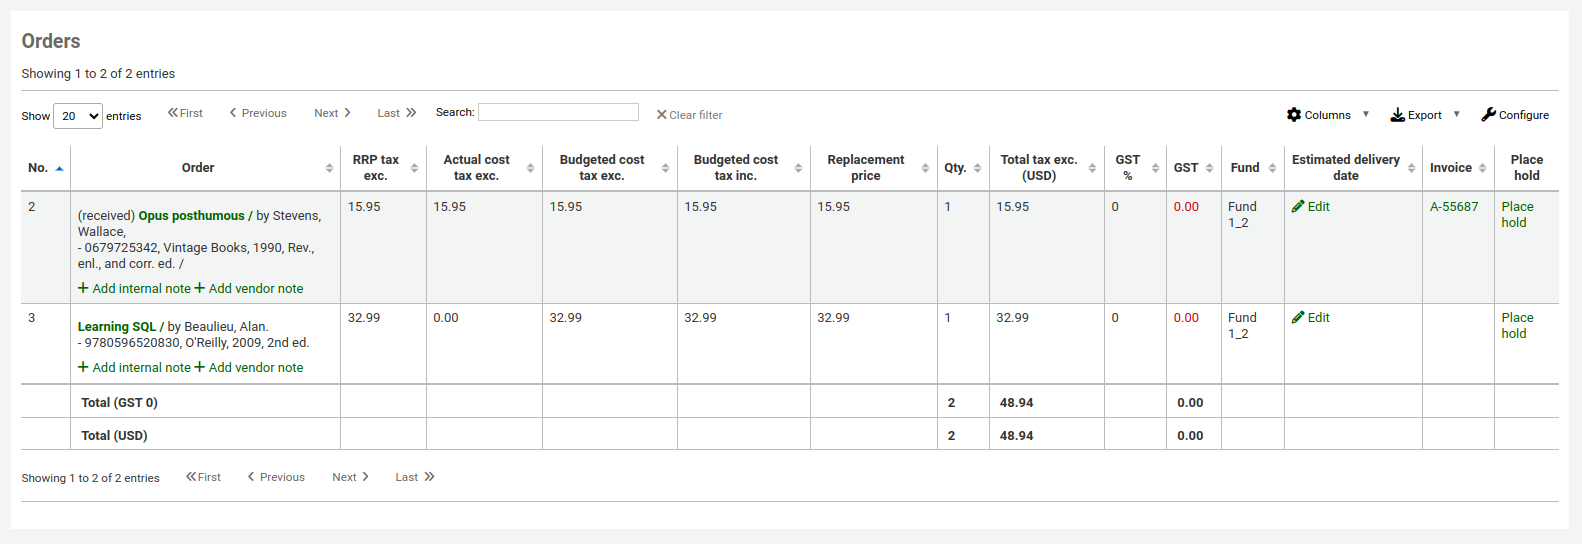
The receive page will list all items still on order with the vendor regardless of the basket the item is from.

Warning
Only items from closed baskets will appear in the pending orders list.
Note
If you have a lot of orders, you can filter the orders using the ‘Search’ box just above the table, or the filter boxes at the top of each table column.

You could, for example, scan the ISBN of the book you are receiving in the filter box and the table will only show the corresponding orders.
Just make sure to clear the filter boxes when you’re done, otherwise, the other items won’t appear.
To receive a specific item, click the ‘Receive’ link to the right of the item.
Depending on when you chose to create the item (either in the AcqCreateItem system preference, or upon creating your basket), the form will look slightly different.
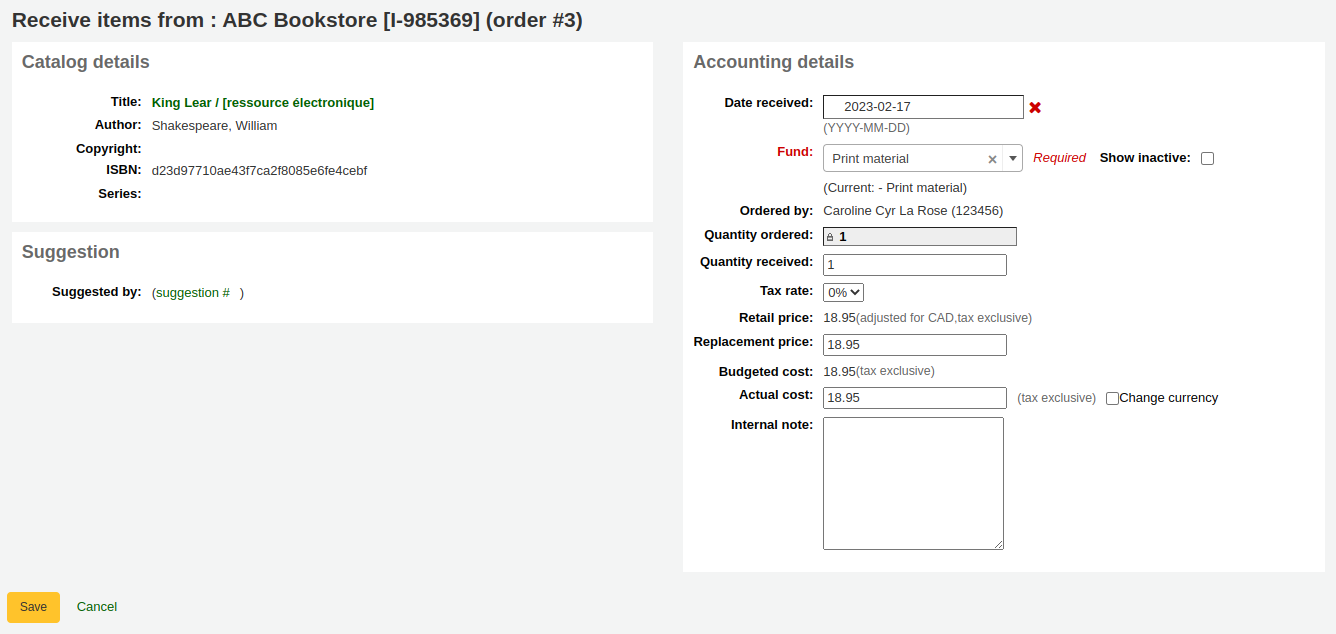
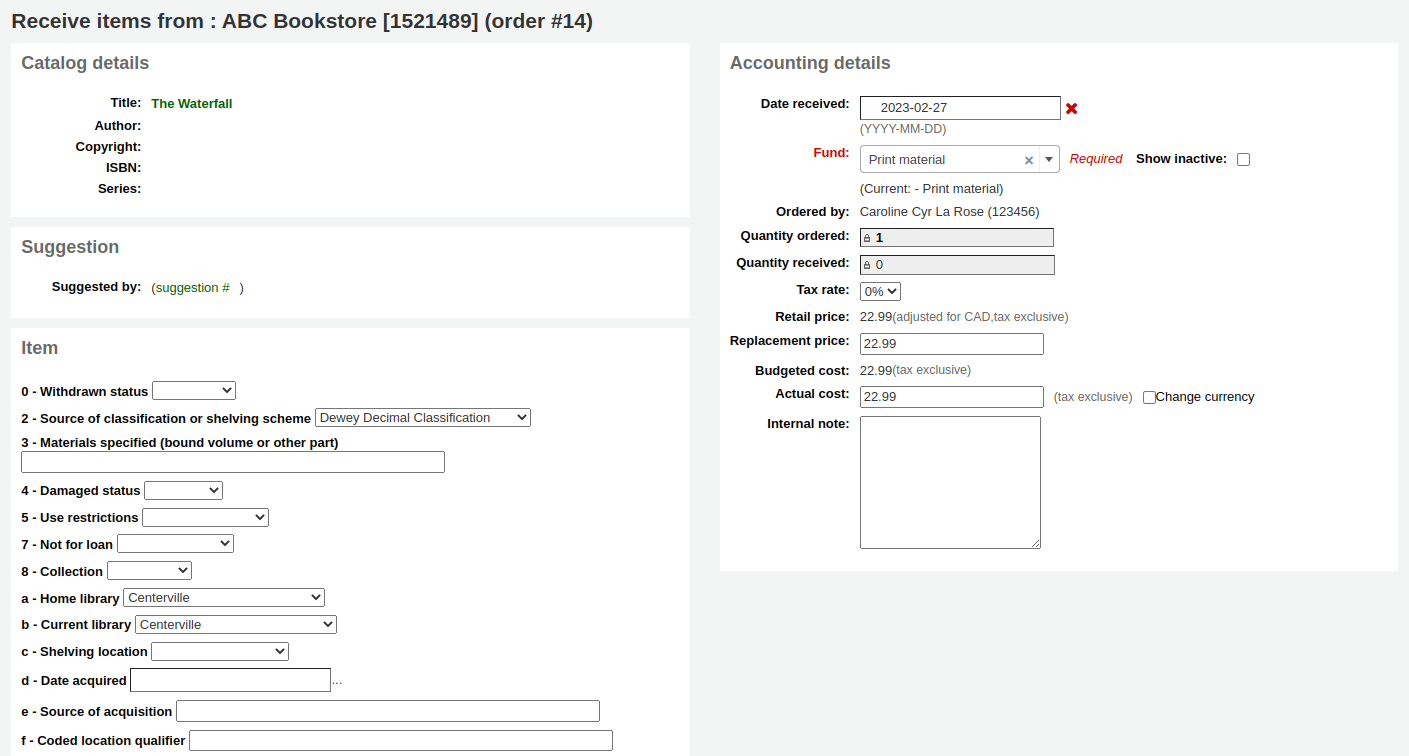
If you chose to create your item when placing the order, you will have your item information on the left side and financial information on the right side.
You can check the box next to the item to receive it, or fill out the ‘Quantity received’ field on the left side.
Note
You can choose to mark only part of the order as received if the vendor did not send your entire order by checking only the boxes next to the items on the left that you want to receive or by entering the right amount in the ‘Quantity received’ field.
You can edit the item if needed by clicking on the ‘Edit’ link. This will allow you to enter in accurate call numbers and barcodes if you’d like to do that at the point of receipt.
You can also alter the cost information (replacement cost, actual cost, and currency of the actual cost). The values you enter there will automatically populate the ‘Cost, replacement price’ subfield and the ‘Cost, normal purchase price’ subfield in the item record after saving.
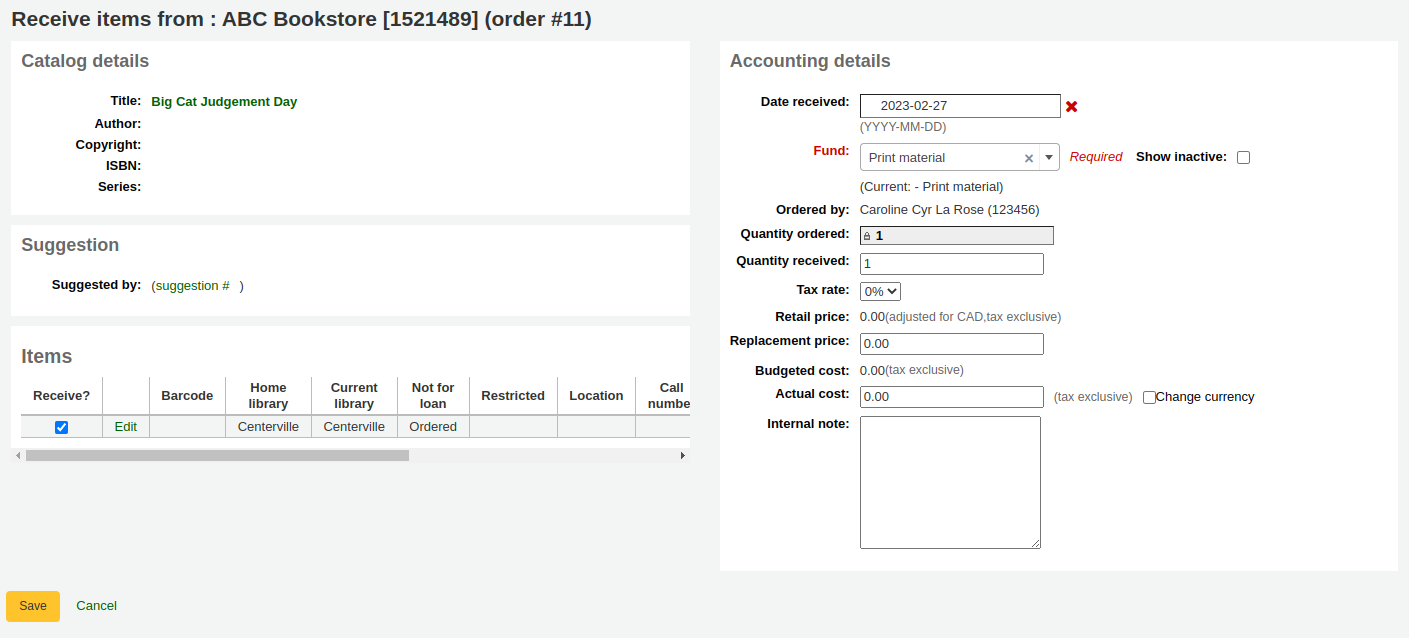
If you chose to create your item when receiving the order, you will see the item creation form on the left side and the financial information on the right side.
Warning
You must fill out the item form and click on ‘Add item’ or ‘Add multiple items’ in order to receive the order. You will not be able to simply change the ‘Quantity received’ amount.
You can alter the cost information (replacement cost, actual cost, and currency of the actual cost). The values you enter there will automatically populate the ‘Cost, replacement price’ subfield and the ‘Cost, normal purchase price’ subfield in the item record after saving.
Finally, if you chose to create your item when cataloging the record, you will only see the financial information on the right.
You can alter the cost information (replacement cost, actual cost, and currency of the actual cost).
Note
The financial information will not be transferred to the item if the item is created when cataloging.
Once you have made any changes necessary (to the order and/or items, click ‘Save’ to mark the item(s) as received.
Note
If you have your AcqItemSetSubfieldsWhenReceived system preference set to add or change values on received items those changes will take place after you hit ‘Save’.
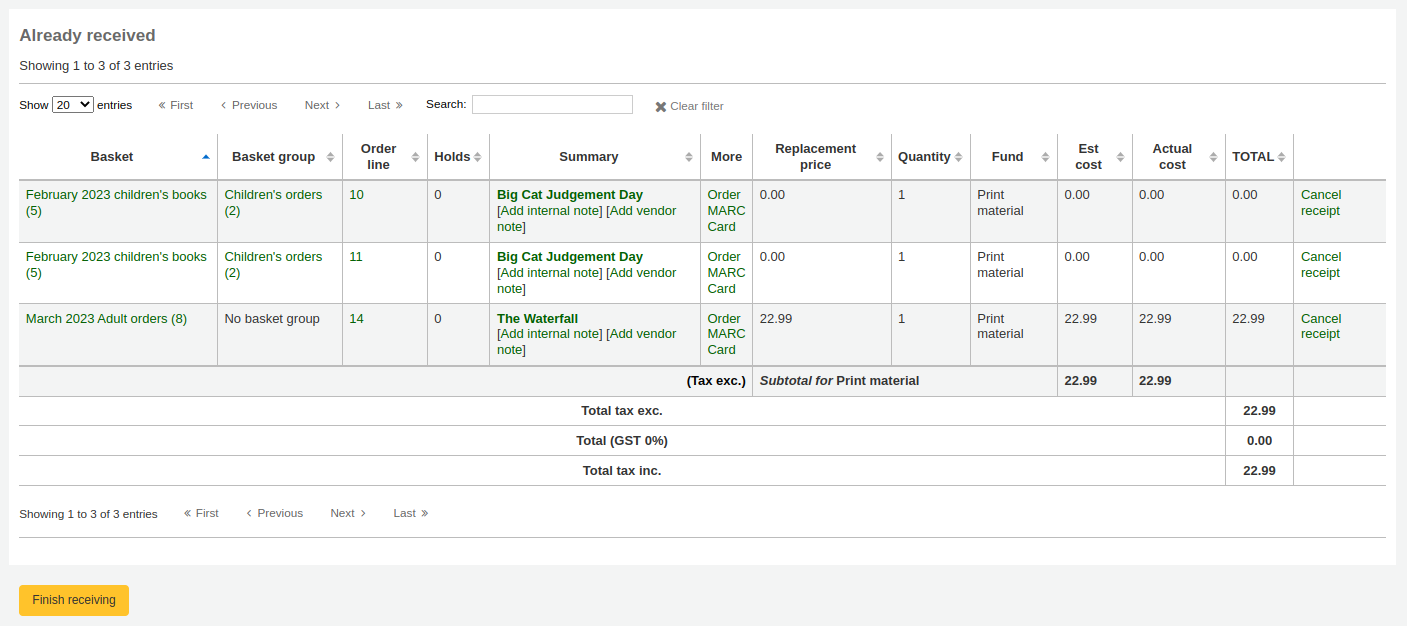
When you’re finished receiving items you can navigate away from this page or click the ‘Finish receiving’ button at the bottom of the screen.
Received orders will have ‘(received)’ before the title in the basket view.
Note
When all the orders in a basket have been received, the basket will be removed from the list of baskets for that vendor. You can click ‘Show all baskets’ to view the inactive baskets.


Note
If a patron was marked as needing to be notified when the order is received, they will receive the ACQ_NOTIF_ON_RECEIV notice.
If a patron suggested the purchase, they will receive the AVAILABLE notice.
Both of these notices can be customized in the Notices and slips tool.