Invoices
Note
Anyone with one of the
acquisition permissions
(or the superlibrarian permission)
will have access to invoices. However, it is necessary to have specific
invoice permissions to execute actions on invoices:
the order_receive permission to
create invoices,
the edit_invoices permission to
edit invoices,
the merge_invoices permission to
merge invoices,
the reopen_closed_invoices permission
to reopen closed invoices, or
the delete_invoices permission
to delete invoices.
Note
Anyone with one of the acquisition permissions (or the superlibrarian permission) will have access to invoices. However, it is necessary to have specific invoice permissions to execute actions on invoices:
the order_receive permission to create invoices,
the edit_invoices permission to edit invoices,
the merge_invoices permission to merge invoices,
the reopen_closed_invoices permission to reopen closed invoices, or
the delete_invoices permission to delete invoices.
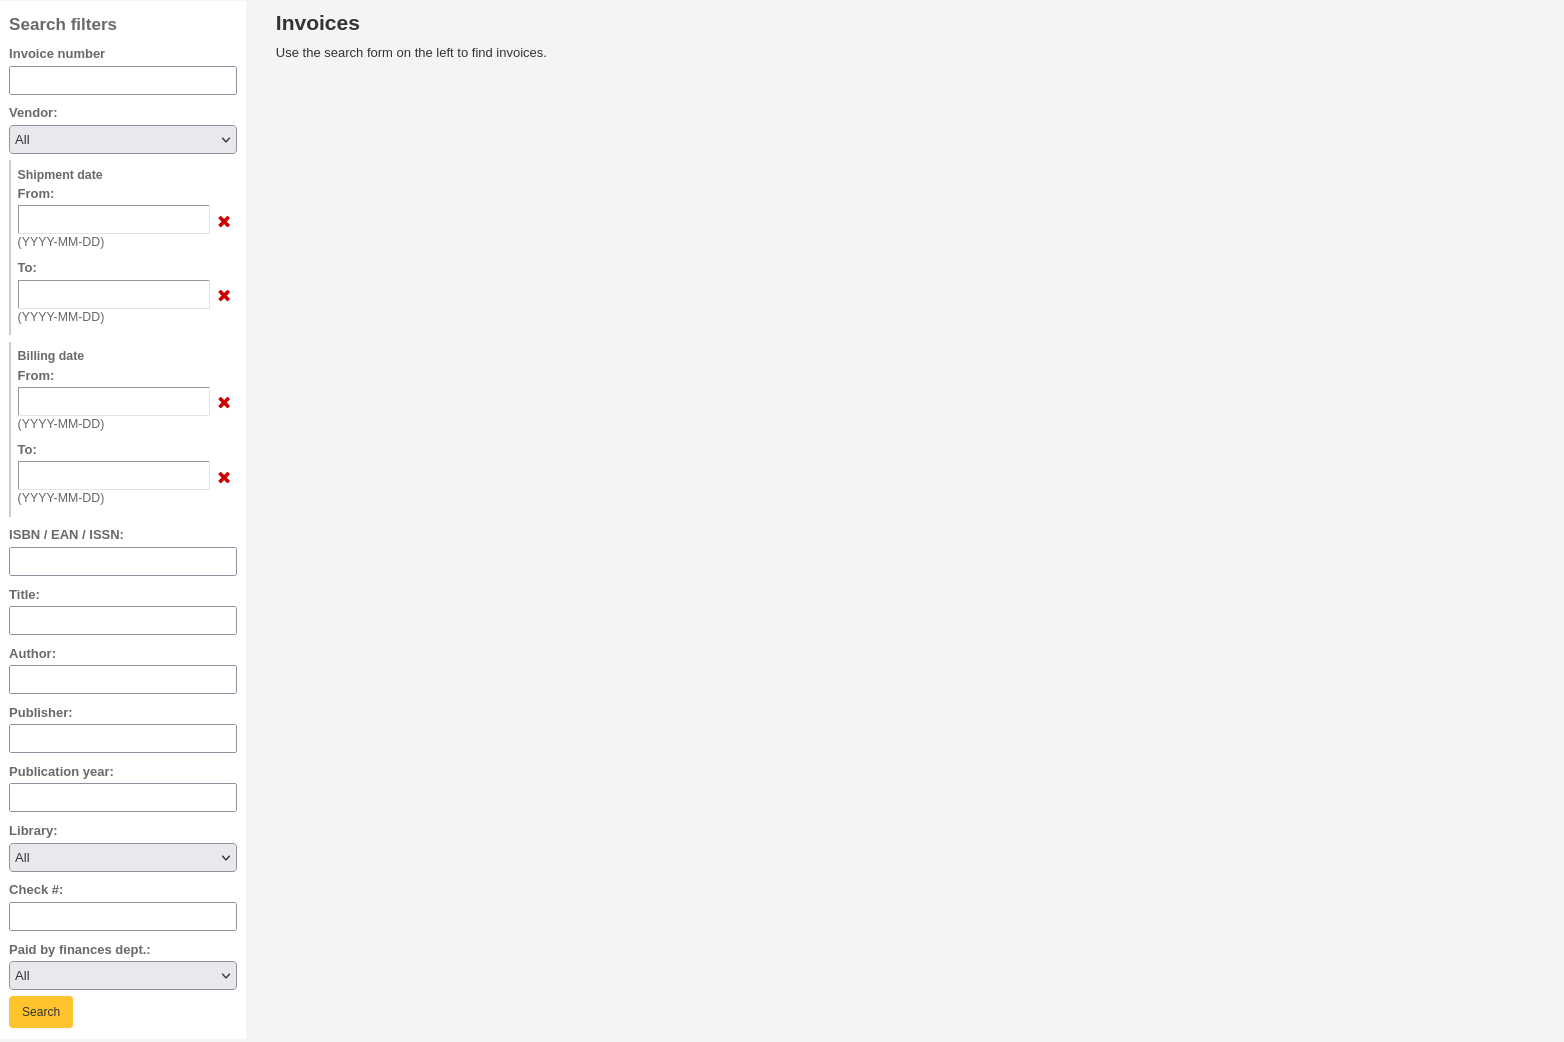
When orders are received invoices are generated. Invoices can be searched by clicking on ‘Invoices’ in the left of the Acquisitions page.

After a search, the results will appear to the right of the search options.

At the bottom of the table, there is a button to merge selected invoices and a button to close selected invoices.
The ‘Actions’ button on the right allows various actions on a single invoice:
Details: show the full invoice
Close: close the invoice to indicate that the invoice is paid for
Delete: delete the invoice; this option is only available for invoices that have no items received on them
The detailed invoice page presents all the information about the invoice.

Invoice number: the invoice number entered upon receiving is editable here
Shipment date: date entered upon receiving is editable here
Billing date: enter the billing date of the invoice
Shipping cost: the shipping cost entered upon receiving is editable here
Shipping fund: the fund from which to subtract the shipping cost chosen upon receiving is editable here
Status: the status of the invoice, either open or closed; if closed, the closing date will also appear
Close: if the invoice is still open, it can be closed by checking this box
Reopen: if the invoice is closed, it can be reopened by checking this box
Additional fields: if there are additional fields for invoices, they will appear here.
In the Adjustments section, you can add adjustments to your invoices by clicking ‘Add an adjustment’.
These adjustments can be for adjusting the price that is offset by rounding or adding a credit to the invoice, for example.

Amount: enter the amount of the adjustment (can be positive or negative)
Reason: choose a reason, if needed
Note
The reasons are populated by the ADJ_REASON authorized values category.
Note: enter a note, if needed
Fund: choose the fund from which the adjustment amount should be taken
Encumber while invoice open: if this is checked, the amount of the adjustment will be taken out of the fund immediately. If it is not checked, the amount will be subtracted only when the invoice is closed.
Click on ‘Update adjustments’ to save your adjustments.
If you need to change the adjustment afterwards, you can do so in the table and click on ‘Update adjustments’.

In the ‘Invoice details’ section, you will see the details of each received title in this invoice.
If needed, you can change the fund used for each title by clicking ‘Modify fund’ in the ‘Fund’ column.
Attaching files to invoicesIf you’re allowing the uploading of acquisitions files with the AcqEnableFiles system preference you will see the option to manage invoice files next to the link to ‘Go to receipt page’

To see or attach new files click the ‘Manage invoice files’ link

From here you can find a file to upload and see the files you have already attached.

Note
Staff members must have the merge_invoices permission (or the superlibrarian permission) in order to merge invoices.
From the invoice search results you can also merge together two invoices or more, should you need to.

Simply click the checkbox to the left of the invoices you would like to merge and click the ‘Merge selected invoices’ button at the bottom of the page. You will be presented with a form to confirm the merge:

Click on the row of the invoice number you would like to keep and it will be highlighted in yellow. Enter any different billing information in the fields provided and click ‘Merge’. The invoices will become one.
