Creating a routing list
Note
Only staff with the
routing permission
(or the superlibrarian permission)
will be able to manage routing lists.
Note
Only staff with the routing permission (or the superlibrarian permission) will be able to manage routing lists.
A routing list is a list of people who receive the serial before it goes to the shelf. To enable routing lists, set your RoutingSerials preference to ‘Use’.
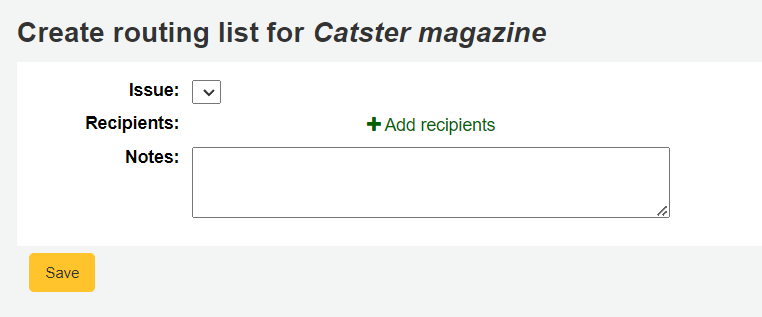
When on the subscription page you will see a link to the left that reads ‘Create routing list’ or ‘Edit routing list’

Clicking that link will bring you to the form to add a new routing list.

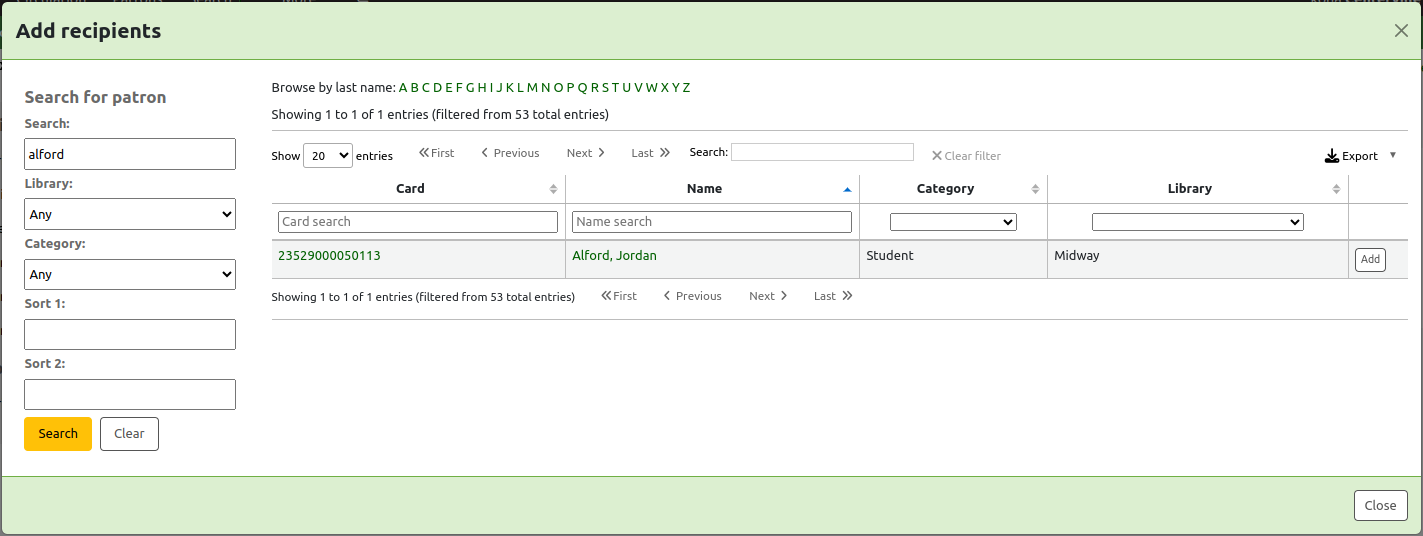
From here, click ‘Add recipients’ to add users to the routing list. In the menu that appears you can filter patrons by part of their name, their library, or their patron category.

Click ‘Add’ to the right of each name to add them to the routing list. When you have chosen all of the people for the list, click the ‘Close’ button to be redirected to the routing list.

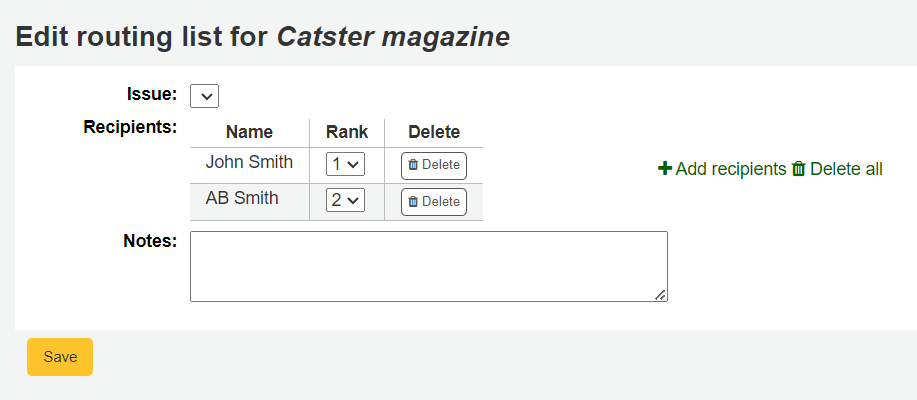
From this form, you can play with the order of the users and add notes. If you always add the same note, you can enter it in the RoutingListNote system preference.
If the list looks the way you expect it to, click ‘Save’.
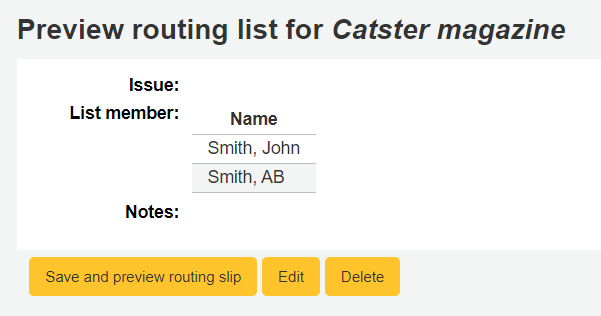
Next, you will be brought to a preview of the routing list. To print the list click ‘Save and preview routing slip.’ This will open a printable version of the list.

If RoutingListAddReserves is enabled, patrons listed in the routing list will automatically be added to the holds list for the issue.
To see a list of all of the routing lists for a specific patron is visit the routing lists tab on their patron record. Patrons are able to see a list of their own routing lists when logged into the OPAC in the your routing lists tab.
