Data Providers
Version
This component of ERM was introduced in version 23.11 of Koha.
Version
This component of ERM was introduced in version 23.11 of Koha.
Data Providers (or Data Platforms) are the organizations who provide usage statistics for your electronic resources. This could be a vendor or a platform provider. The data provider record contains information about SUSHI credentials and any COUNTER data which has been harvested from the provider.
Definitions:
SUSHI (Standardized Usage Statistics Harvesting Initiative) is an ANSI/NISO standard that defines the model for harvesting e-resource usage data. It is designed to work with COUNTER.
COUNTER provides the standard that enables the knowledge community to count the use of electronic resources. Known as the Code of Practice, the standard ensures vendors and publishers can provide their library customers with consistent, credible and comparable usage data. Koha currently only supports version 5 of the COUNTER standard.
Note
Before you start to create new Data provider records, ensure your staff users have the erm permission (or the superlibrarian permission) and that you have reviewed the ERM authorized values to suit your needs. Also, ensure you have reviewed the ERM system preferences.
From the ERM Home page click on the Data providers link in the left-hand menu.
Get there: More > E-resource management > Data providers
Use the ‘New data provider’ button at the top of the Data Providers table.

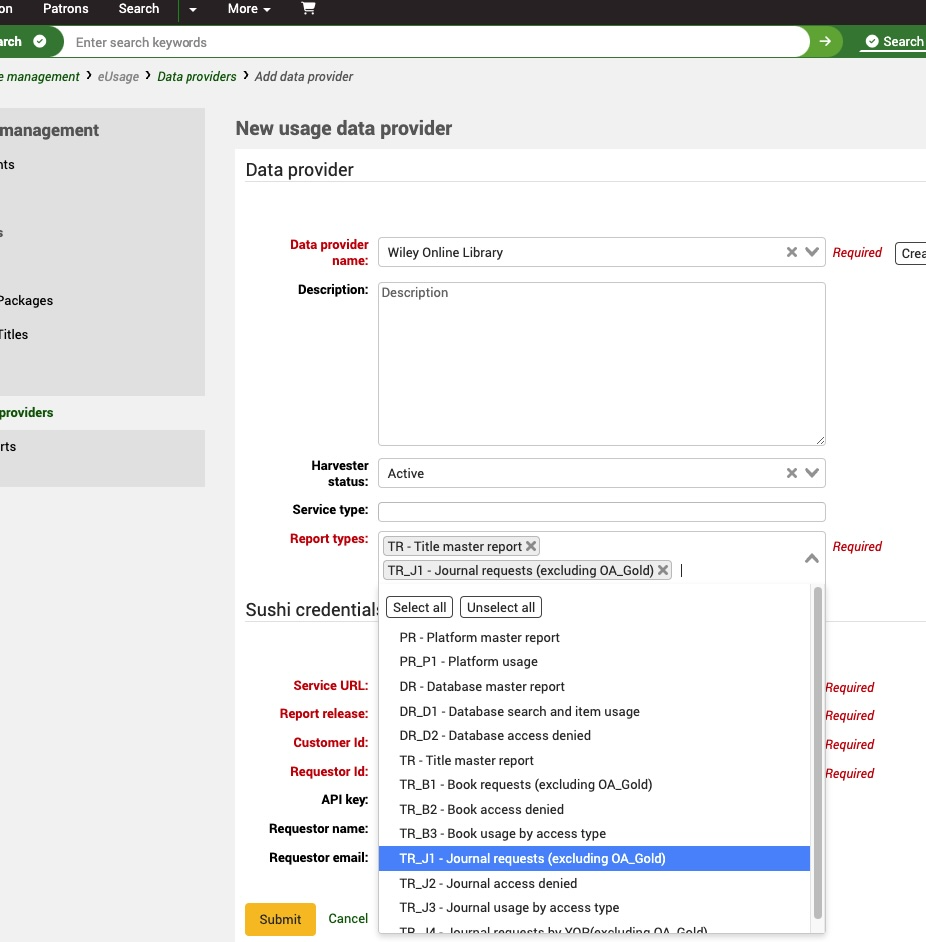
You are required to give the Data provider a name and list of report type(s). Koha, by default, will search the Project Counter Registry and add the provider details automatically for you unless you select the ‘Create manually’ button.
Start typing in the Data provider name box to see a list of providers registered on the Project Counter Registry.

By setting the Harvester status to ‘Active’ it will be picked up by the background harvesting cronjob (erm_run_harvester.pl).
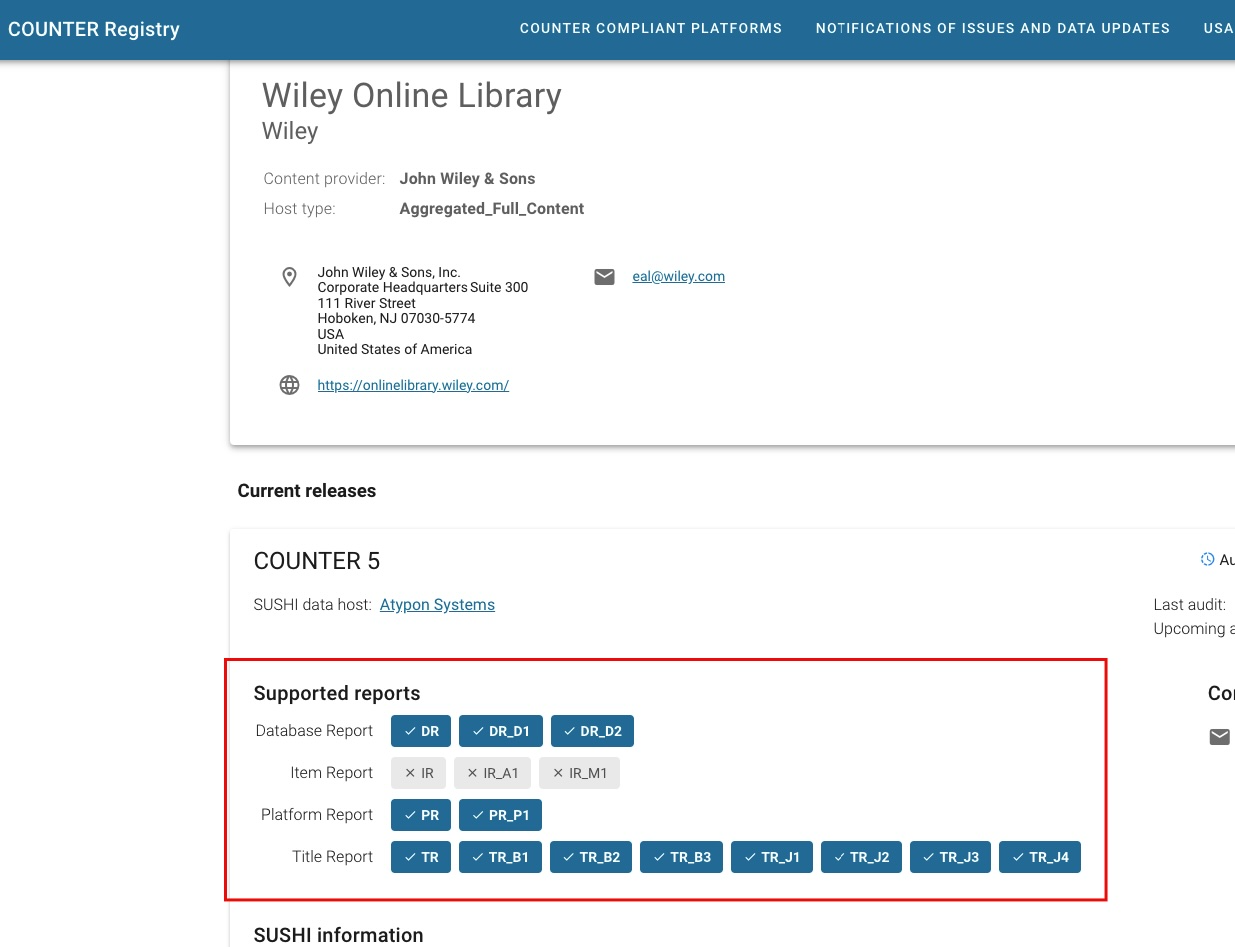
Report types is a required field and this defines which report type data is harvested from the provider. If you have created the provider from the Project Counter Registry then the report types supported will be automatically pulled through to the report types list and you can choose to select from that list or Select All. For more information about the report types, see here. If you are unsure which report types your provider supports, and you are creating your provider manually, check the Project Counter Registry and search for the provider.
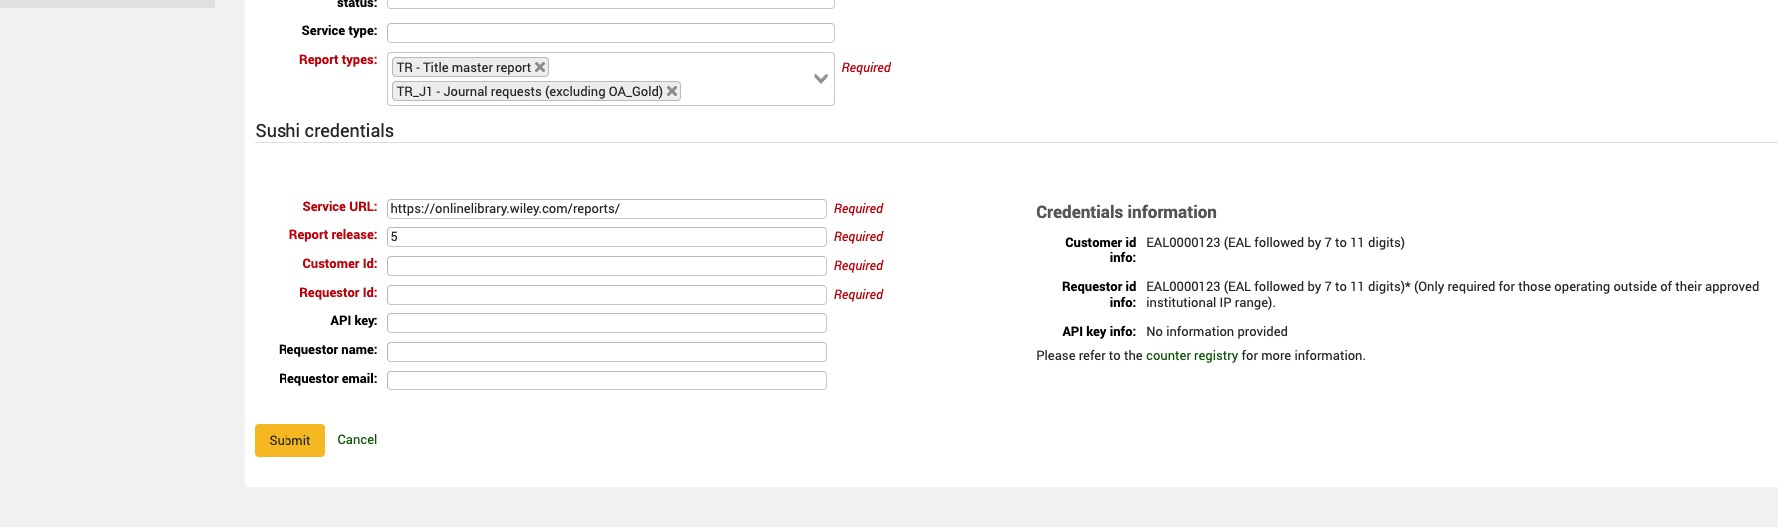
If you do not create the provider manually, the SUSHI credentials will be completed with information from the Registry. The ‘Credentials information’ is also pulled through to assist you with the information you need to request from the provider. This may include a Customer Id, Requester Id or API key. You may also be required to provide a requester name and email.
You can toggle between the ‘Create manually’ and ‘Create from registry’ buttons depending on whether you want to input the information yourself or take it from the registry. You can also take the information from the registry and then toggle to ‘Create manually’ if you want to update things like the name.
Data providers home screenThe Data providers home screen provides you with a list of your current data providers. You can see at a glance whether they are active or inactive and when the last harvest of that platform took place. Use the table filters to search for a specific Data provider. The four action buttons work as follows:
Test
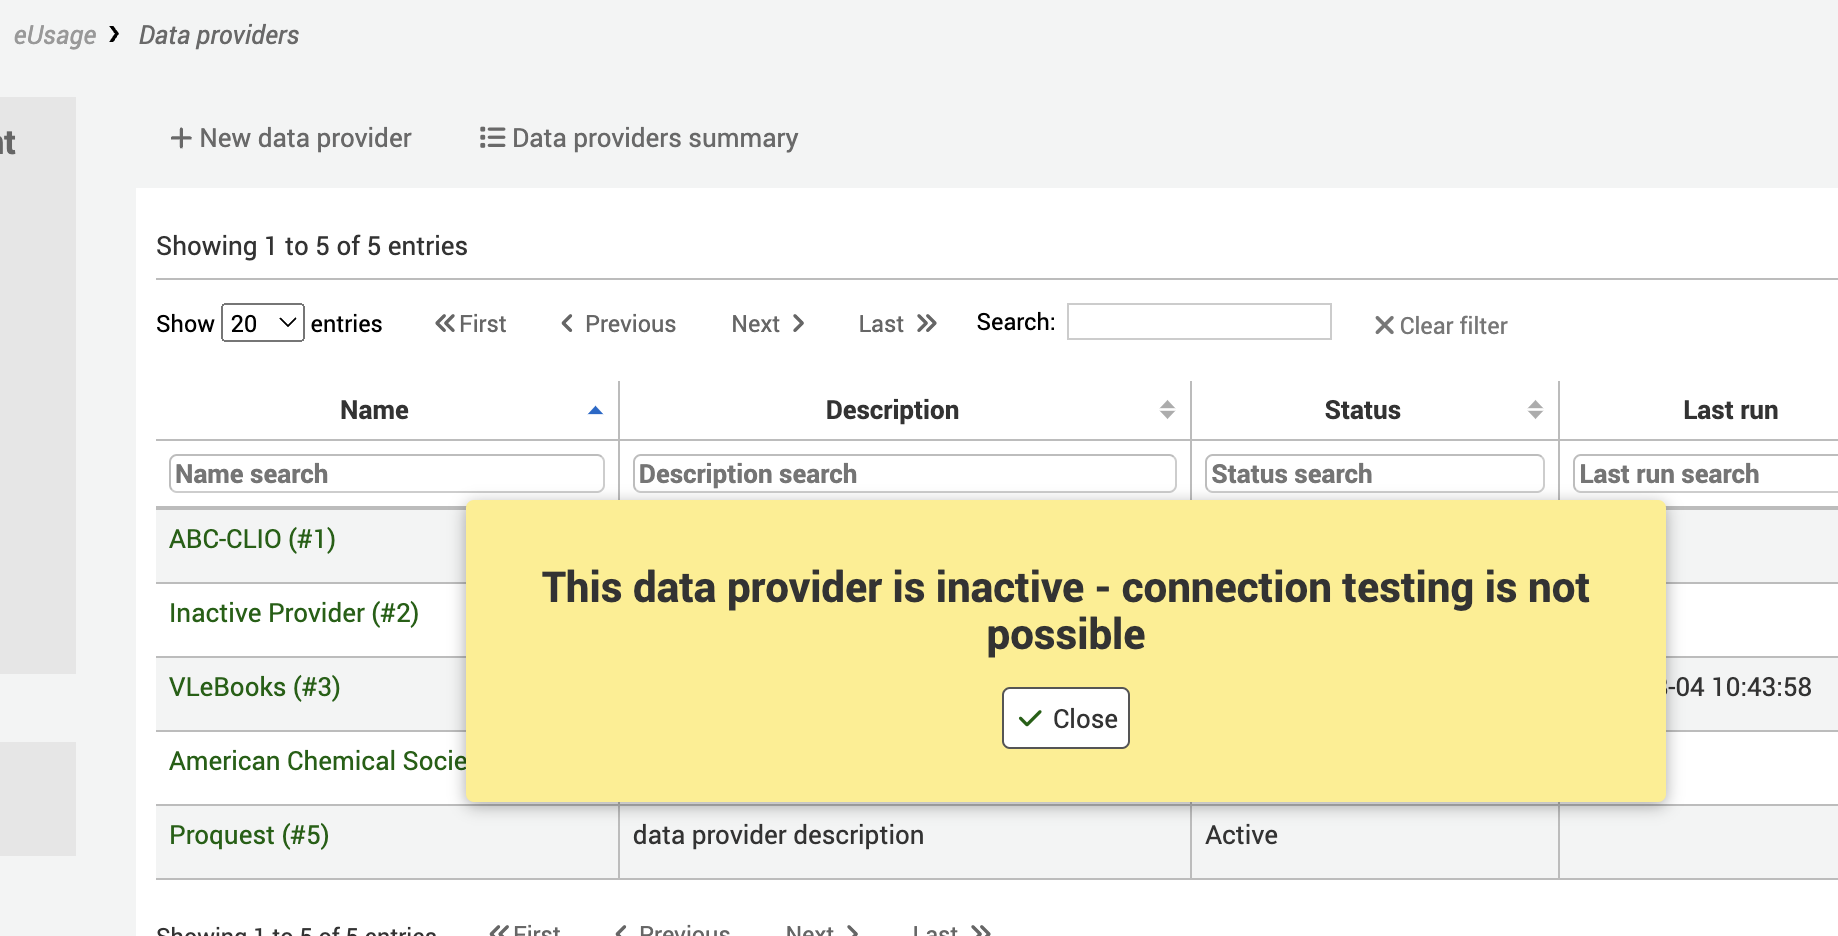
The ‘Test now’ button will access the SUSHI endpoint you have configured and test your credentials to ensure they are valid. If the Data provider is inactive, you will receive a warning that the test cannot be completed.
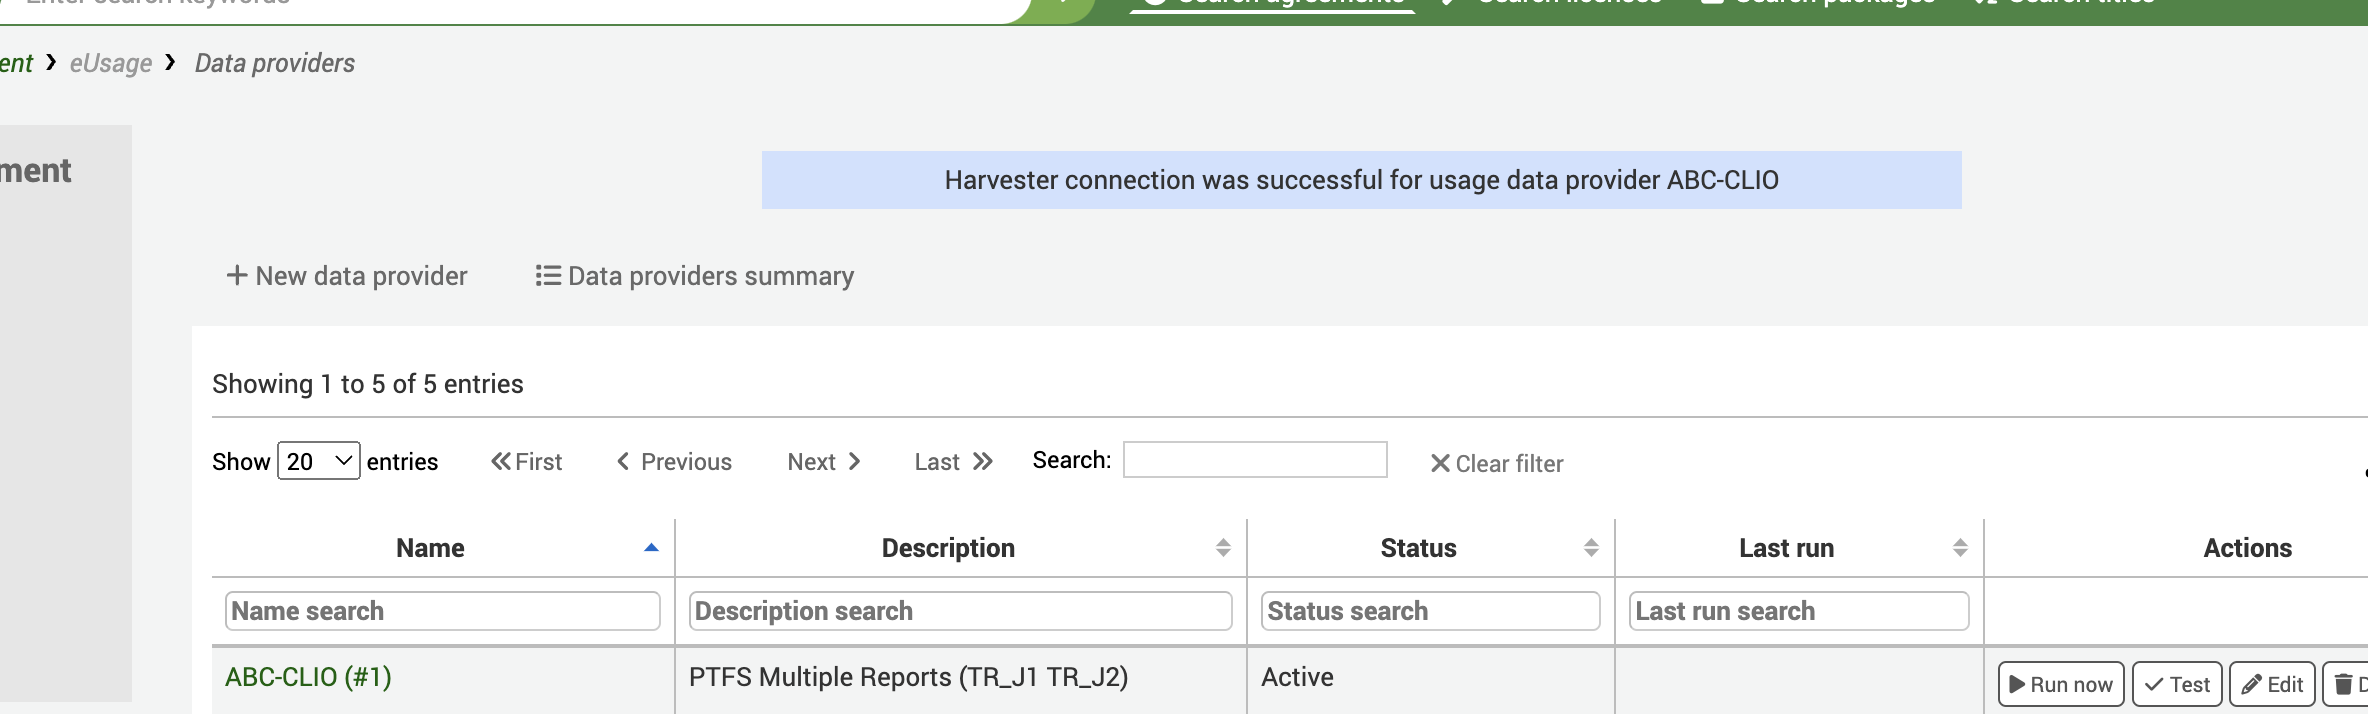
If the Data provider is active, you will receive a success or failure message.
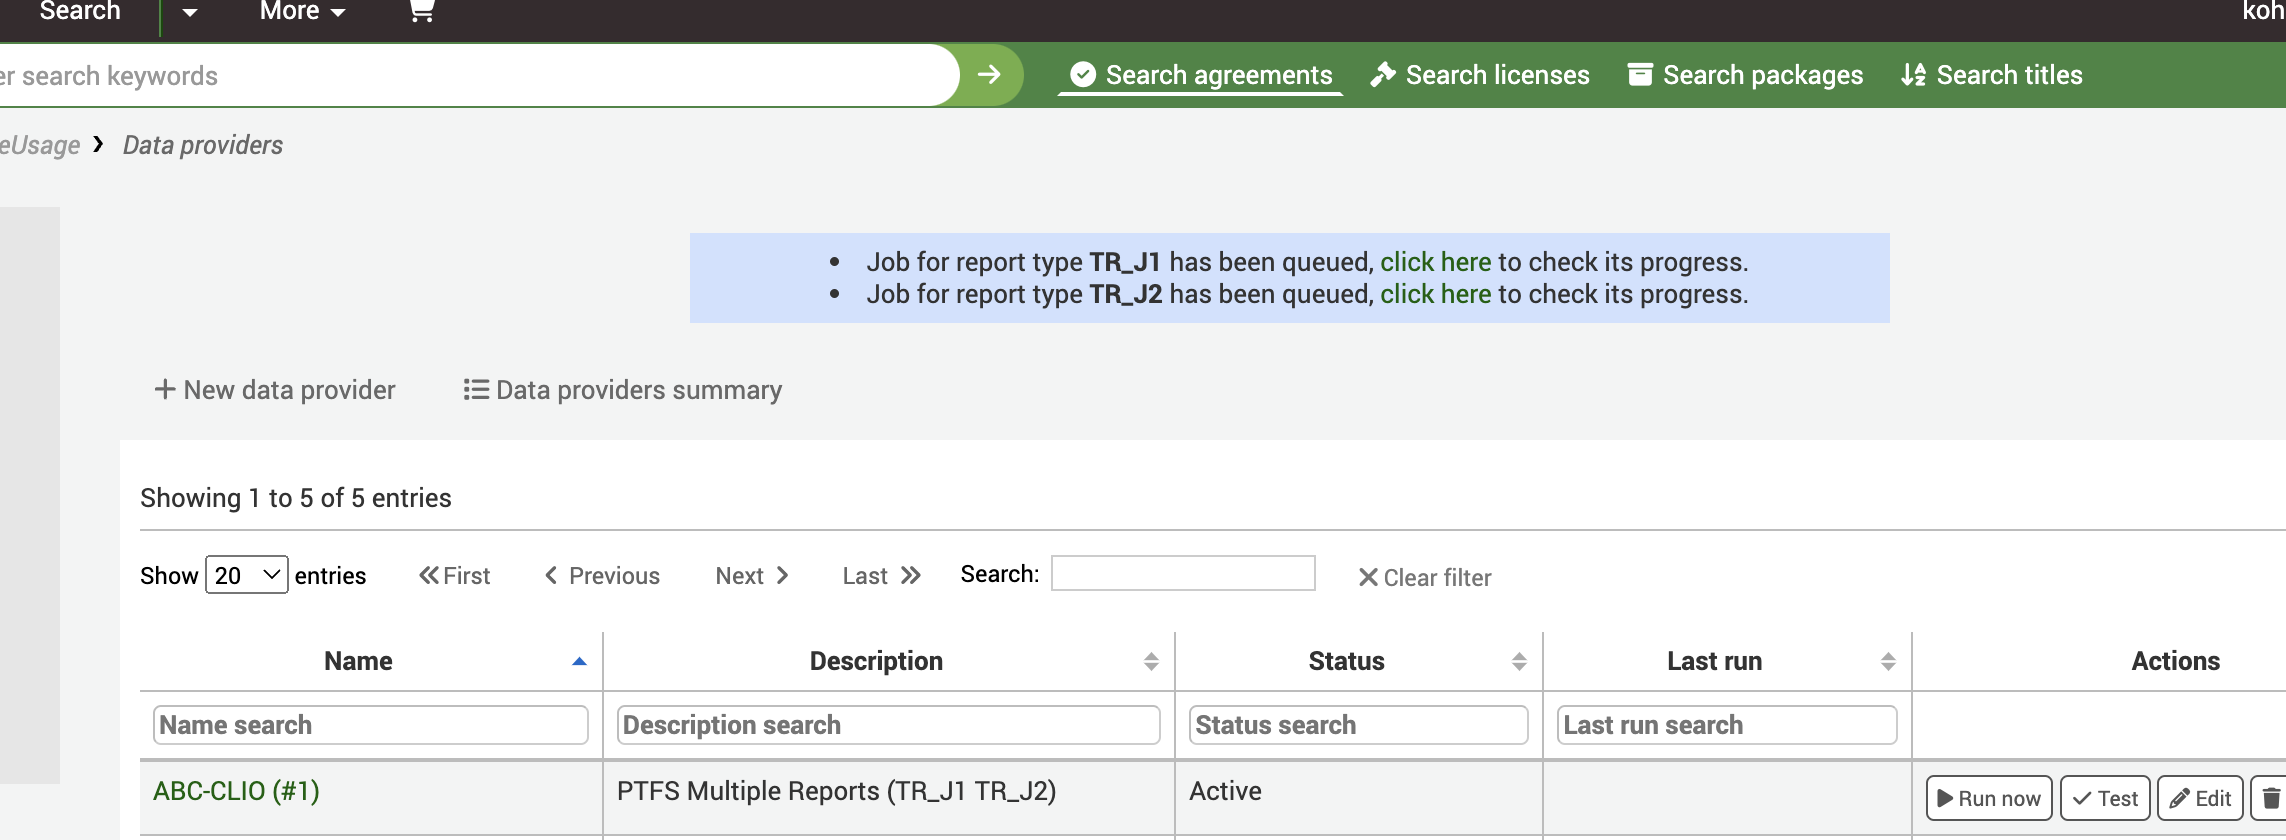
Run now
This will trigger an immediate harvest of the source. Run now also prompts you to provide a start and end harvest date.
Tip
Instead of manually clicking ‘Run now’ for every provider when you need to check new usage statistics, you can set up the harvesting cron job on your server. The erm_run_harvester.pl script will harvest the SUSHI data for all active usage data providers at regular intervals.

You will also see a link to the background job. There is one background job per report type.
The summary page will give you a list of the report rows processed from the incoming COUNTER file and the number of provider title records imported into Koha. In addition it shows the amount of usage statistic counts that have been added to the data provider title tables. Each successfully added new title will have a check mark next to it to indicate it has been newly added.

If the title already exists in Koha then you will see an alert that it exists but any counts have been updated.

Edit
To edit an existing Data Provider
Delete
To delete a Data Provider
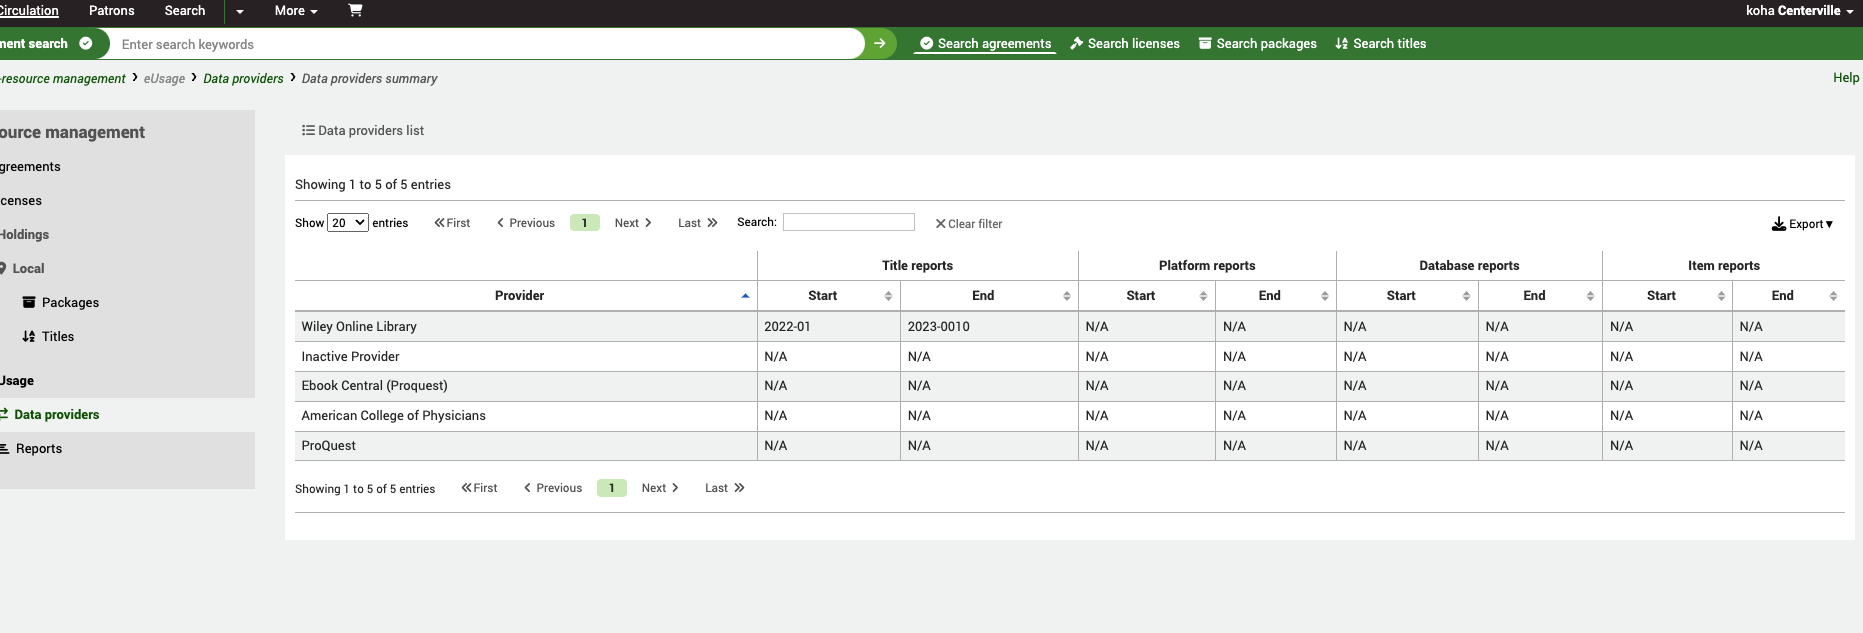
Data provider summaryNext to the ‘New data provider’ button, you will see a link to the Data provider summary. This gives you an at-a-glance view of all your Data providers, and the earliest and most recent data you have for each report type.
From the ERM Home page click on the Data providers link in the left-hand menu.
Get there: More > E-resource management > Data providers
You will be presented with a list of existing Data providers in the system. You can use the table or column filters to search and filter data you are looking for (for example, all Data providers with the Status: Active).
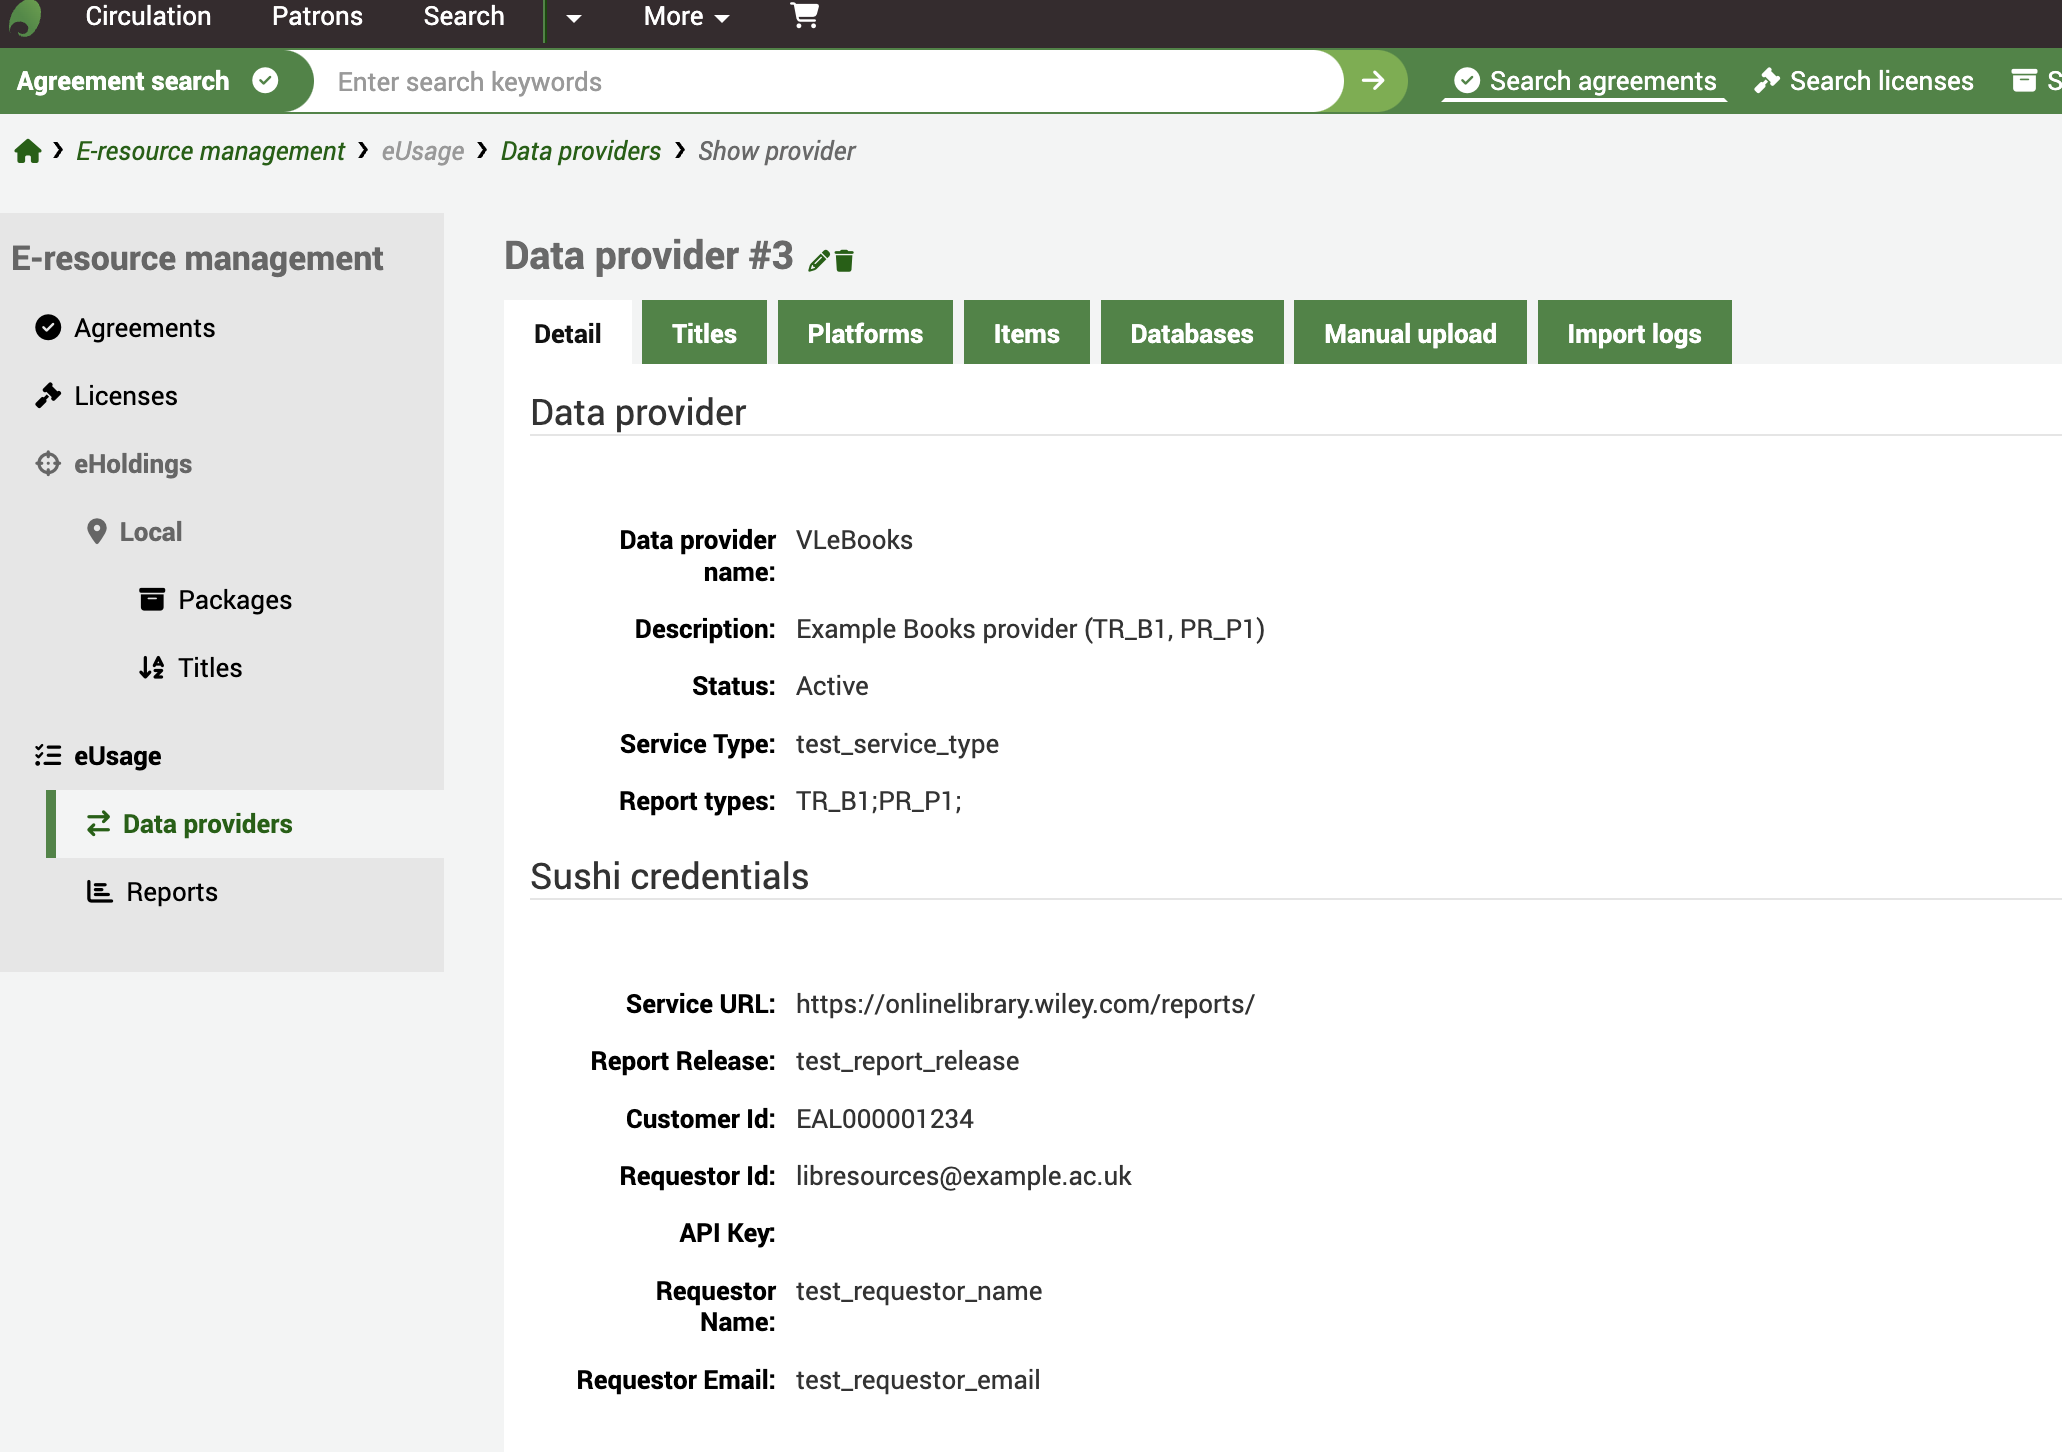
Clicking on the Name of the Data providers will take you through to the full view.
From here you can see a summary of the report types and SUSHI credentials but also some tabs which contain harvested data for Titles (TR), Platforms (PR), Items (IR) and Database (DR) reports.
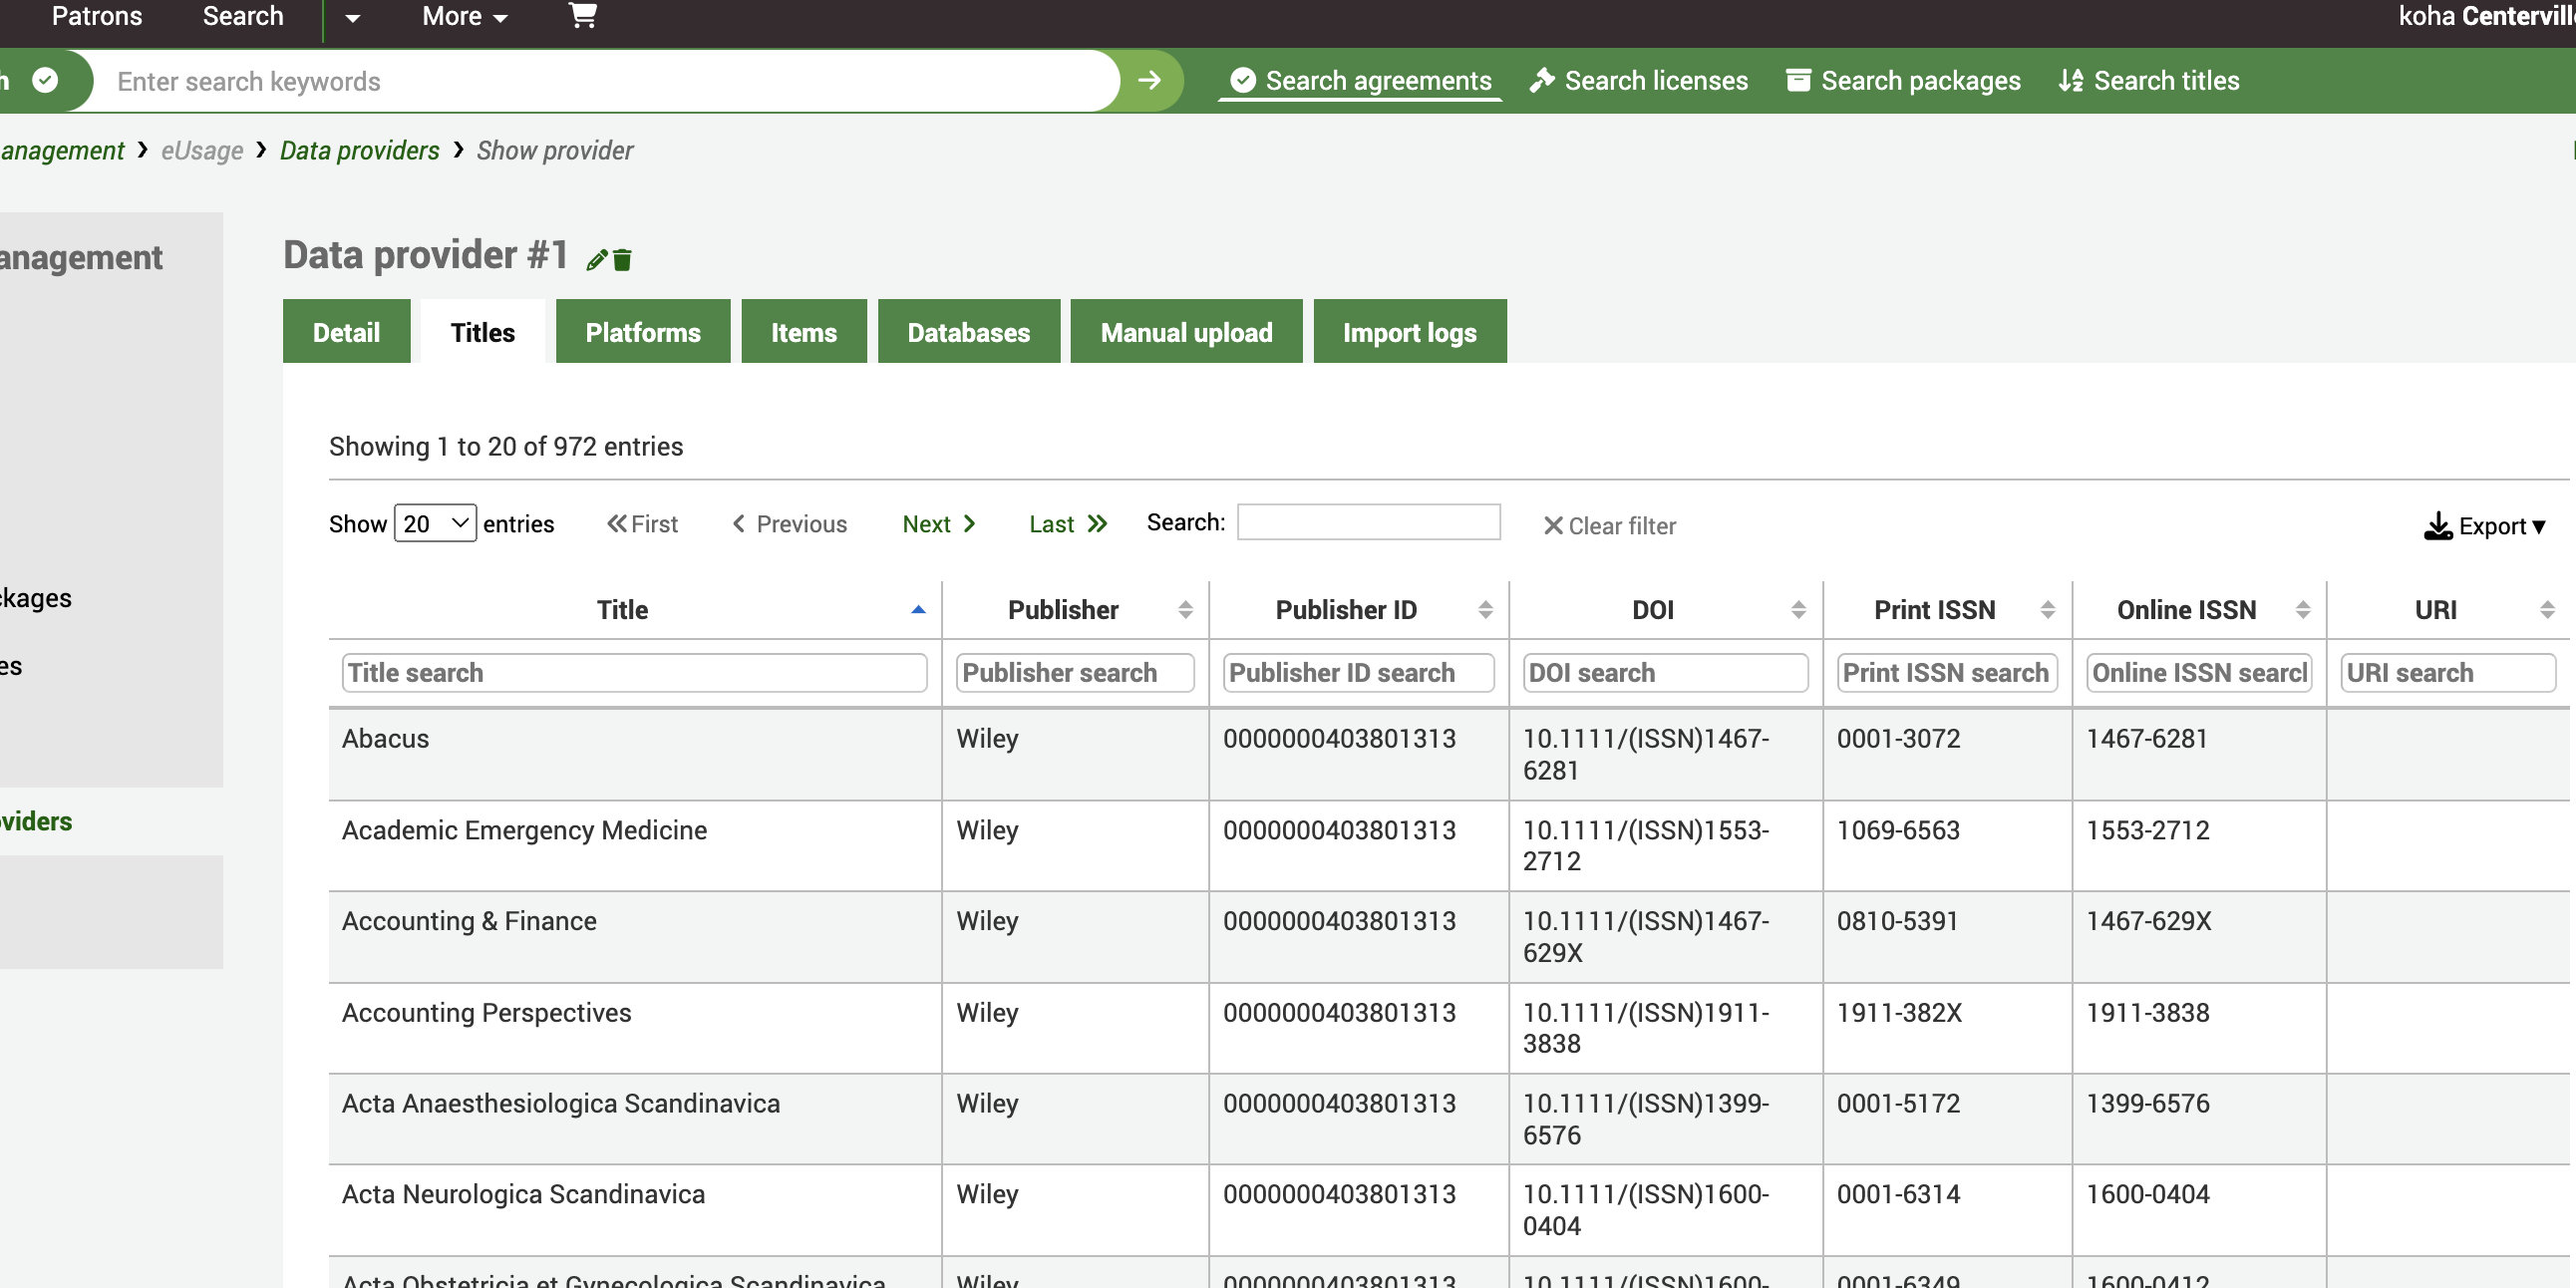
If we look at Titles, as an example, you can see a list of all harvested titles from this platform along with identifiers from the COUNTER report. Use the search boxes to narrow down your results.
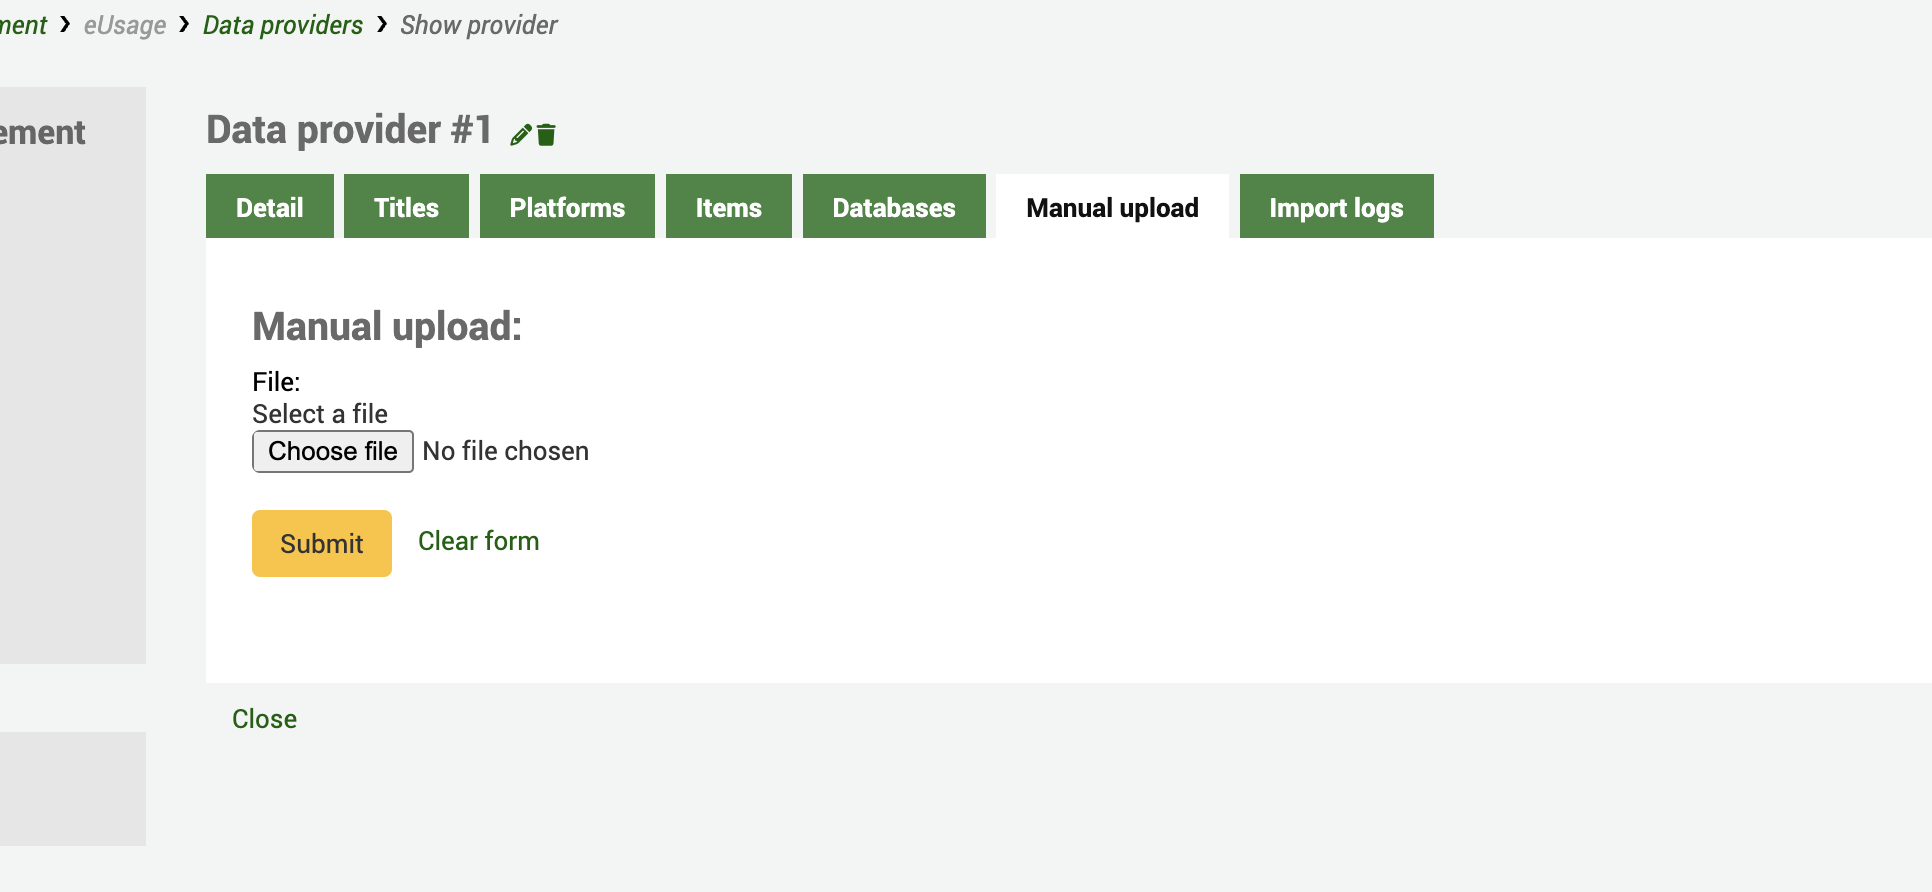
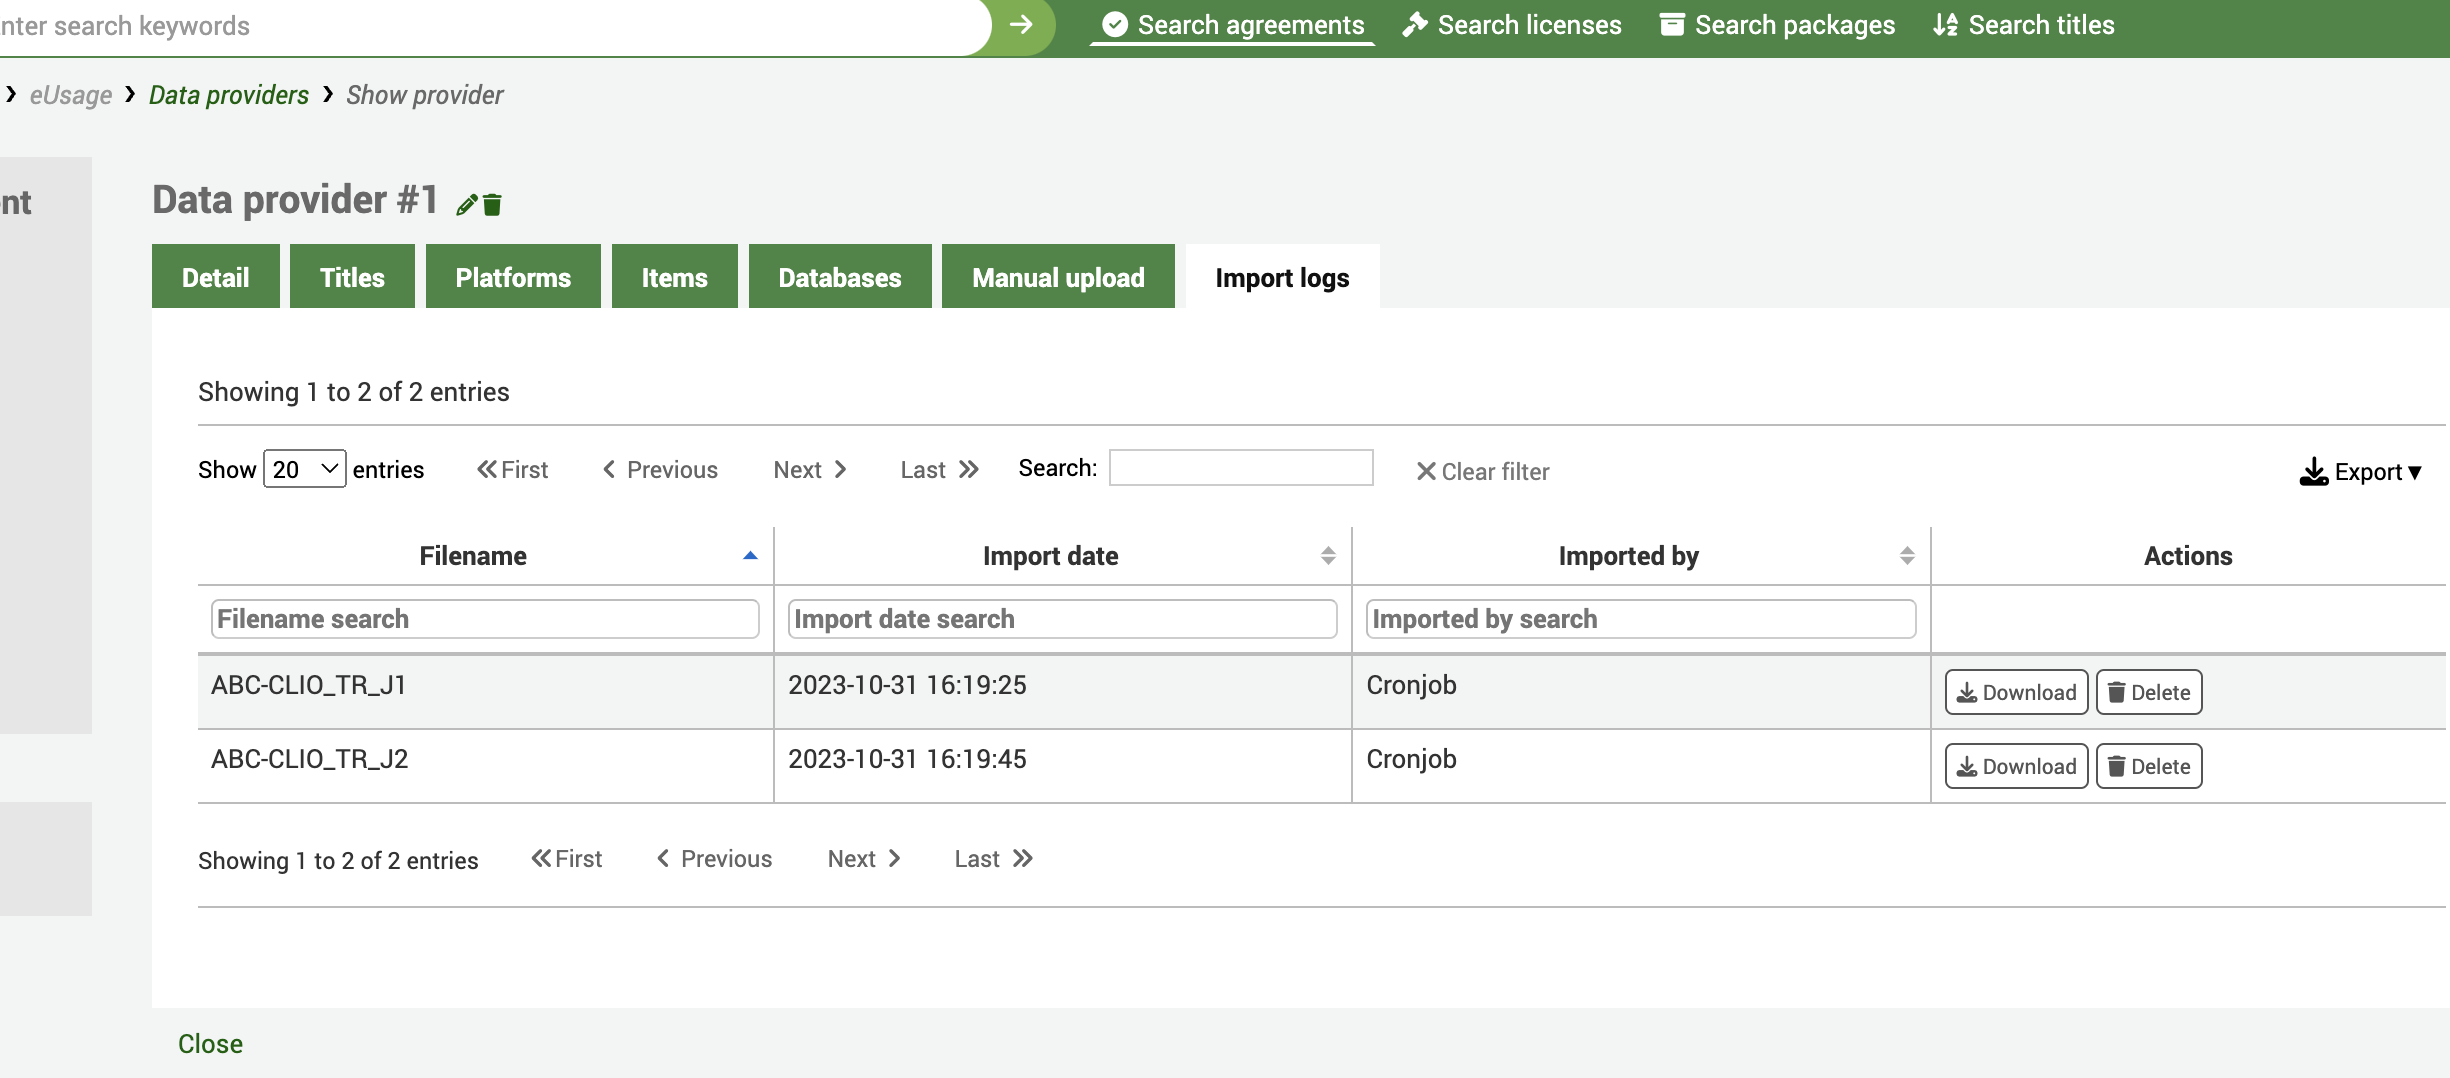
The Import logs tab gives an audit trail of all harvests including the import date and time. You will also see a ‘Download’ button which allows you to download the original COUNTER 5 file if you want to use it in another application or import it into a spreadsheet. You can also Delete the file from here along with the log entry.
The Manual upload tab allows you to manually upload a COUNTER 5 file from your desktop. Use this for providers who don’t provide a SUSHI endpoint but can provide you with COUNTER compatible files via email or some other mechanism.