Recalls
The recalls feature allows users to recall items that are currently checked out. Once the recall is confirmed, the borrower who currently has the item checked out will be notified that their due date has been adjusted and they need to return their item. Once recalled items are returned, the recall requester will be notified that their item is awaiting pickup at their specified pickup location.
See the requesting recalls section to learn how to place a recall in the OPAC.
Setting up recalls in KohaTo use this feature:
Enable the UseRecalls system preference
Set the RecallsMaxPickUpDelay system preference
Optionally, enable the RecallsLog system preference
Modify the following sections in the relevant circulation rules
Recalls allowed (count)
Recalls per record (count)
On shelf recalls allowed
Recall due date interval (day)
Recall overdue fine amount
Recall pickup period
Make sure all the staff members who will be managing recalls have the manage_recalls permission (or the superlibrarian permission).
Schedule the recalls cronjobs
Review the recalls notices and slips to make sure they have all the information needed
Managing recallsThe recalls feature is relatively automated. Staff do not have a lot of manipulations to do to manage recalls.
Note
Only staff with the manage_recalls permission (or the superlibrarian permission) will be able to access recall management.
The possible statuses for recalls are the following:
Requested
A new recall request has been made and the item must be returned by the patron who currently has it
Requested recalls appear in
the recalls queue
the recalls to pull list, if an available item can fulfill the recall
the ‘Recalls’ tab of the bibliographic record
the ‘Recalls’ tab of the patron’s file (and its equivalent in the OPAC)
the ‘Recalls history’ tab of a patron’s file (and its equivalent in the OPAC)
Waiting
A recalled item is awaiting pickup at the requester’s chosen branch
Waiting recalls appear in
the recalls awaiting pickup list
the recalls queue
the ‘Recalls’ tab of the patron’s file (and its equivalent in the OPAC)
the ‘Recalls history’ tab of a patron’s file (and its equivalent in the OPAC)
In transit
An item has been assigned to a recall and is in transit to the requester’s chosen pickup branch
In transit recalls appear in
the recalls queue
the ‘Recalls’ tab of the patron’s file (and its equivalent in the OPAC)
the ‘Recalls history’ tab of a patron’s file (and its equivalent in the OPAC)
Overdue
A recalled item is overdue to be returned by the patron who currently has it
Overdue recalls appear in
the recalls queue
the ‘Recalls’ tab of the patron’s file (and its equivalent in the OPAC)
the ‘Recalls history’ tab of a patron’s file (and its equivalent in the OPAC)
Fulfilled
A recalled item has been checked out to the recall requester, and the recall is complete
Fulfilled recalls appear in
the old recalls list
the ‘Recalls history’ tab of a patron’s file (and its equivalent in the OPAC)
Expired
The recall was not completed before a defined expiration date or the recall requester failed to pick up their waiting recall within the pickup period defined in RecallsMaxPickUpDelay
Expired recalls appear in
the old recalls list
the ‘Recalls history’ tab of a patron’s file (and its equivalent in the OPAC)
Cancelled
The recall request was cancelled.
Cancelled recalls appear in
the old recalls list
the ‘Recalls history’ tab of a patron’s file (and its equivalent in the OPAC)
Receiving recalled itemsUpon checkin in an item that has been recalled, a pop up will appear asking the staff member to confirm or ignore the recall.
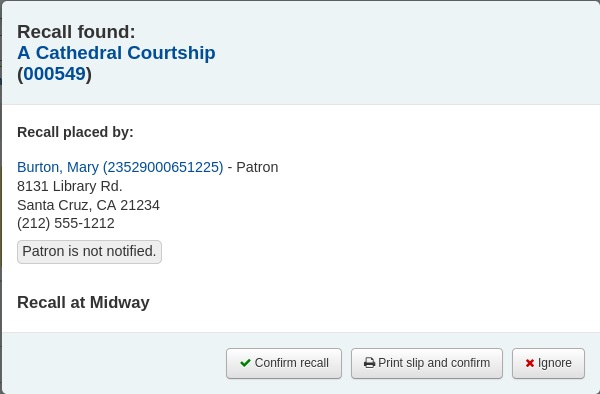
Confirm recall: this option will put the recall in ‘Waiting’ status and, if the patron has an email address in their file, will notify them that their recalled item is now ready for pickup.
Note
The notice sent is PICKUP_RECALLED_ITEM. You can modify it’s content in the notices and slips tool
Print slip and confirm: this option will print a slip you can attach to the item (similar to a hold slip) in addition to everything the ‘confirm recall’ does (change the status and send the notice).
Note
The slip is RECALL_REQUESTER_DET. You can modify it’s content in the notices and slips tool
Ignore: this option will check in the item, but the recall will not be set as awaiting pickup and the patron will not be notified.
If the patron asked to pick up their recalled item at a different library, a transfer will be triggered.
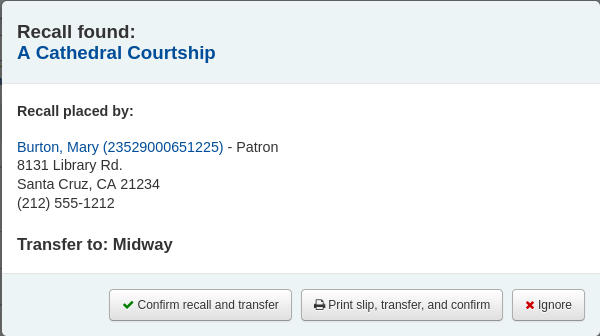
Confirm recall and transfer: this option will put the recall ‘In transit’.
Print slip, transfer, and confirm: this option will print a slip you can attach to the item (similar to a hold slip) in addition to setting the recall as ‘In transit’.
Ignore: this option will check in the item, but the recall will not be set as ‘In transit’
Note
The patron will not be notified that their recall is ready for them with any of the above options.
Note
Only requested or overdue recalls can be cancelled.
It is not possible to cancel a recall that is currently awaiting pickup
Staff can cancel recalls from various screen in the staff interface.
Cancel from the recalls queue either individually by clicking the ‘Actions’ button and selecting the ‘Cancel’ option.
Or by selecting several recalls and clicking the ‘Cancel selected recalls’ button at the bottom of the screen.
If the recalled item is currently in transit, the cancel option will also trigger a transfer back to the item’s home library.
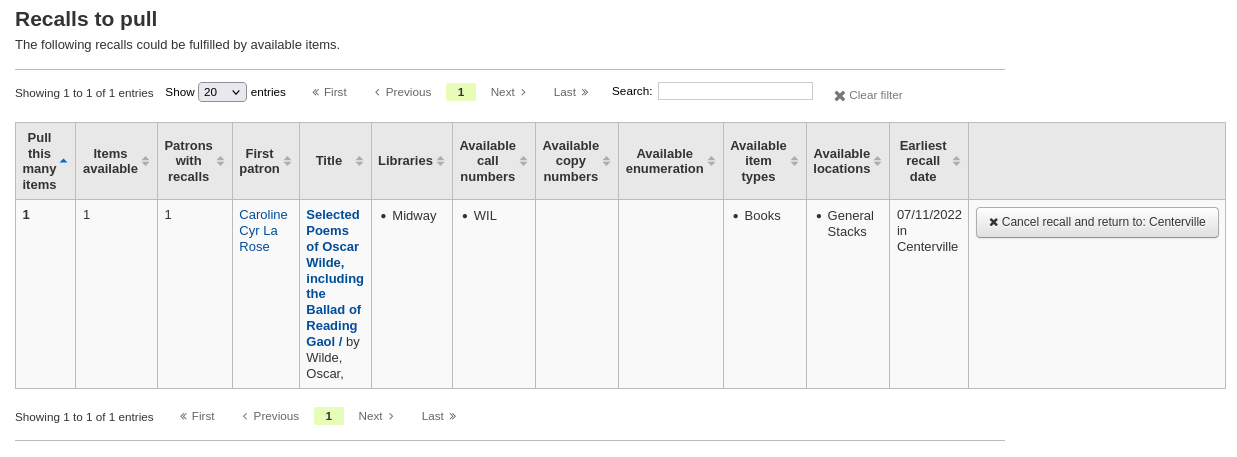
Cancel from the recalls to pull by clicking the ‘Cancel recall’ button on the right
If the recalled item is currently in transit, the cancel option will also trigger a transfer back to the item’s home library.
Cancel from the overdue recalls list either individually by clicking the ‘Actions’ button and selecting the ‘Cancel’ option.
Or by selecting several recalls and clicking the ‘Cancel selected recalls’ button at the bottom of the screen.
Cancel from the ‘Recalls’ tab of a bibliographic record by clicking the ‘Actions’ button and selecting the ‘Cancel’ option.
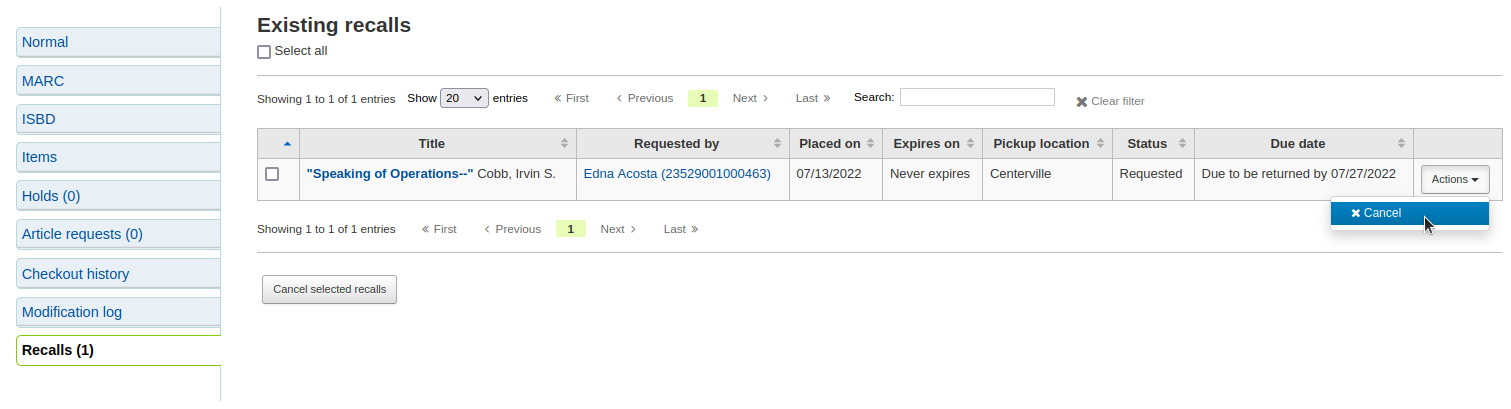
Or by selecting several recalls and clicking the ‘Cancel selected recalls’ button at the bottom of the screen.
Cancel from the ‘Recalls’ tab of a patron’s details page by clicking the ‘Actions’ button and selecting the ‘Cancel’ option.

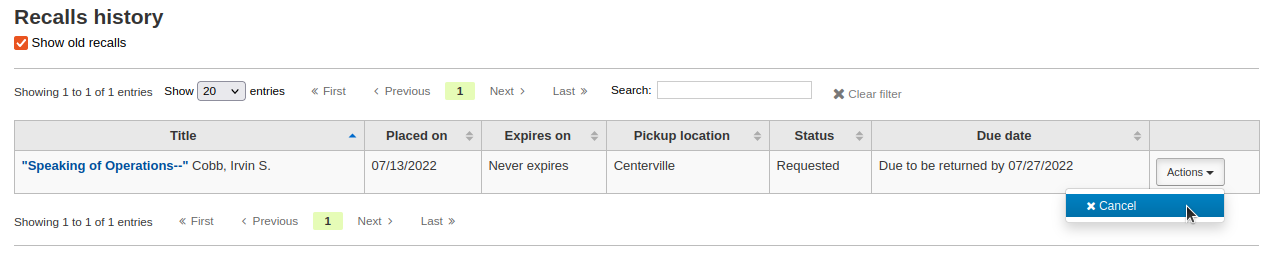
Cancel from the ‘Recalls history’ tab of a patron’s file by clicking the ‘Actions’ button and selecting the ‘Cancel’ option.
If a recall is currently awaiting pickup and for some reason the staff needs to change this status (for example, the requesting patron called and they won’t be picking up the recall), it is possible to revert the waiting status.
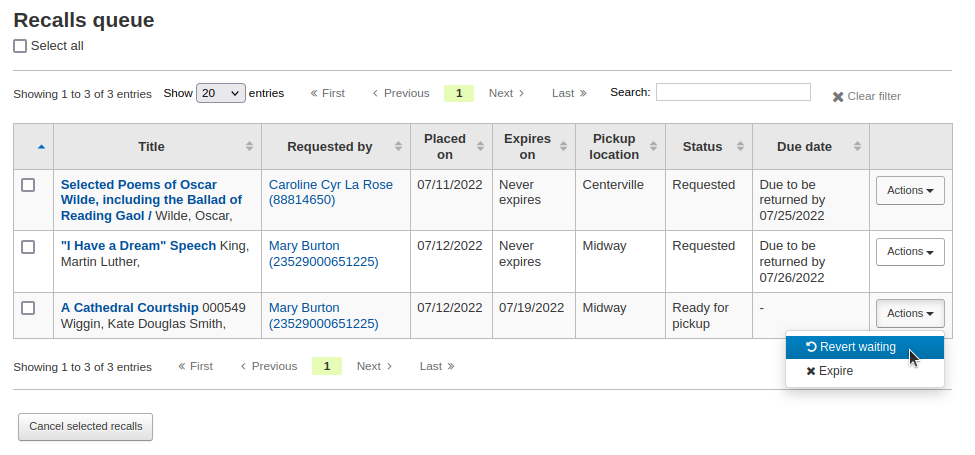
Revert the status from the recalls queue by clicking the ‘Actions’ button and selecting the ‘Revert waiting’ option.
Revert the status from the Recalls awaiting pickup list by clicking the ‘Revert waiting status’ button on the right.
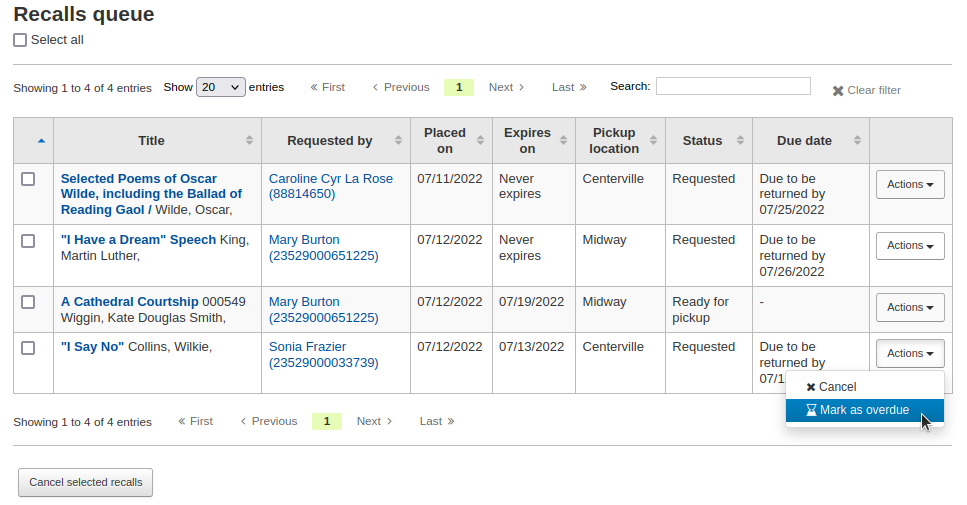
If a recall is not checked in by the new due date, it should be marked as overdue by the overdue_recalls cronjob. However, it is possible to mark recalls as overdue manually.
From the recalls queue, click the ‘Actions’ button and selecting the ‘Mark as overdue’ option.
Overdue recalls appear in the Overdue recalls list.
Expiring recallsIf a recall as been awaiting pickup for longer than the allowed period defined in RecallsMaxPickUpDelay, it should be expired automatically by the expire_recalls cronjob. However, it is possible to expire recalls manually.
From the recalls awaiting pickup list, click the ‘Expire recall’ button on the right.
Once recalls are set up, new sections will appear in the circulation module.
Get there: Circulation > Recalls
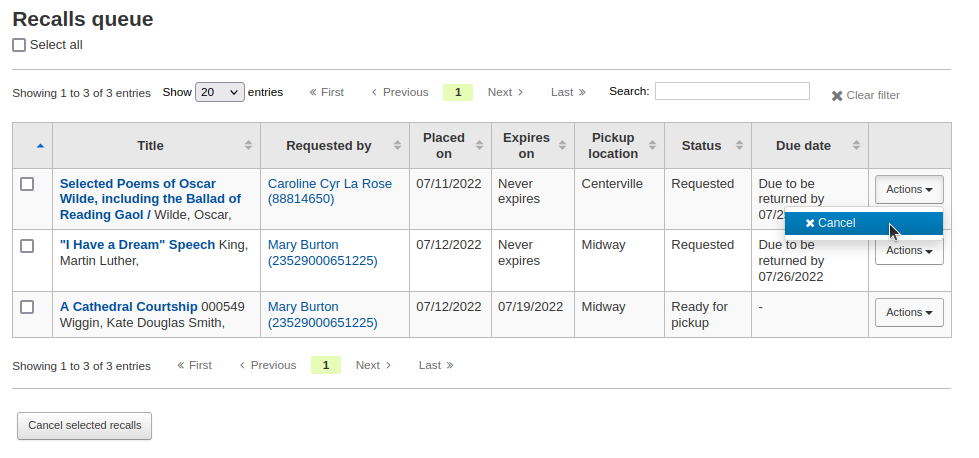
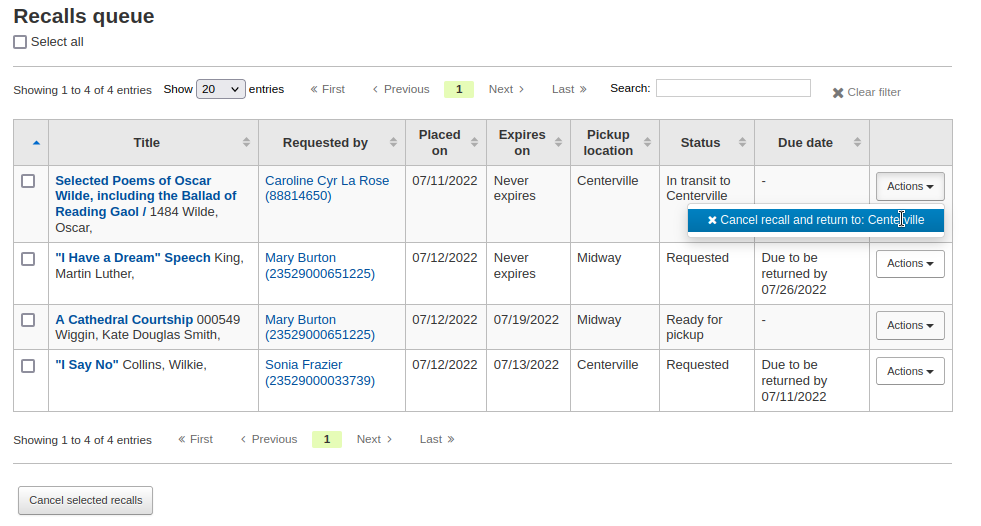
Recalls queueThe recalls queue shows all the current active recalls with their statuses.
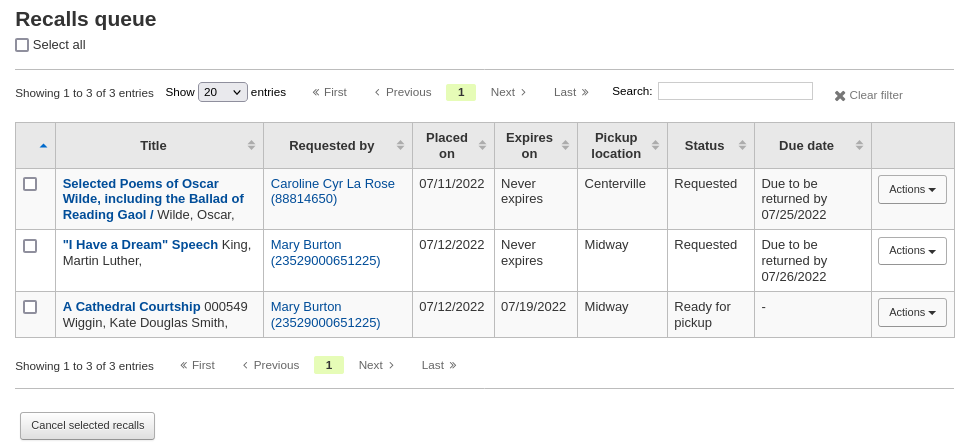
From the recalls queue, staff can cancel active recalls either individually by clicking the ‘Actions’ button and selecting the ‘Cancel’ option.
Or by selecting several recalls and clicking the ‘Cancel selected recalls’ button at the bottom of the screen.
For recalls that are in transit, it is possible to cancel them and this will trigger a transfer back to their home library.
For recalls that are currently awaiting pickup, it is possible to revert the waiting status by clicking the ‘Actions’ button and selecting the ‘Revert waiting’ option.
For recalls that are overdue, it is possible to mark them as such from the recalls queue by clicking the ‘Actions’ button and selecting the ‘Mark as overdue’ option.
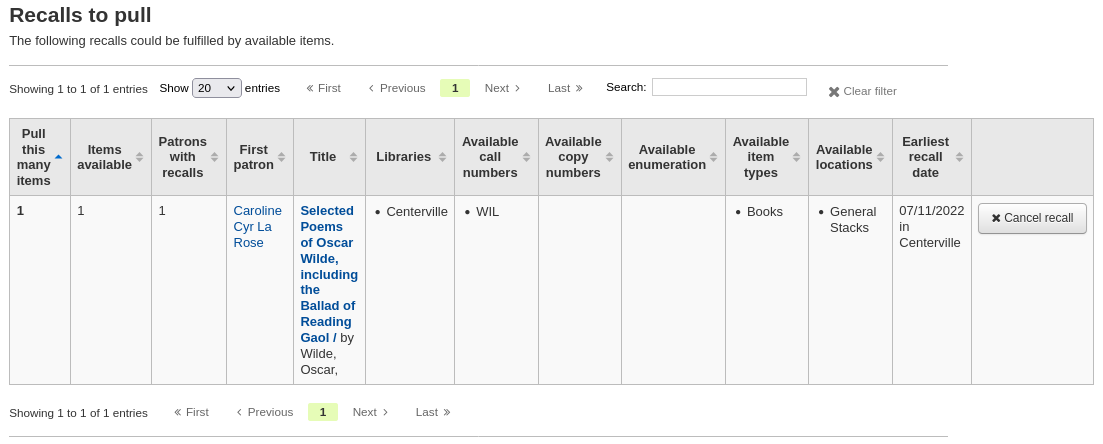
The recalls to pull list shows all the records that have been recalled but that have available items that could fulfill the request.
Staff can pick up these items from the shelves and check them in to fulfill the requests.
From the recalls to pull list, staff can cancel recalls if needed, by clicking the ‘Cancel recall’ button on the right.
If the item is currently in transit, cancelling the recall will also trigger a transfer back the the item’s home library.
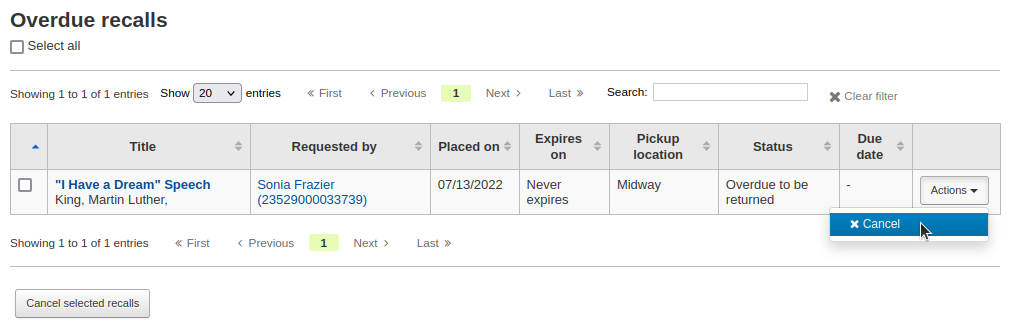
This list shows the items that have been recalled but have not been returned by the new due date.
Recalls can be marked as overdue automatically through the overdue_recalls cronjob or manually.
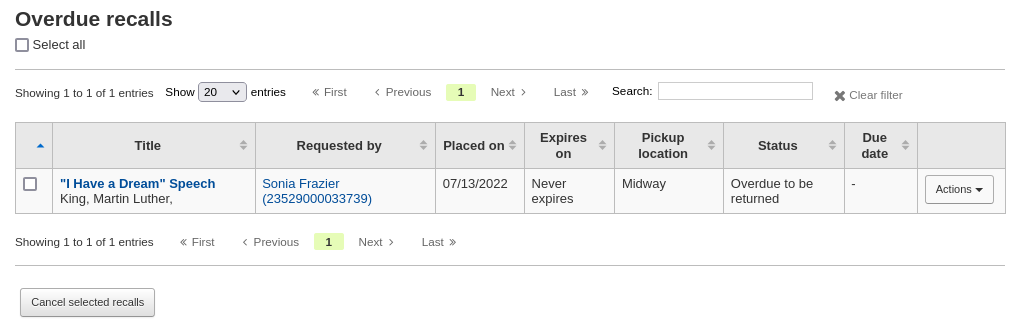
From this list, staff can cancel active recalls either individually by clicking the ‘Actions’ button and selecting the ‘Cancel’ option.
Or by selecting several recalls and clicking the ‘Cancel selected recalls’ button at the bottom of the screen.
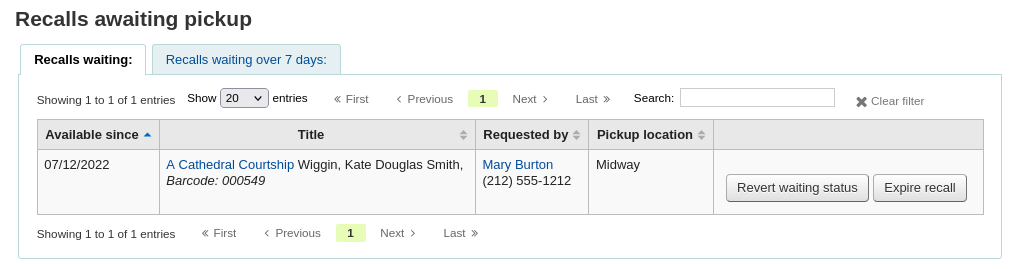
Recalls awaiting pickupThe recalls awaiting pickup list shows all the recalls that are currently waiting for the patron to come and get them.
This list is divided in two tabs:
Recalls waiting: shows all the recalls currently awaiting pickup.
Recalls waiting over x days: shows the recalls that have been waiting for more than the number of days specified in the RecallsMaxPickUpDelay system preference.
From this list, staff can revert waiting recalls by clicking on the ‘Revert waiting status’ button on the right.
Staff can also manually expire recalls by clicking on the ‘Expire recall’ button on the far right.
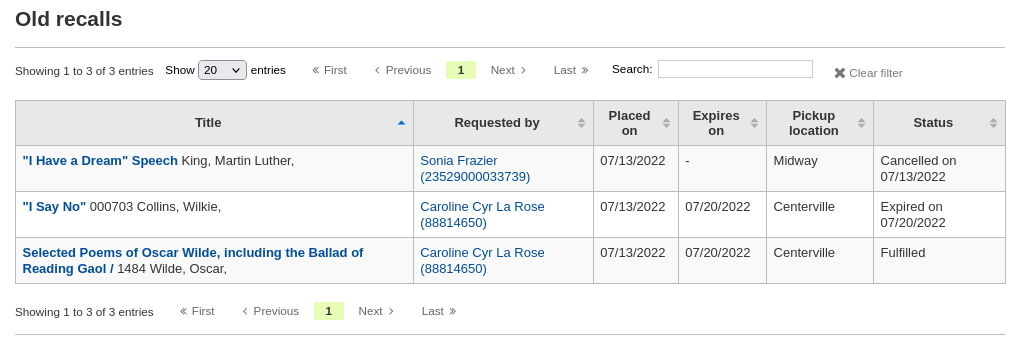
Old recallsThe old recalls list shows all the inactive recalls (completed, cancelled and expired).