Bibliographic record
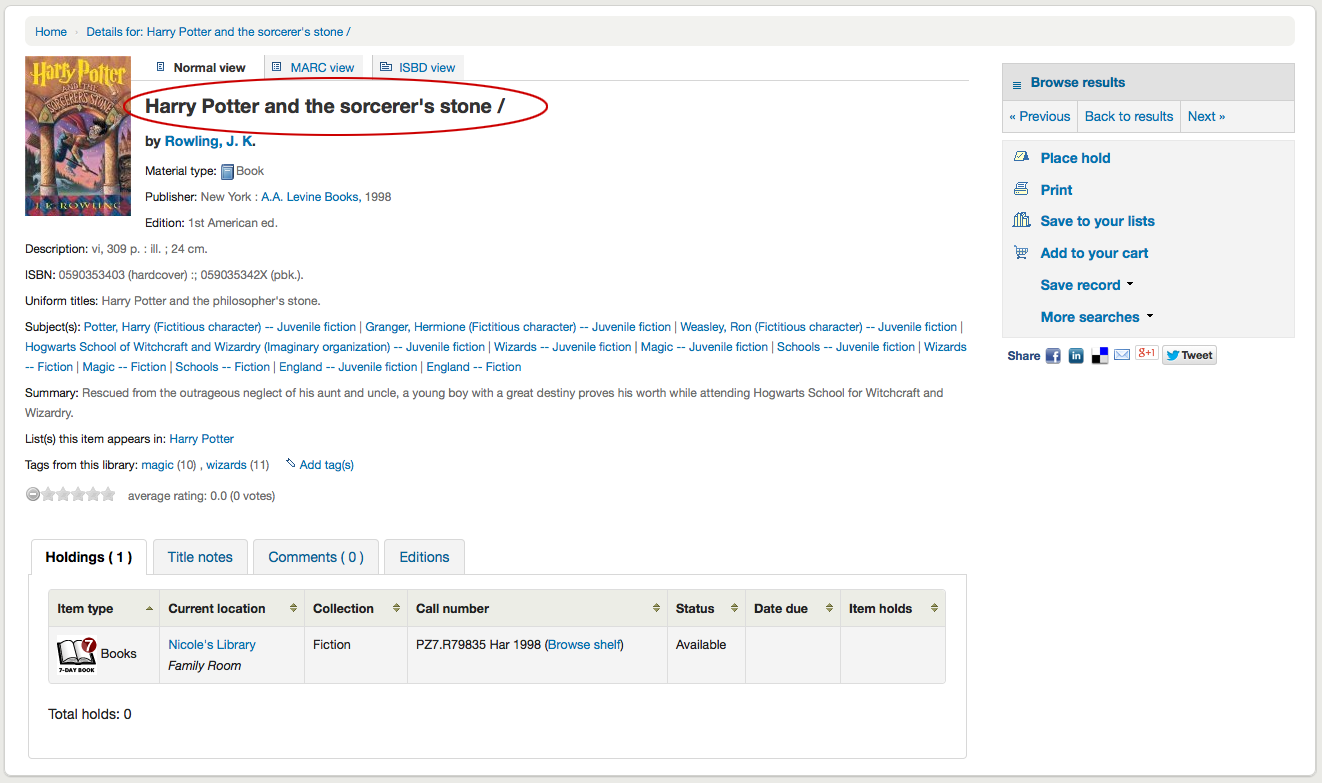
When you click on a title from the search results, you’re brought to the bibliographic detail of the record. This page is broken down in several different areas.
At the top of your screen will be the title and the GMD:
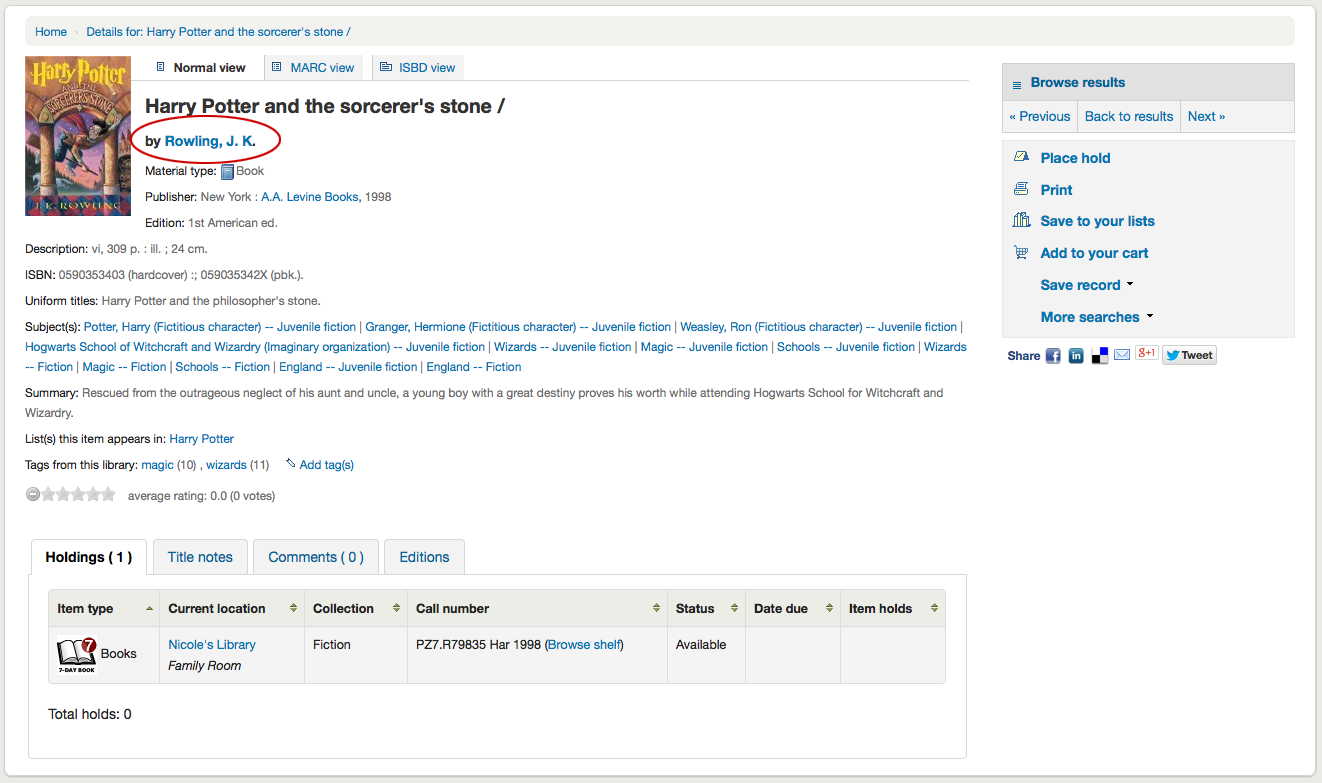
Below the title the authors will be listed. These come from your 1xx and 7xx fields. Clicking the author will run a search for other titles with that author.
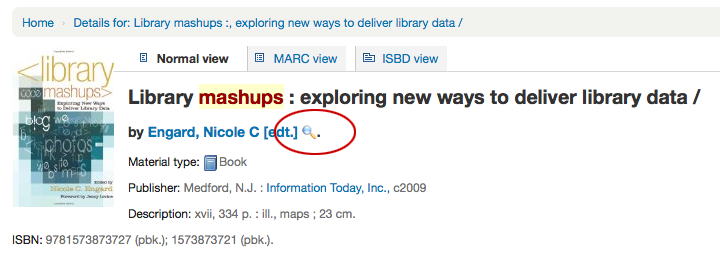
If you have an authority file you will see a magnifying glass to the right of author (and other) authorities. Clicking that magnifying glass will take you directly to the authority record.
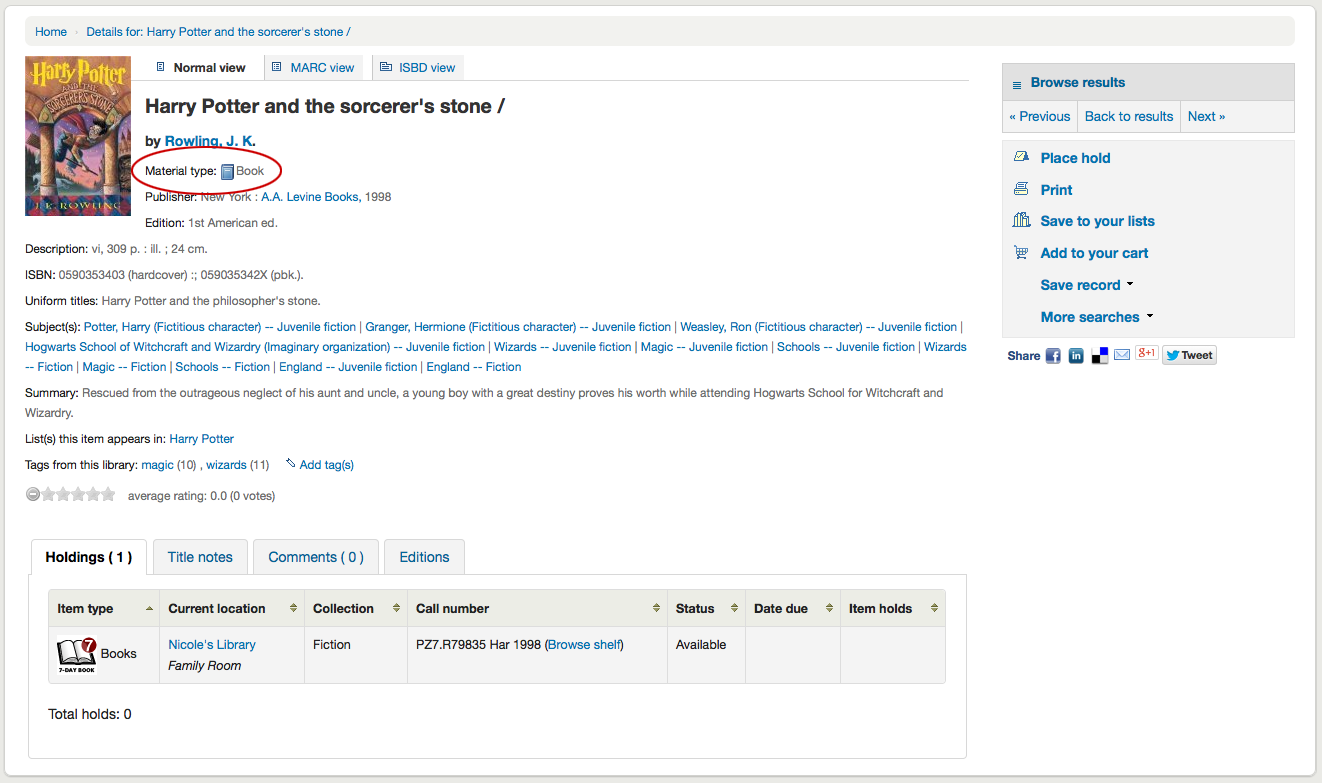
If you have your DisplayOPACiconsXSLT preference set to ‘show’ you will see a material type that is determined by values in your fixed fields (learn more in the XSLT material type icons cataloging guide.
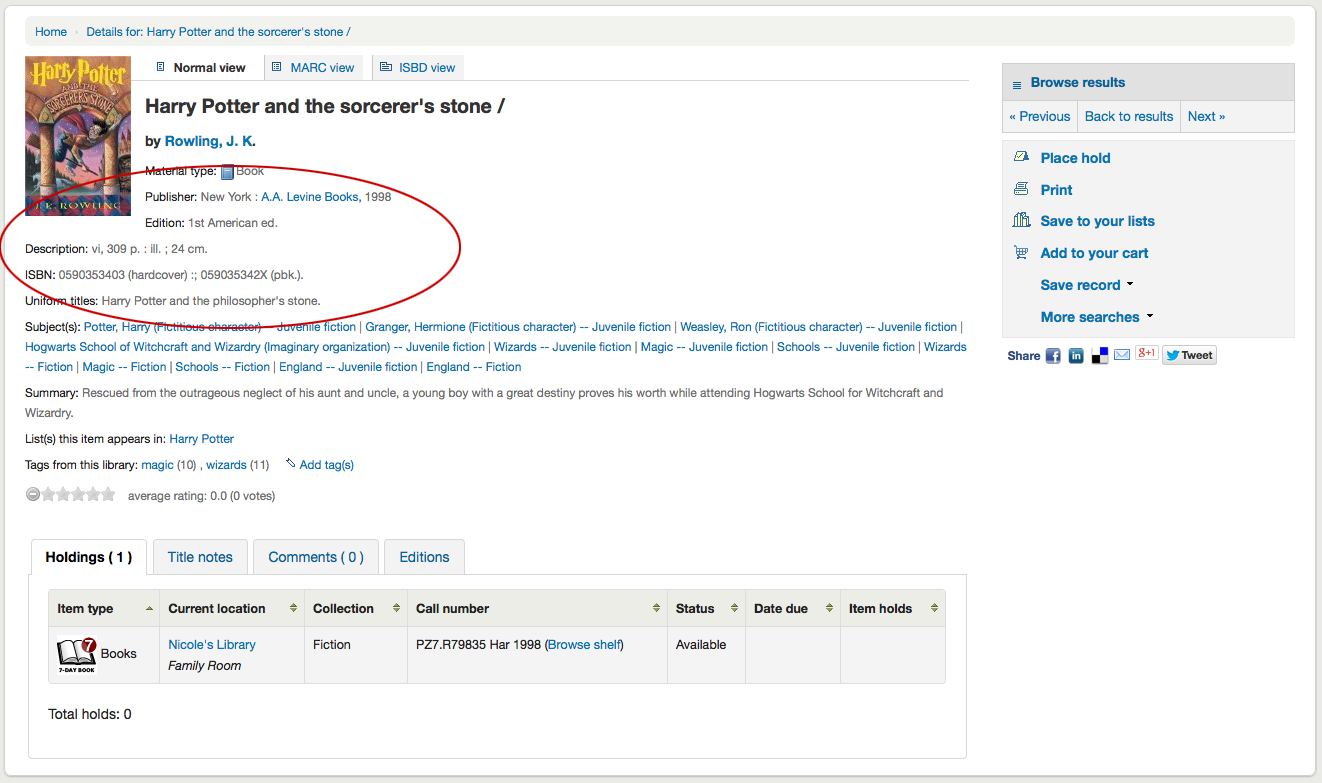
Next you’ll see the description of the record you’re viewing:
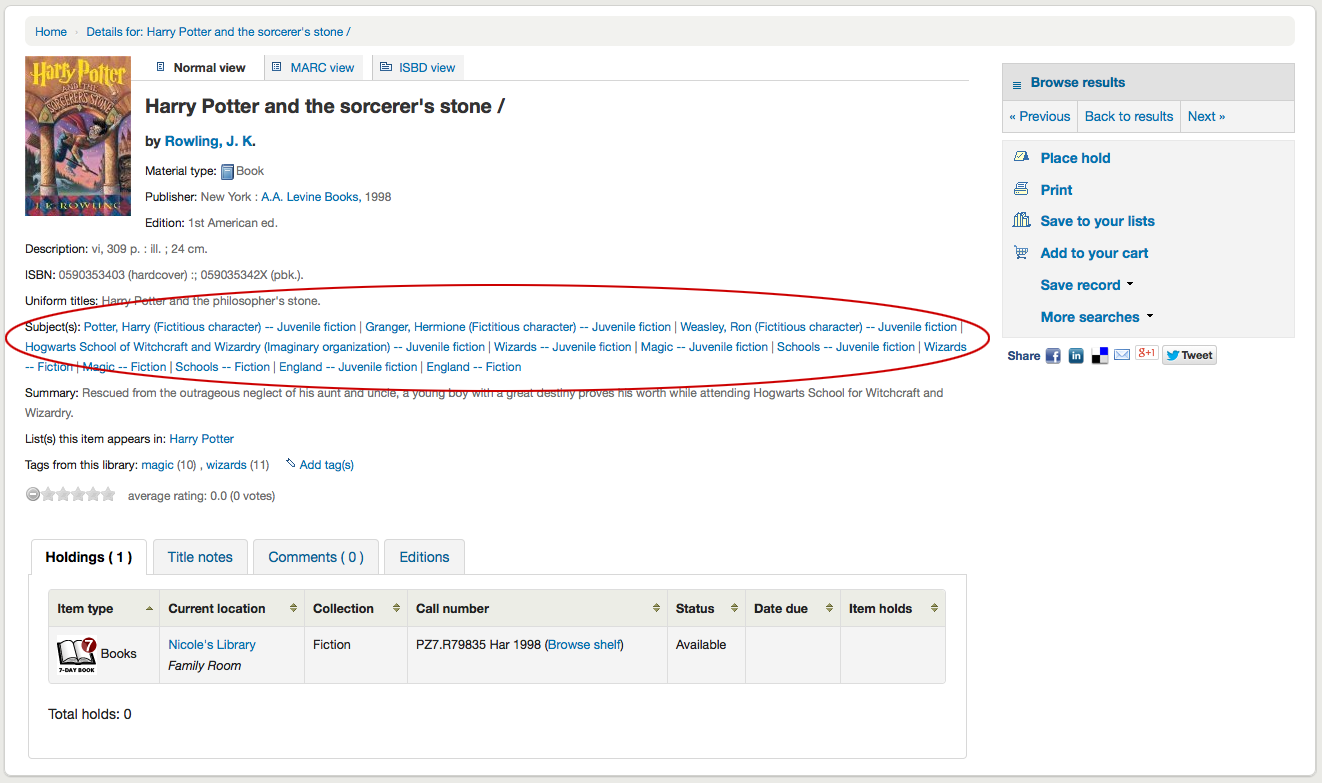
Following that information you’ll find the subject headings which can be clicked to search for other titles on similar topics
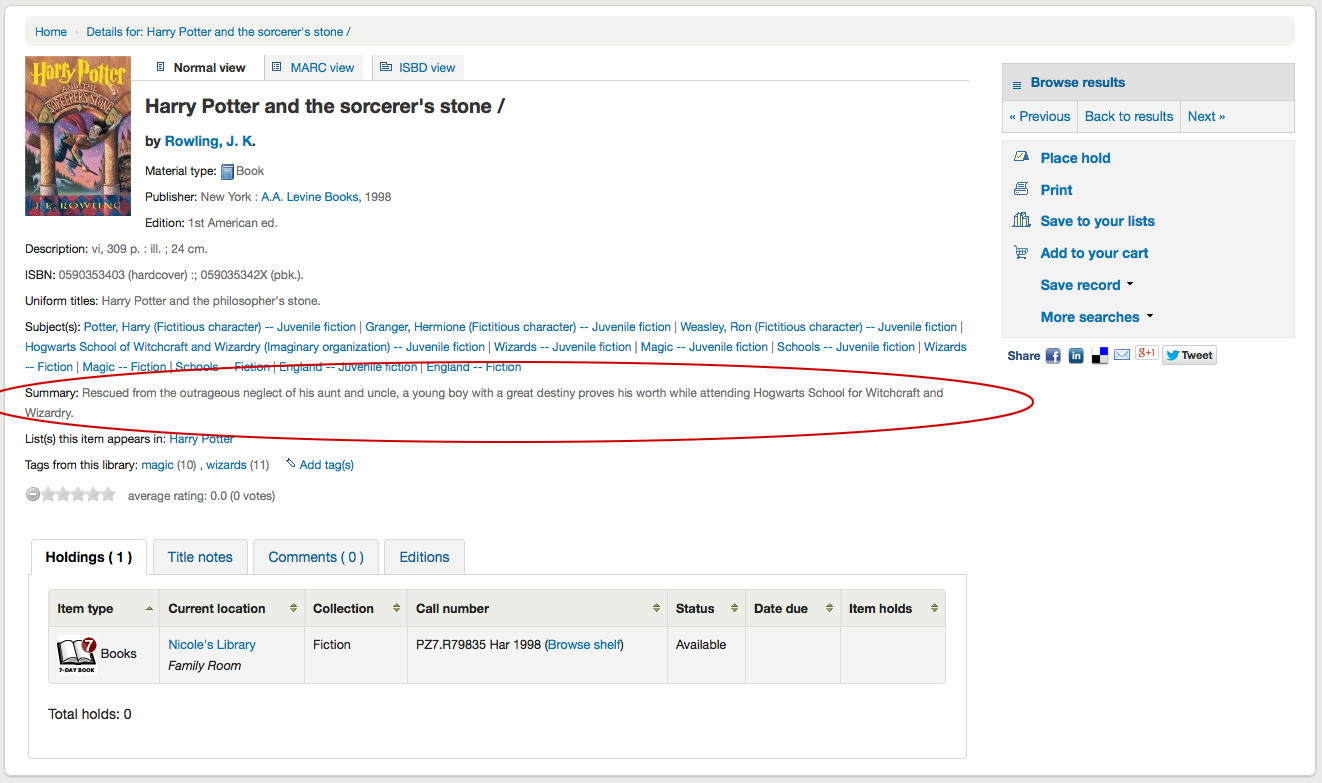
If your record has a table of contents or summary it will appear next to the ‘Summary’ or ‘Table of contents’ label
If your record has data in the 856 fields you’ll see the links to the right of the ‘Online resources’ label
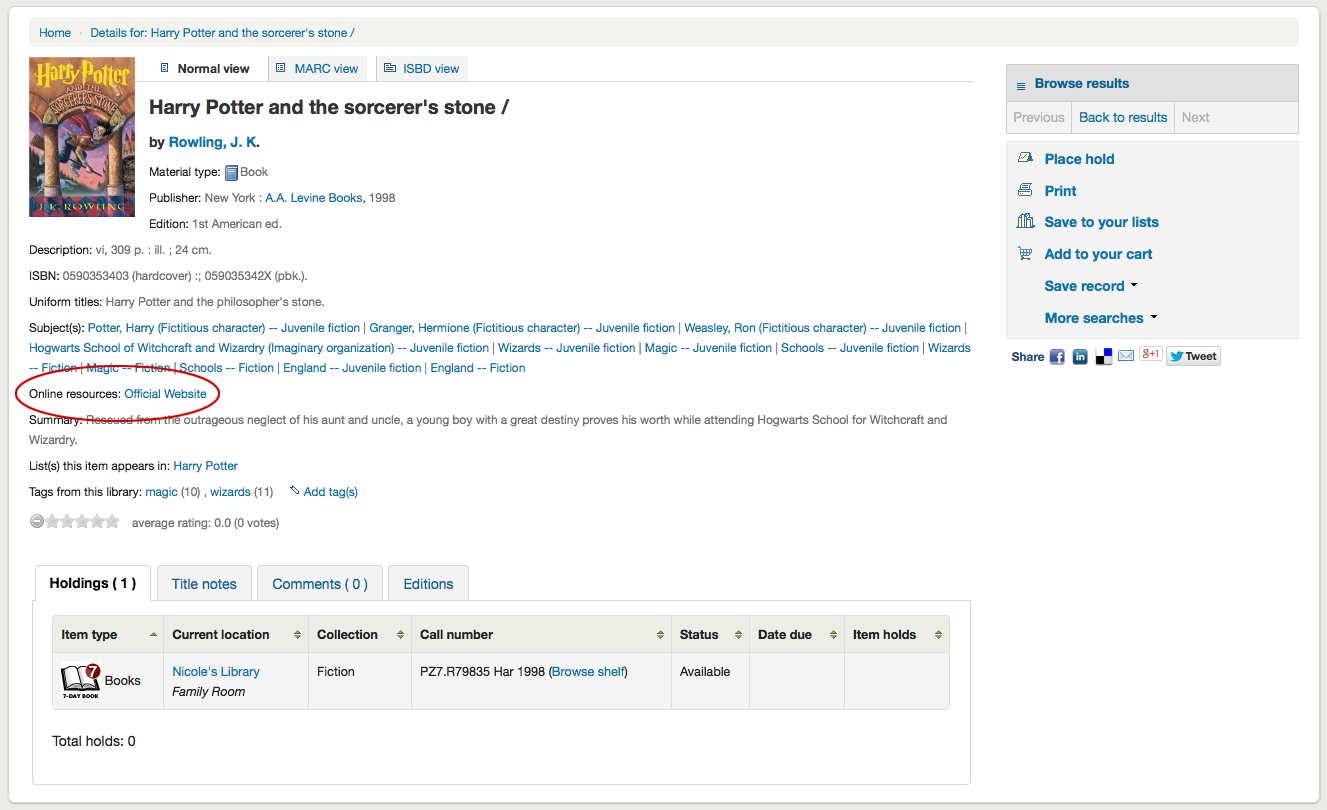
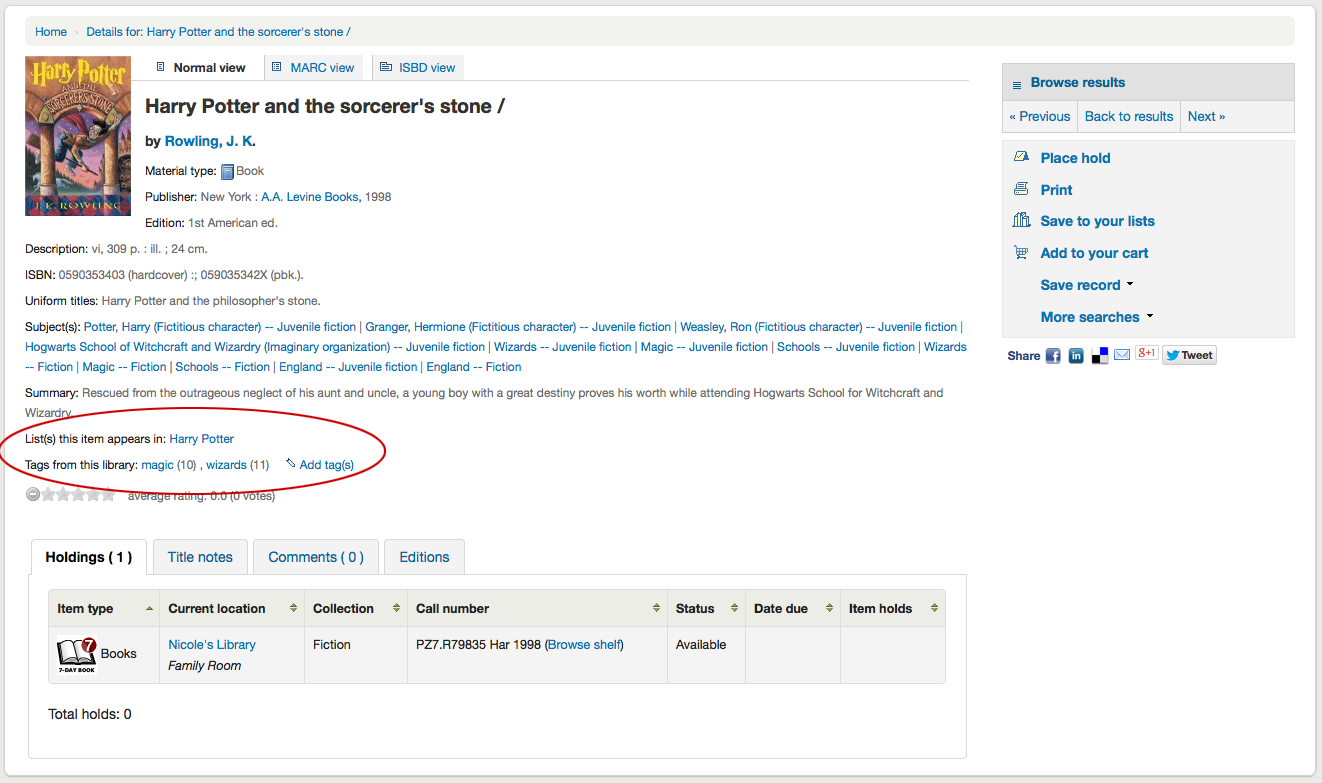
If the title you’re viewing is in a public list then you’ll see a list of those to the right of the ‘List(s) this item appears in’ label and if it has tags they will appear below the ‘Tags from this library’ label
In the tabs below the details you will find your holdings data
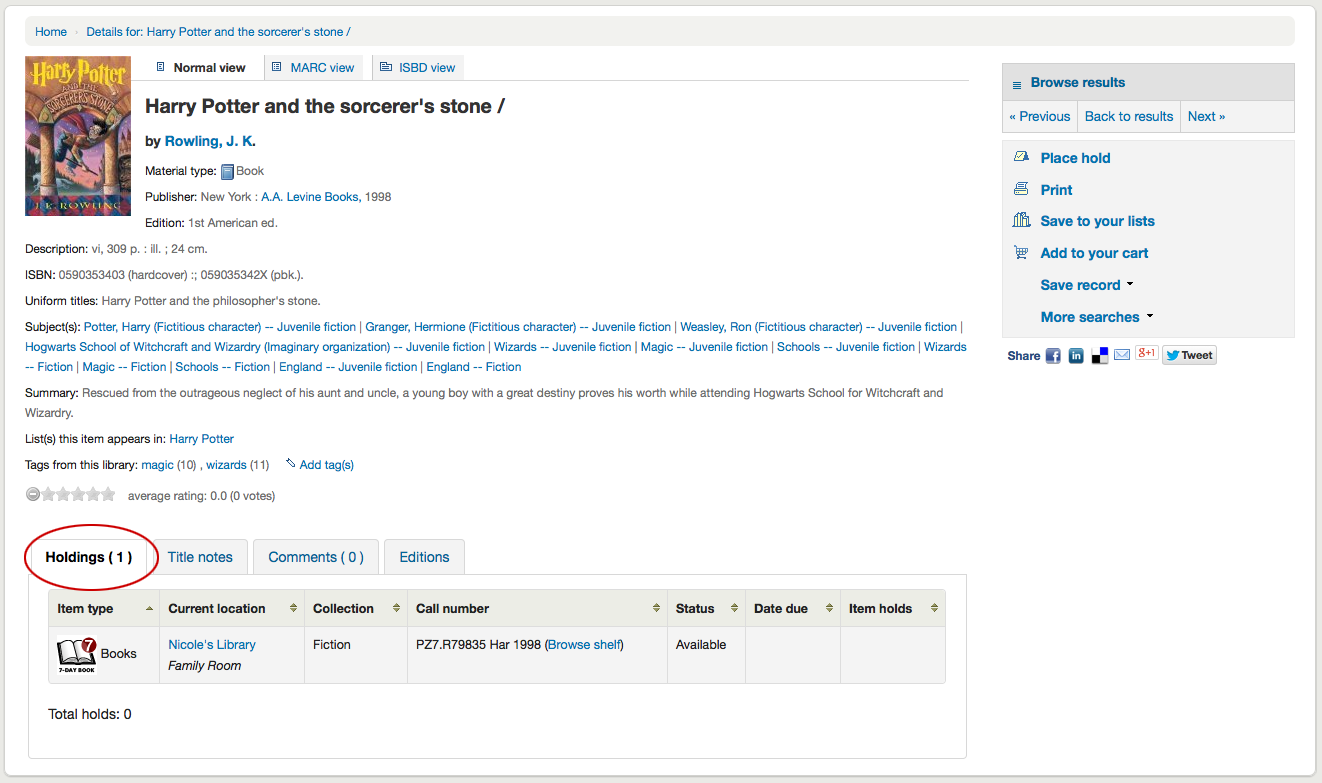
Note
You can customize the columns of this table in the ‘Table settings’ section of the Administration module (table id: holdingst).
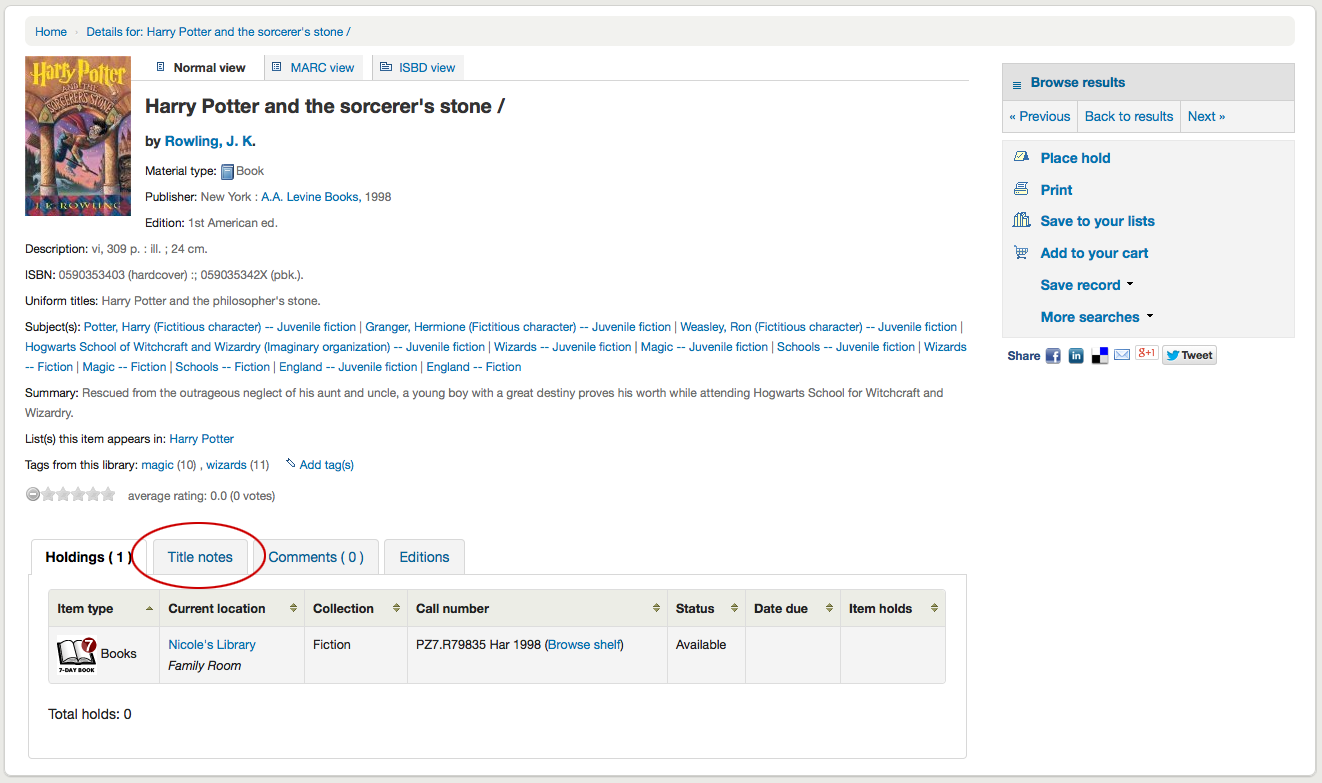
Any notes (5xx fields) that have been cataloged will appear under ‘Title notes’
If the bibliographic record is linked to a subscription in the Serials module, there will be a ‘Subscriptions’ tab with the subscription and issues information.

Note
You can customize the columns of this table in the ‘Table settings’ section of the Administration module (table id: subscriptionst).
Note
If you chose a notice in the ‘Patron notification’ field when adding the subscription, there will be a button patrons can click to be notified by email when a new issue is received.
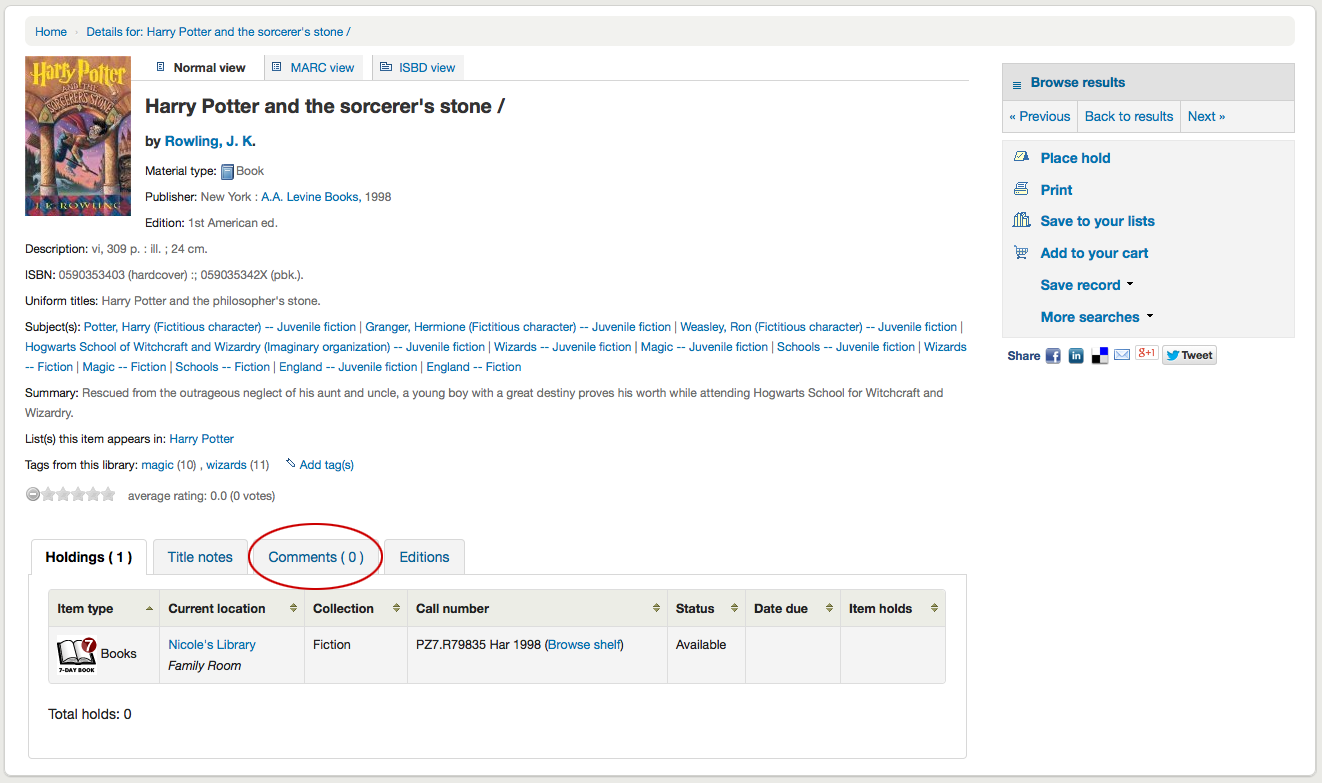
If you’re allowing comments they will appear in the next tab
If the OPACAuthorIdentifiers system preference is turned on, and that your author authority records have standard identifiers, there will be an ‘Author identifiers’ tab showing the identifiers with links to the author record on the source website.

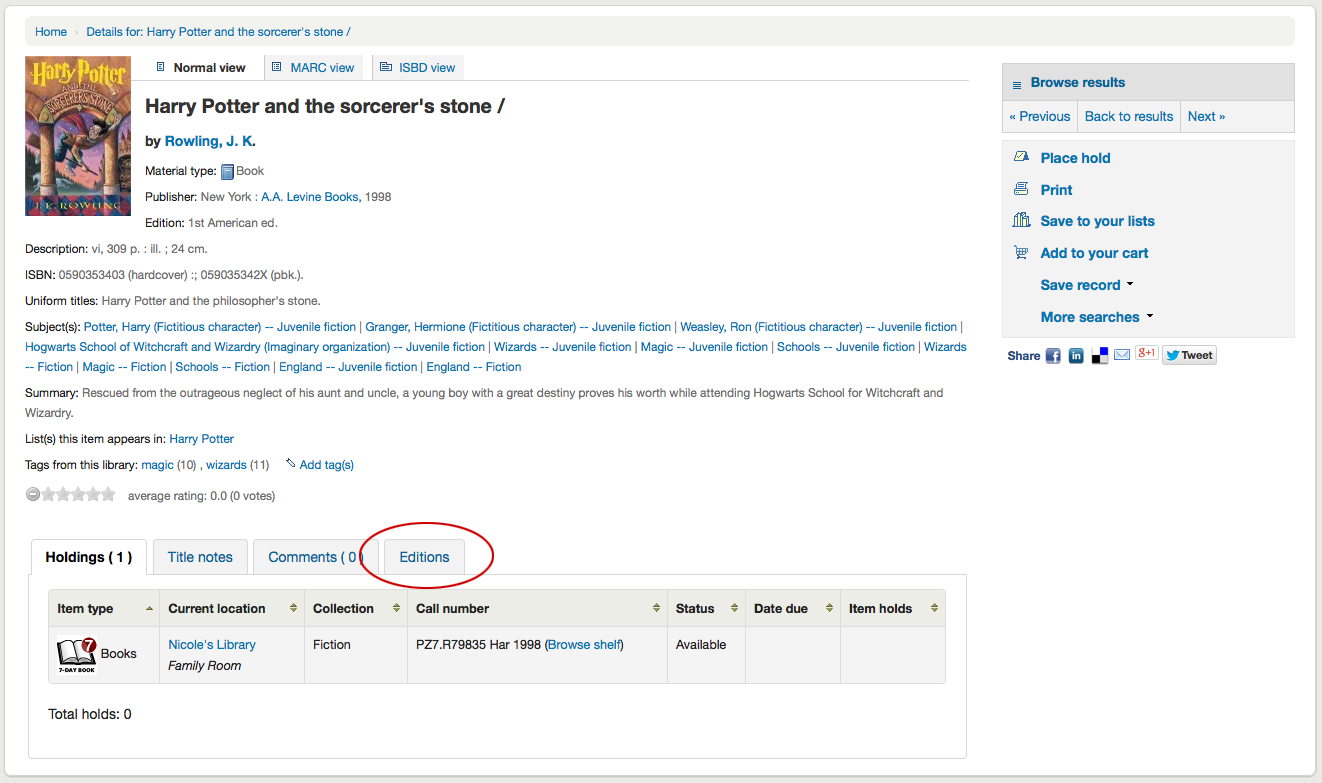
And finally if you have enabled FRBR and you have other editions of the title in your collection you will see the ‘Editions’ tab.
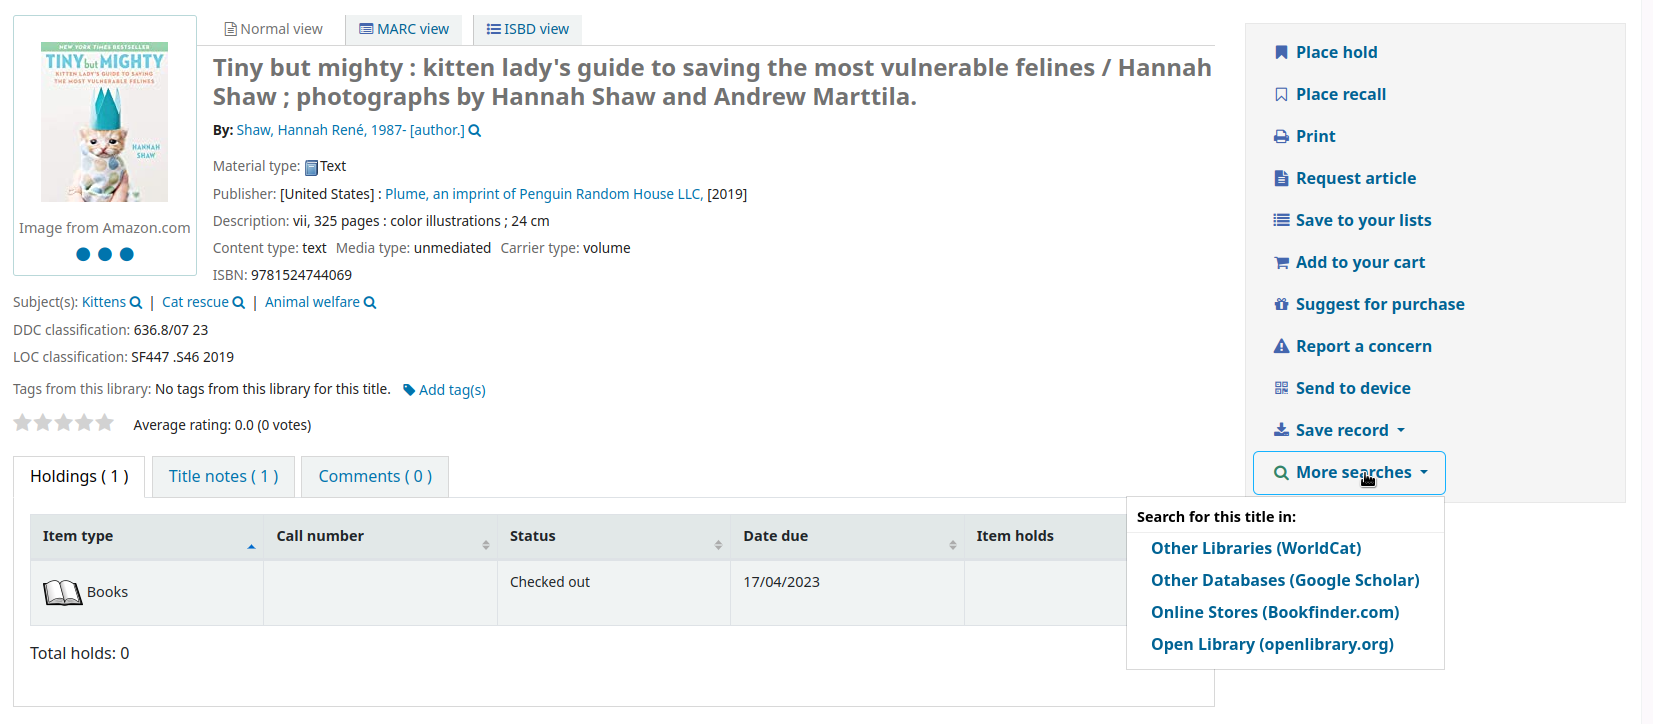
To the right of the details you’ll find a series of boxes. The first box is a list of buttons to help navigate the search results. From there you can see the next or previous result from your search or return to the results.
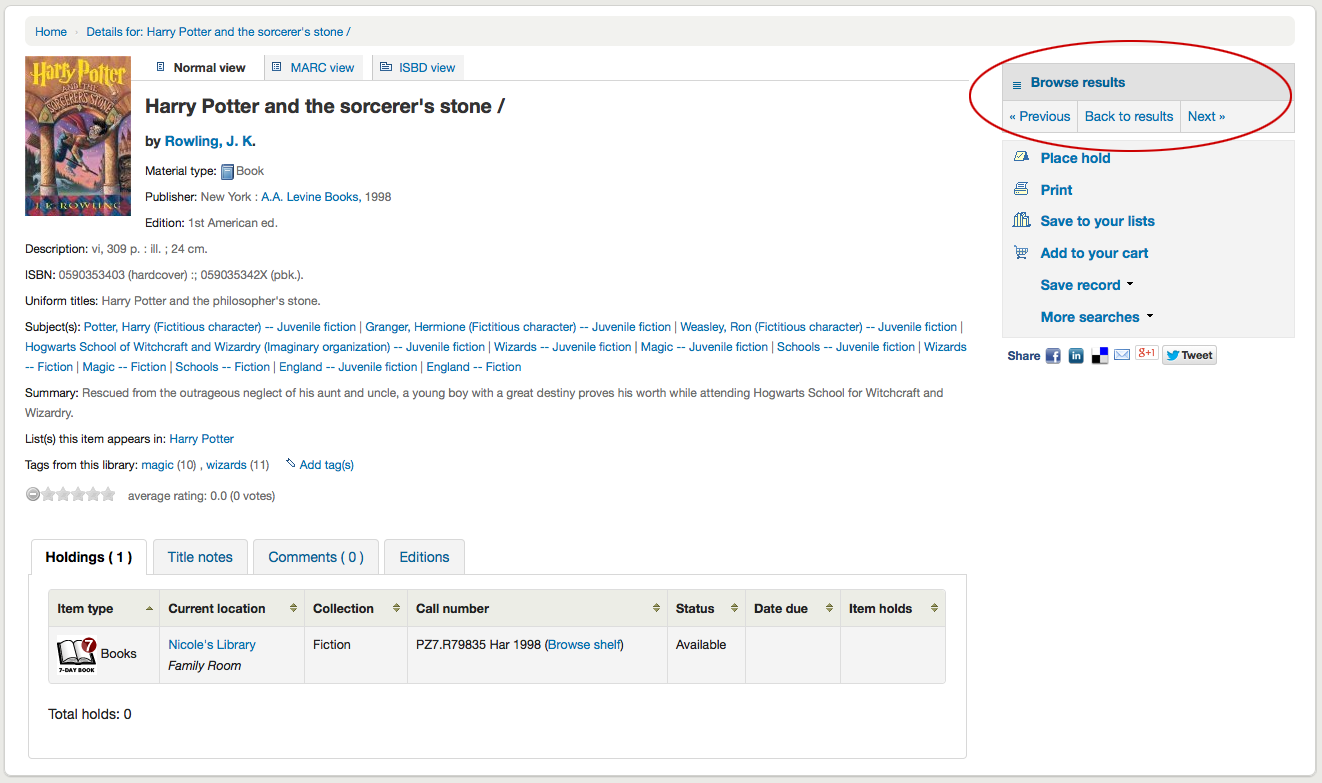
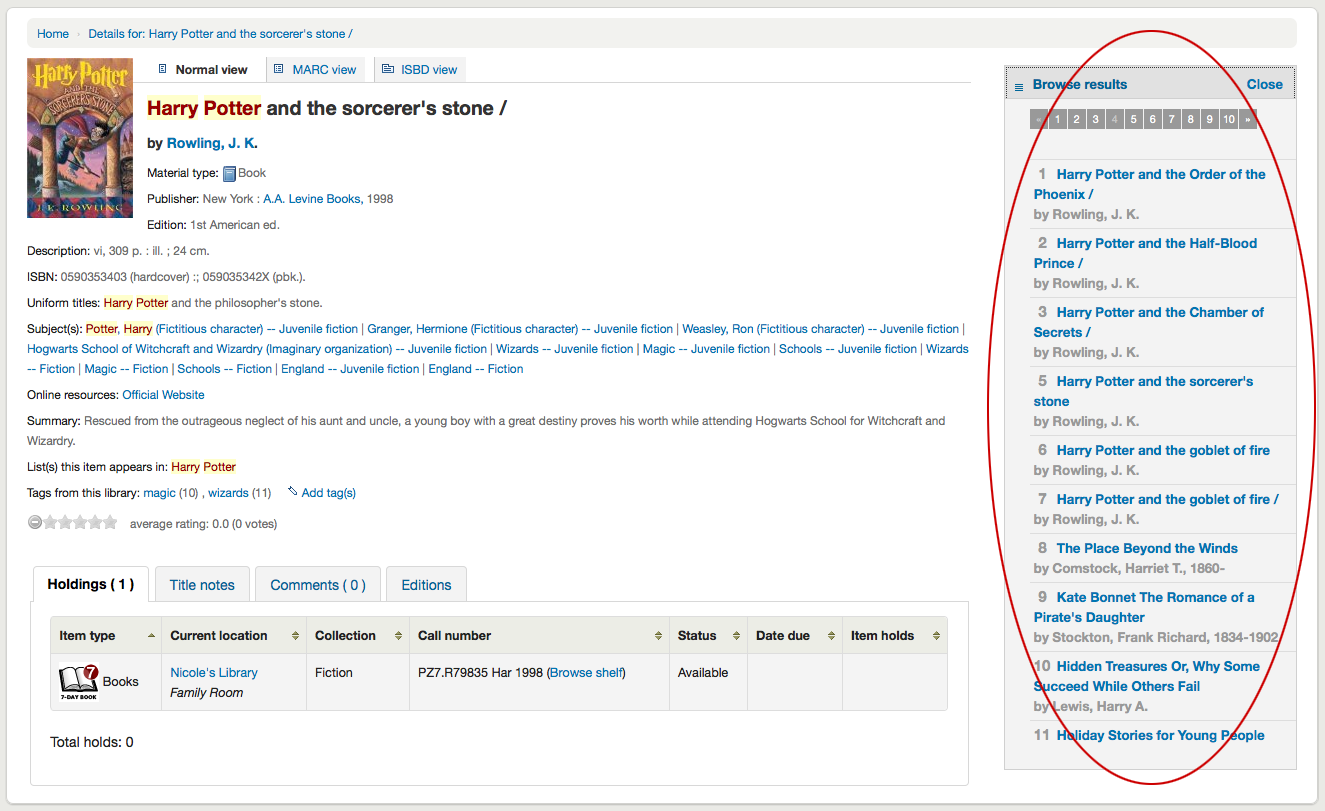
Clicking ‘Browse results’ at the top of the right column will open up your search results on the detail page
Below the search buttons you’ll find the links to place a hold, print the record, save the record to your lists, add it to your cart or send to a device (using a QR code).
Another option that will appear on this right hand side bar, if a library is allowing purchase suggestions (see the suggestion system preference), is the ability to ‘Suggest for Purchase’. Clicking this link will bring the user to the purchase suggestion form to fill out.
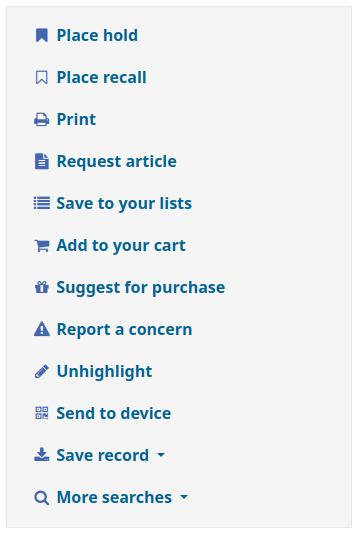
Clicking ‘More searches’ will show the list of libraries you entered in your OPACSearchForTitleIn preference
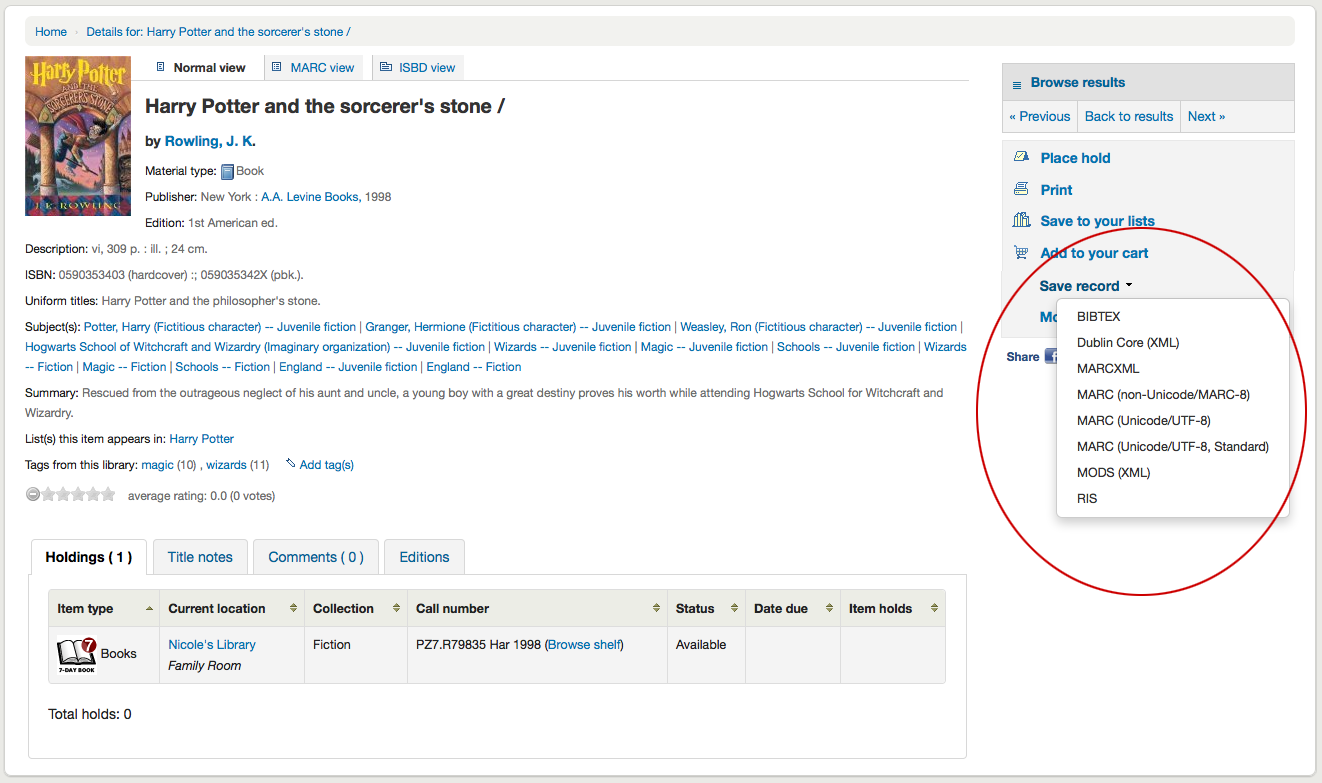
Under the ‘Save record’ label you will find a series of file formats you can save the record as. This list can be customized by altering the OpacExportOptions system preference.
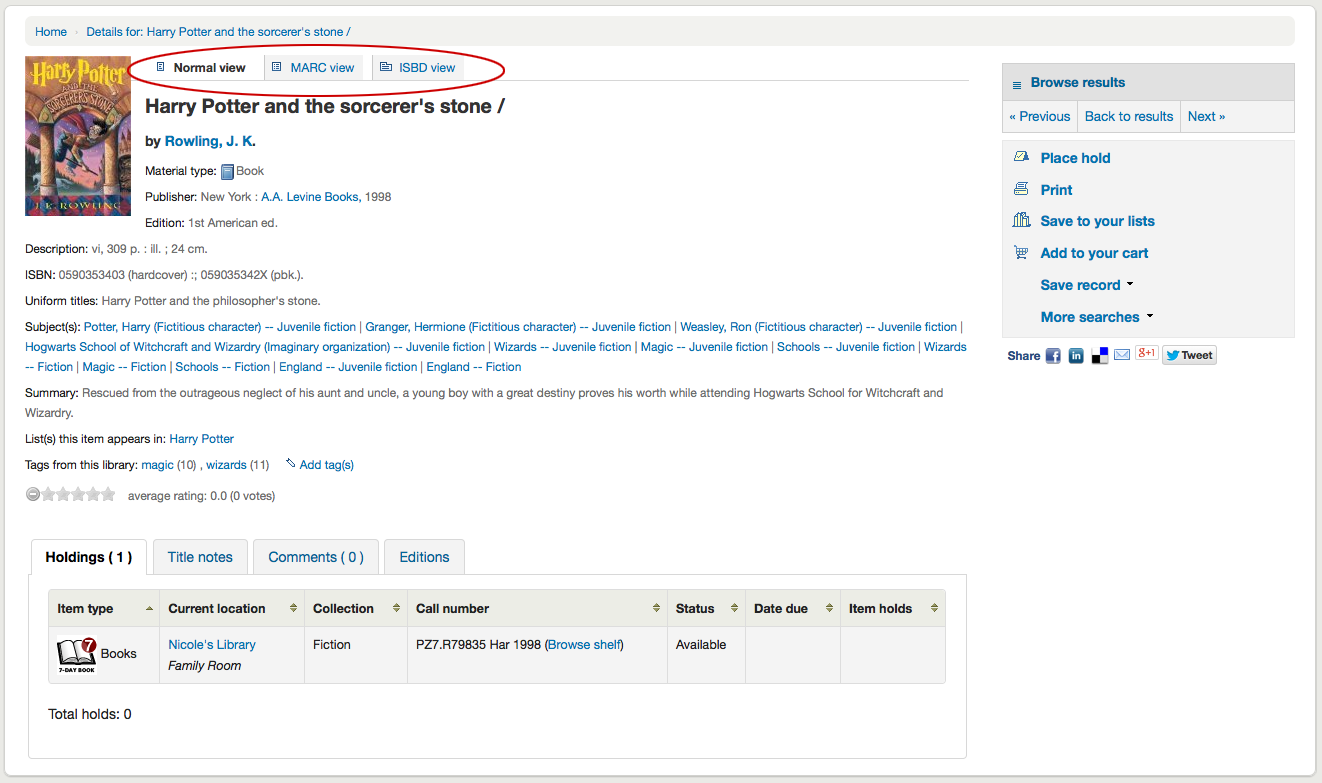
If at any time you want to change the view from the ‘Normal’ view to see the Marc or the ISBD you can click the tabs across the top of the record
If the OpacCatalogConcerns system preference is enabled, patrons will be able to report concerns regarding specific bibliographic records.
This is similar to the problem report feature but is linked to a specific bibliographic record, and there is the possibility to have a resolution.
To report a new concern,
In the bibliographic record’s detail page, click the ‘Report a concern’ link in the options at the right side.
Note
Patrons must be logged in to report a concern. If they are not logged in, the system will ask them for their login information.
Fill in the concern form.
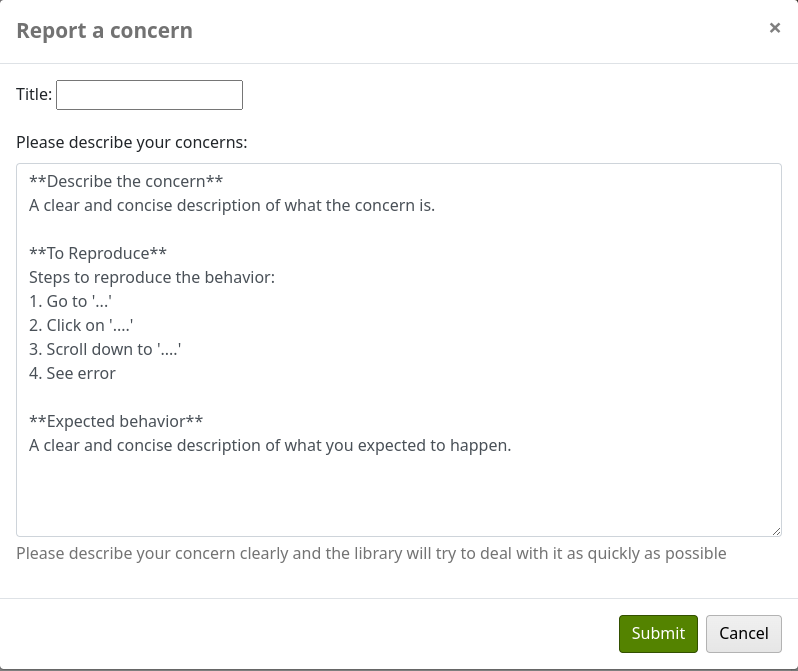
Title: enter a title describing succinctly the problem.
Please describe your concern: enter details about the problem, being the more descriptive possible so that the staff member who receives this is able to replicate and see the problem.
An example of what is expected in the description is provided in the field:
Note
This text is customizable in the HTML customizations tool, by changing the ‘CatalogConcernTemplate’ entry.
The text at the bottom of the form (“Please describe your concern clearly…”) is also customizable in the HTML customizations tool, by changing the ‘CatalogConcernHelp’ entry.
Click ‘Submit’.
This will send an email to the cataloging team to notify them that a new concern has been created. The email will be sent to the email address in the CatalogerEmails system preference. The email sent is the TICKET_NOTIFY notice, which can be customized in the Notices and slips tool.
An email will also be sent to the reporter to notify them that the concern has been received. The email sent is the TICKET_ACKNOWLEDGE notice, which can be customized in the Notices and slips tool.
Concerns reported about this record are visible in the ‘Concerns’ tab.
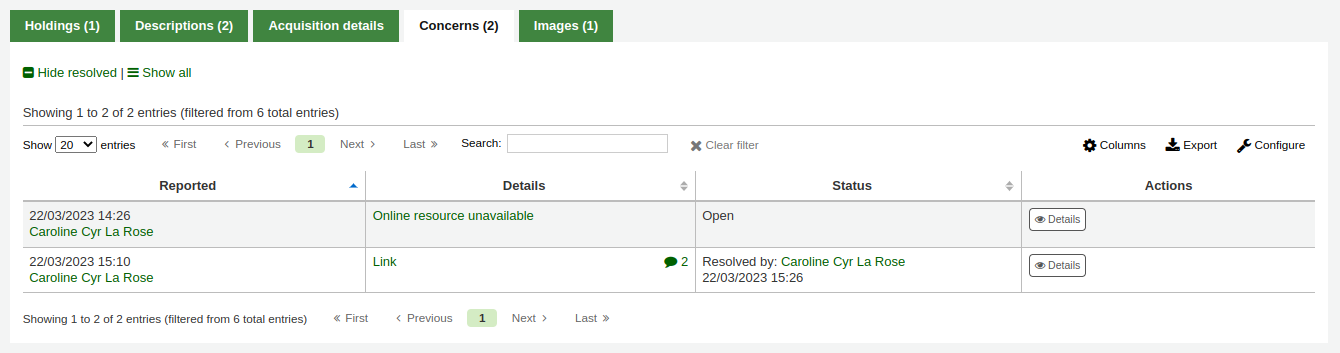
All concern tickets will be visible in the catalog concerns report.
Newly opened concern reports will also appear in the notification section at the bottom of the staff interface main page.