
Lists and the cart
A cart is a temporary holding place for records you’re interested in finding during this session. That means that once you log out of the OPAC or close the browser you lose the items in your cart.
A list is a more permanent location for saving items.
To learn more about lists, check the Lists and cart chapter of this manual, which deal with these features in the staff interface.
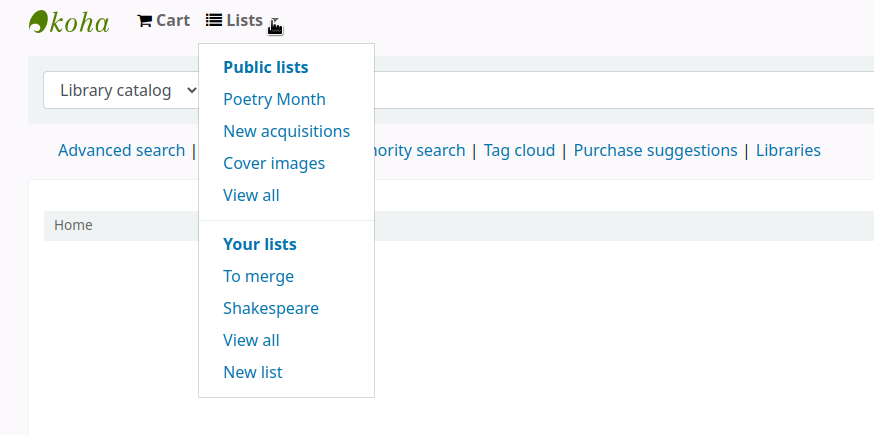
ListsPatrons can manage their own private lists and find all public lists by visiting the ‘Lists’ section of their account.
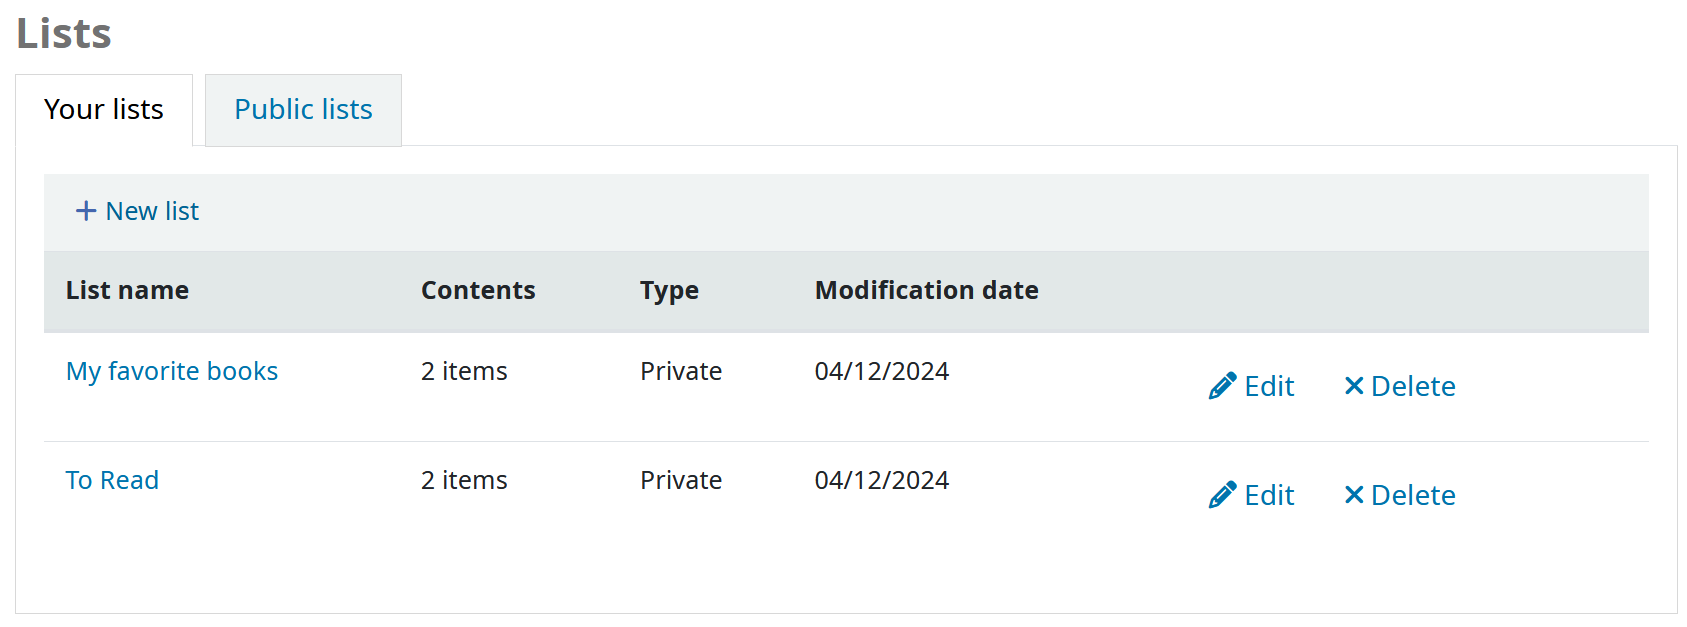
The ‘Modification date’ column shows when the list was last modified and is helpful for quickly finding out how up to date the list is.
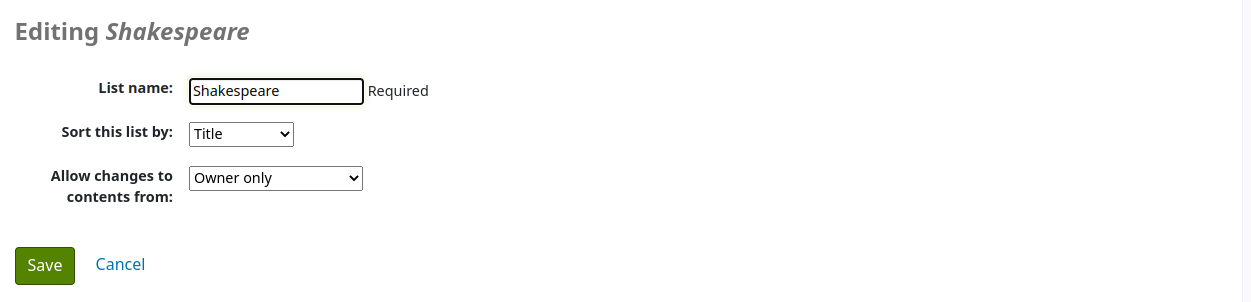
Creating listsTo create a list the patron simply needs to click the ‘New list’ link and populate the form that appears.
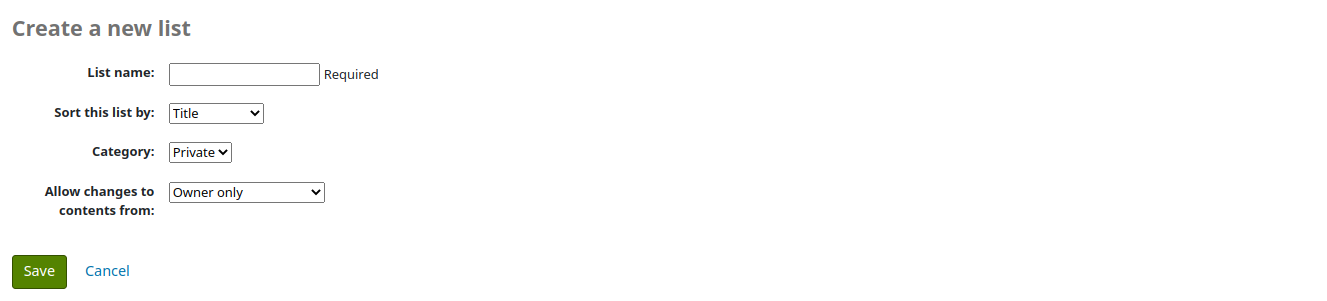
List name: the patron must enter a list name, it is the only required field
Sort this list by: the patron can choose how they want the list sorted (by title, author, publication year, call number or date added to the list).
Category: the patron can choose to keep this list private or make it public. A public list will be visible to all OPAC users.
Note
This field will only appear if the OpacAllowPublicListCreation system preference is set to ‘Allow’. Otherwise all lists created by patrons will be private.
Allow changes to content from: the patron can choose who will be able to add or remove titles from the list.
Nobody: nobody, including the patron themselves will be able to add or remove titles.
Owner only: only the patron who created the list will be able to add or remove titles. If the list is public or shared, the OPAC users or sharers will not be able to change the list contents.
Anyone seeing this list: everyone who has access to the list will be able to add or remove titles. If the list is public, this means everyone. If the list is private, only the owner will have the ability to change the contents. And if the list is shared, the owner and sharers will have this ability.
Staff only: this option will only appear to staff members, to make the list editable by all staff members.
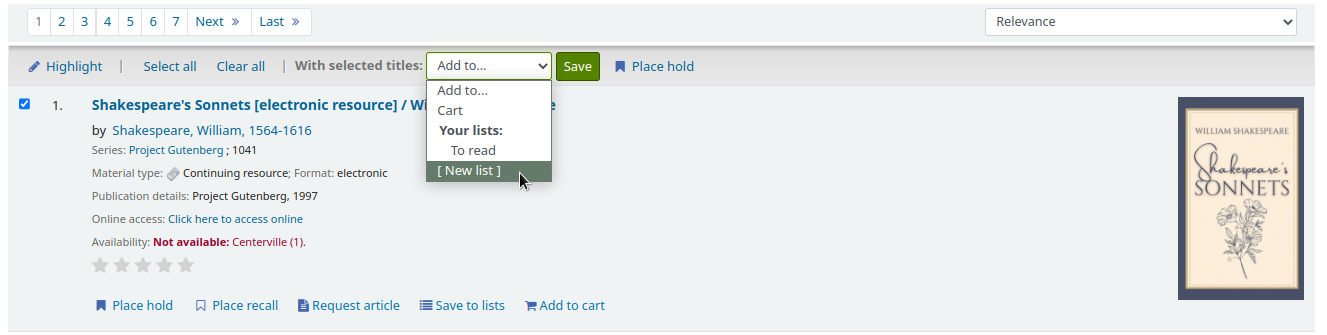
Lists can also be created by choosing the ‘New list’ option in the ‘Add to’ menu on the search results
Titles can be added to lists from the search results or from the bibliographic record.
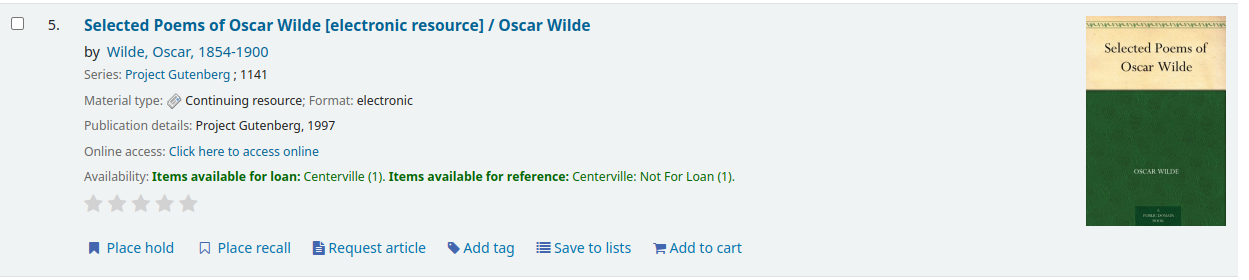
In the search results, the option to add items to the list appear below each result (‘Save to lists’ button)
and across the top of the results page, next to ‘Select titles to: Add to…’

To add a single title to a list, click the ‘Save to lists’ option and then choose the list you’d like to add the title to. To add multiple titles to a list check the boxes on the left of the titles you want to add and then choose the list you want to add the titles to from the ‘Add too’ pull down at the top of the screen.
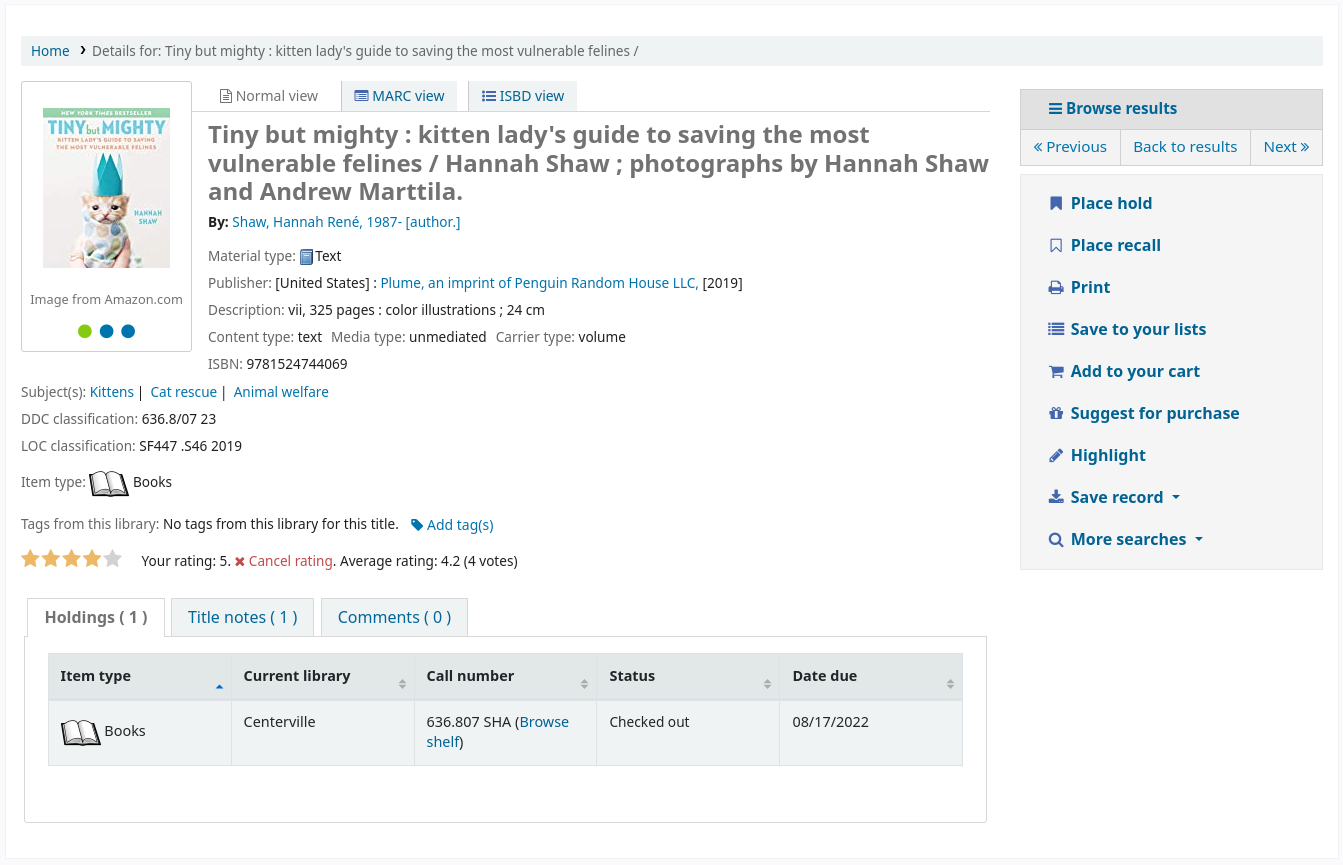
From the bibliographic record, the option to save the title to a list is in the menu on the right.
Titles can also be added to a list from the cart.
Viewing lists contentsTo view the contents of a list, click on the list name under the ‘Lists’ button.
The contents of the list will look similar to your search results pages except that there will be different menu options across the top of the list.
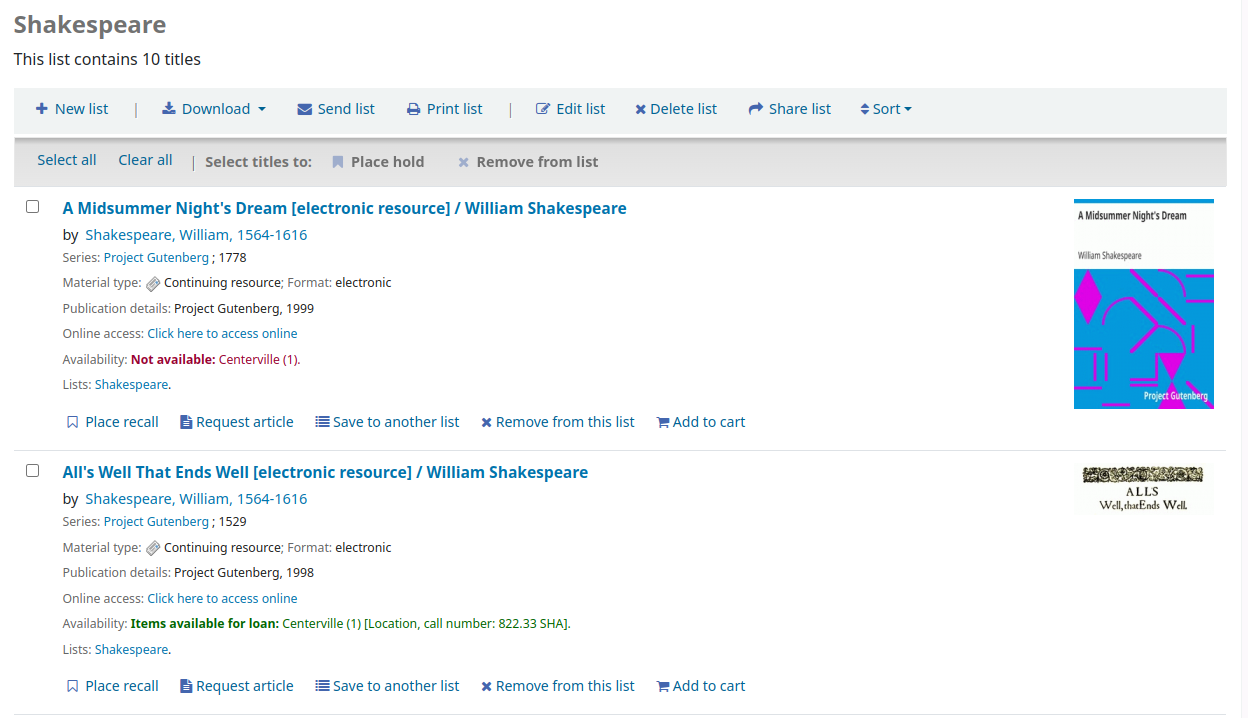
To the right of the list title there is an RSS icon that will allow you to subscribe to updates to the list.
Note
The RSS icon only appears on public lists.
Using the menu options above the list you can place multiple items on hold, download the list contents, email the list or print the list out.
To place a hold on one or more list items check the box to the left of the item and click the ‘Place hold’ link at the top
To download the list contents click the ‘Download list’ link and choose the format you’d like to download the list in
To email the list contents to someone, click the ‘Send list’ link and enter in your email details in the form that pops up

Note
The message sent when emailing the list is LIST, which can be customized in the Notices and slips tool.
To print the contents of your list out click the ‘Print list’ link
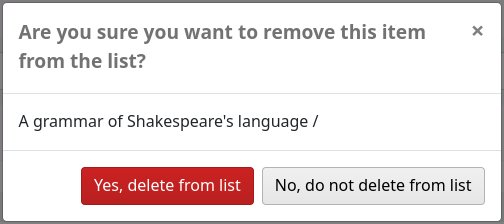
Removing titles from listsTo remove a title from a list,
Click ‘Remove from this list’ under the title to remove.
Click ‘Yes, delete from list’ to confirm the removal of the title from the list.
Once the list is saved, patrons can begin adding items to it. From the ‘Lists’ tab in their account, the patron can edit and delete the lists they have created by clicking the appropriate button to the right of the list name.
To edit the list’s title or sorting patrons click the ‘Edit’ button to the right of the list description.
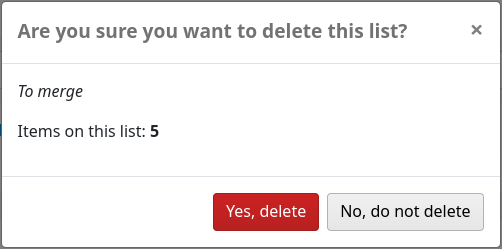
When clicking ‘Delete’ next to a list you will be asked to confirm that you want to delete the list.
If the OpacAllowSharingPrivateLists system preference is set to ‘Allow’, patrons will see the ‘Share’ button on the list of lists and the ‘Share list’ button at the top of each individual list. Clicking this will ask you to enter the email address of a patron.

Once the email address is entered Koha will present you with a confirmation message

and will send a message to that patron.
Once the other patron accepts the shared list, the sharing patron will receive a confirmation.
Note
The message sent to share the list is SHARE_INVITE and the message sent to the sharing patron to confirm the other patron has accepted the share is SHARE_ACCEPT. Both messages are customizable in the Notices and slips tool.
The other patron will see the shared list with their own private lists (the type will be ‘Shared’ rather than ‘Private’). They will also have the option to remove the share, if they don’t want to have access to this list anymore.
The owner of the shared list will have the option to transfer the ownership of the list to one of the patrons with whom the list is shared.
If the TagsInputOnDetail system preference is enabled, patrons will have the possibility of adding tags to titles from the list view.
Cart Adding titles to the cartTitles can be added to the cart from the search results or from the bibliographic record.
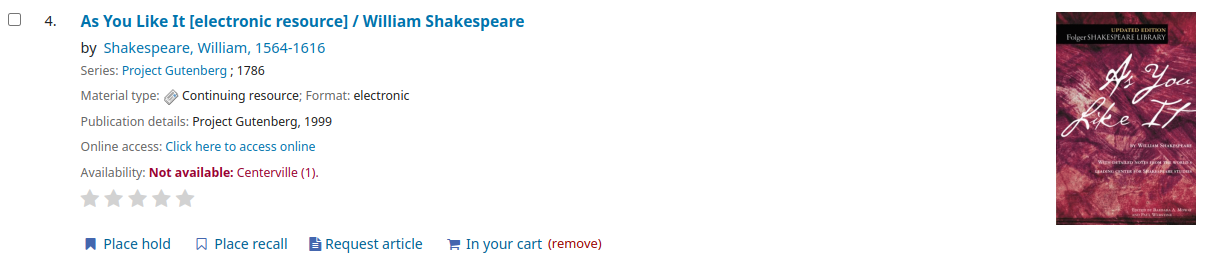
In the search results, the option to add items to the cart appear below each result (‘Add to cart’ button)
and across the top of the results page, next to ‘Select titles to: Add to…’
Clicking the ‘Add to cart’ button under a single result will add the one title to your cart.
To add multiple titles at once, check the box to the left of each result and then choose ‘Cart’ from the ‘Add to’ pull down at the top of the screen. Once titles are added to the cart you will be presented with a confirmation at the top of the page.

From the results you will see which items are in your cart and will be able to remove those items by clicking ‘(remove)’.
From the bibliographic record, the option to add the title to the cart is in the menu on the right.
Once there are titles in the cart, you can manage the contents by clicking on the ‘Cart’ button usually found at the top of the screen. Your cart will open in a new window.
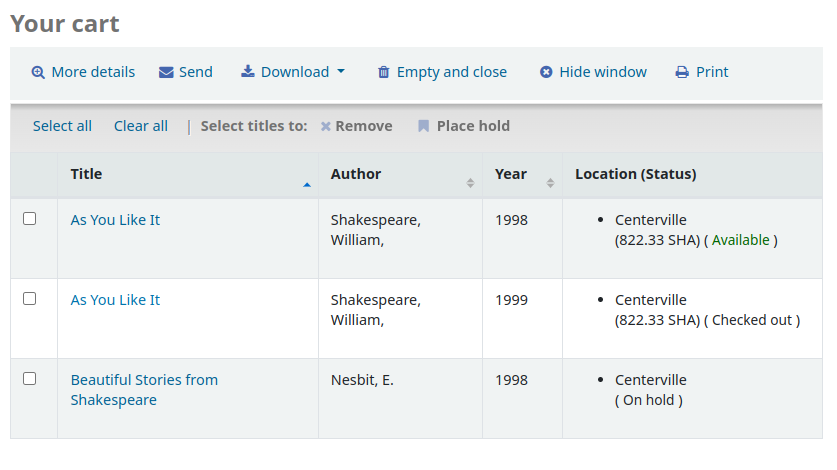
From this window you are presented with several options. Across the top of the cart are several buttons.
More details: clicking this will show additional information about the titles in the cart (ISBNs, subjects, publisher info, notes and more).
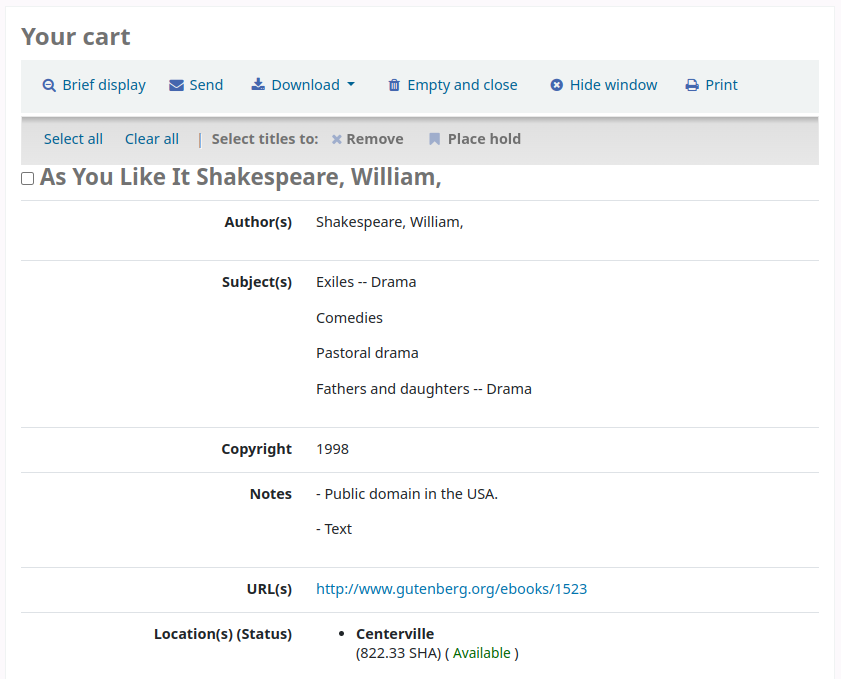
When clicked, tThe ‘More details’ button will become ‘Brief display’. Clicking this will return to the default display in table form of the title, author, copyright date and item location and status.
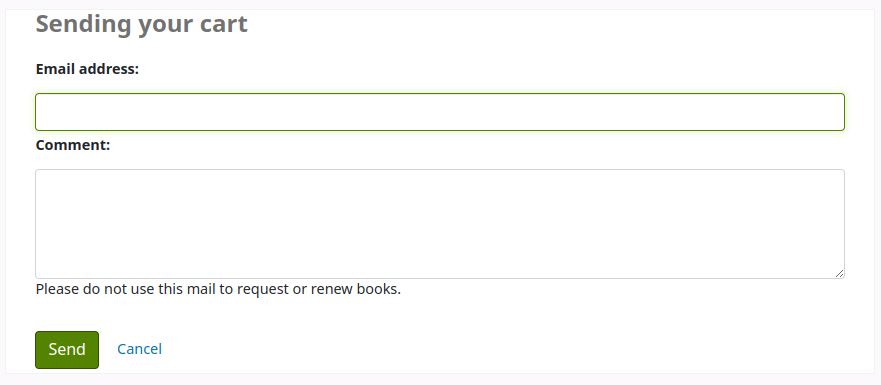
Send: the option to send the contents of the cart to an email address. This is handy if you want to send the resources you found at the library to your home email account to refer to later or to send to a patron researching a specific topic. Clicking this link will open up a new window that asks for the email address and message to send.
Warning
The cart can only be emailed by logged in users. This will prevent the cart email function from being used for spamming.
Note
The message sent when emailing the cart is CART, which can be customized in the Notices and slips tool.
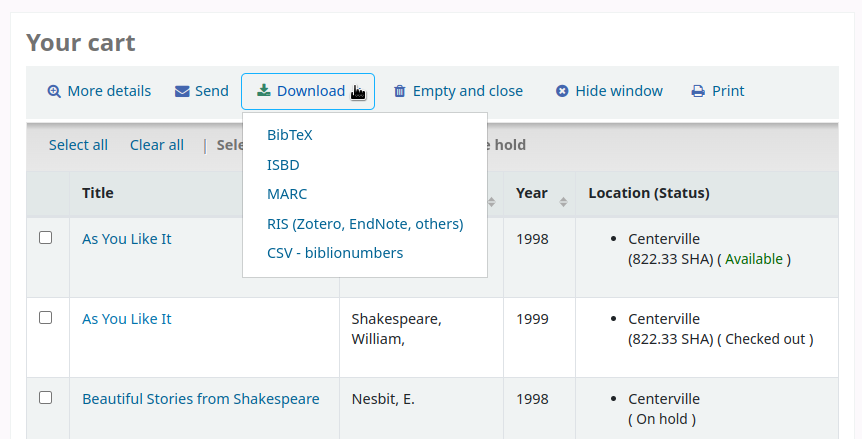
Download: you can download the contents of the cart in several pre-defined formats or using a CSV profile that you defined in the tools module.
Empty and close: this will empty the cart and close the window.
Hide window: this will close the window, but the cart will not be emptied.
Print: this will print out the contents of the cart.
In addition to the various different ways to save the contents of the cart, there are ways to add value to the data in your cart.
Select one or more titles from the cart and choose one of the options:
Remove: this will remove the selected titles from the cart.
Add to a list: this will add the selected titles to a list
Place hold: this will place a hold on all selected titles
Tag: if the TagsInputOnDetail system preference is enabled, patrons will be able to add tags to selected titles.